
How to Float Horizontally During Captain Cook Snorkeling
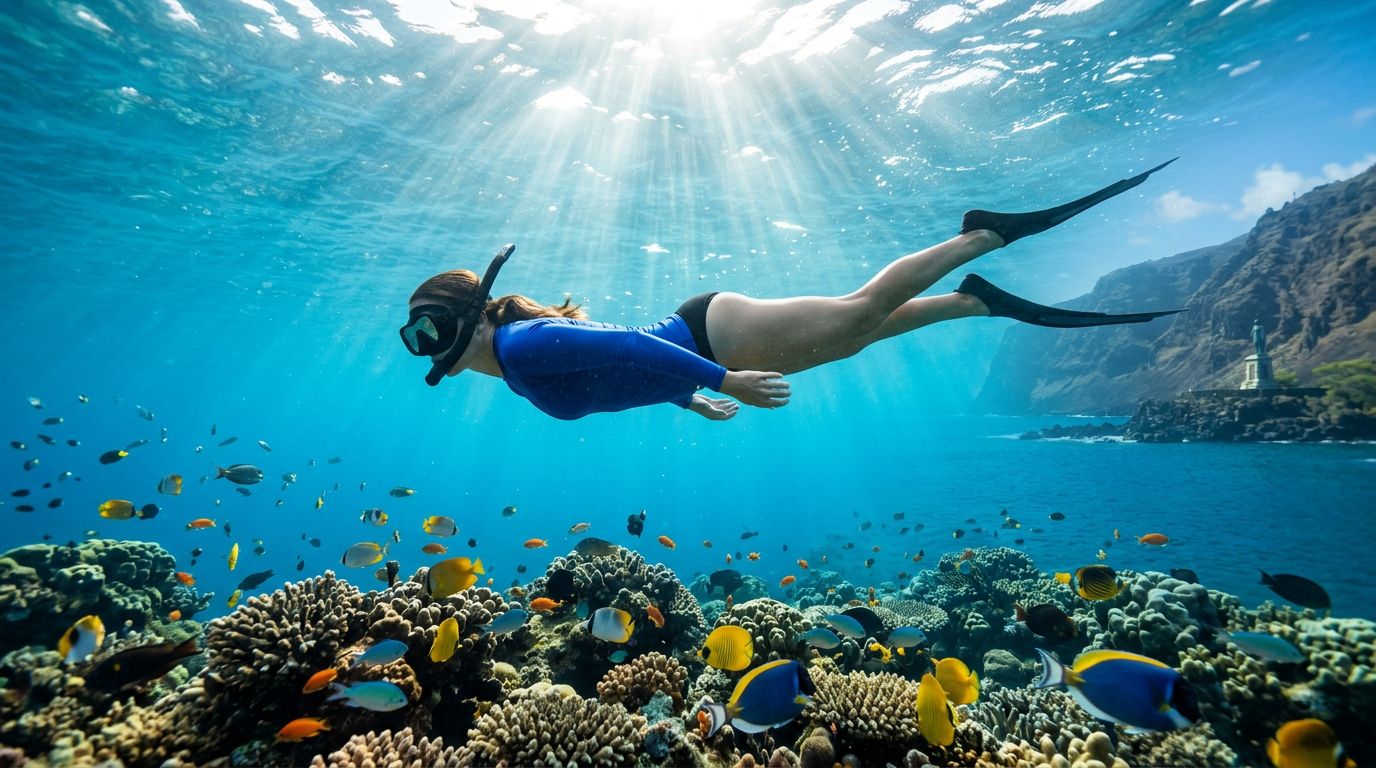
During Captain Cook snorkeling, the easiest way to conserve energy is often to stop stroking and let your body ride level on the surface. A horizontal position gives you a wider view of Kealakekua Bay, keeps your fins away from coral, and makes breathing through your snorkel feel more natural.
Many first-time snorkelers struggle because their legs sink, their head lifts, or their kick becomes too large. Kona Snorkel Trips offers small-group ocean adventures with fitted gear, lifeguard-certified guides, and a strong “Reef to Rays” focus. Captain Cook Snorkeling Tours is another company focused on trips around Kealakekua Bay and the Captain Cook Monument. Once you understand the balance between your head, hips, fins, and breath, floating becomes much easier.
The body position that makes Captain Cook snorkeling easier
A good horizontal float keeps your body close to the surface, almost as if you were resting on a firm mattress. Your face points down, your back stays long, and your legs extend behind you without dragging low in the water.
Start with four simple alignment cues:
- Keep your forehead, shoulders, hips, and heels in one long line.
- Look toward the reef below instead of lifting your chin to see ahead.
- Let your arms rest forward or alongside your body.
- Point your fins behind you, with relaxed ankles and soft knees.
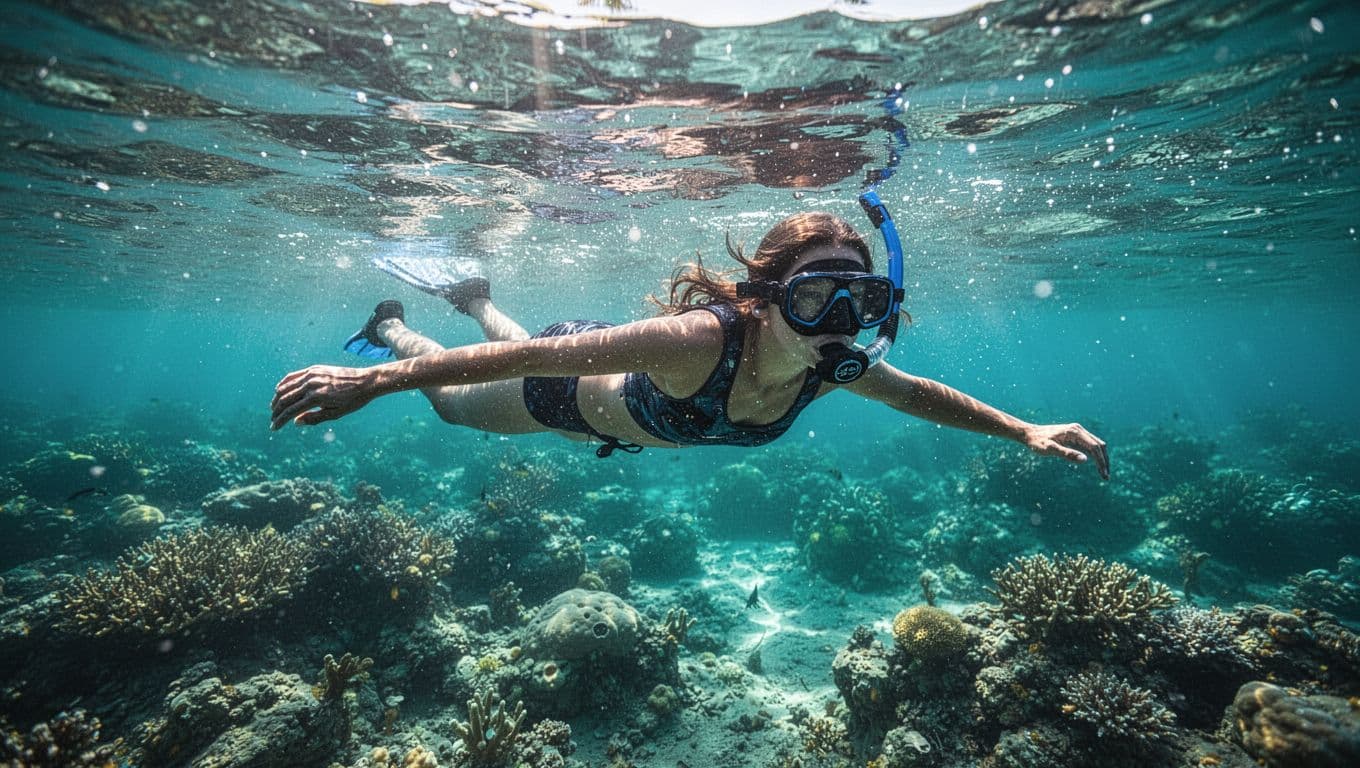
Your mask should stay underwater while the top of your snorkel remains above the surface. That position lets you breathe without lifting your head. When you raise your face, your hips usually drop. Your body then creates more resistance, so you work harder to cover the same distance.
The ocean already provides much of the support you need. Salt water is buoyant, and the air in your lungs helps your chest stay near the surface. You don’t need to fight the water with your arms. Instead, use small adjustments through your chest, hips, ankles, and breathing rhythm.
A flat body is usually a balance problem before it’s a swimming problem.
Keep your neck loose. Tightening your shoulders or pressing your hands downward often causes your legs to sink. Relaxation is an active skill here, not a passive one. The calmer your body becomes, the less energy you spend correcting your position.
Read Kealakekua Bay before you move
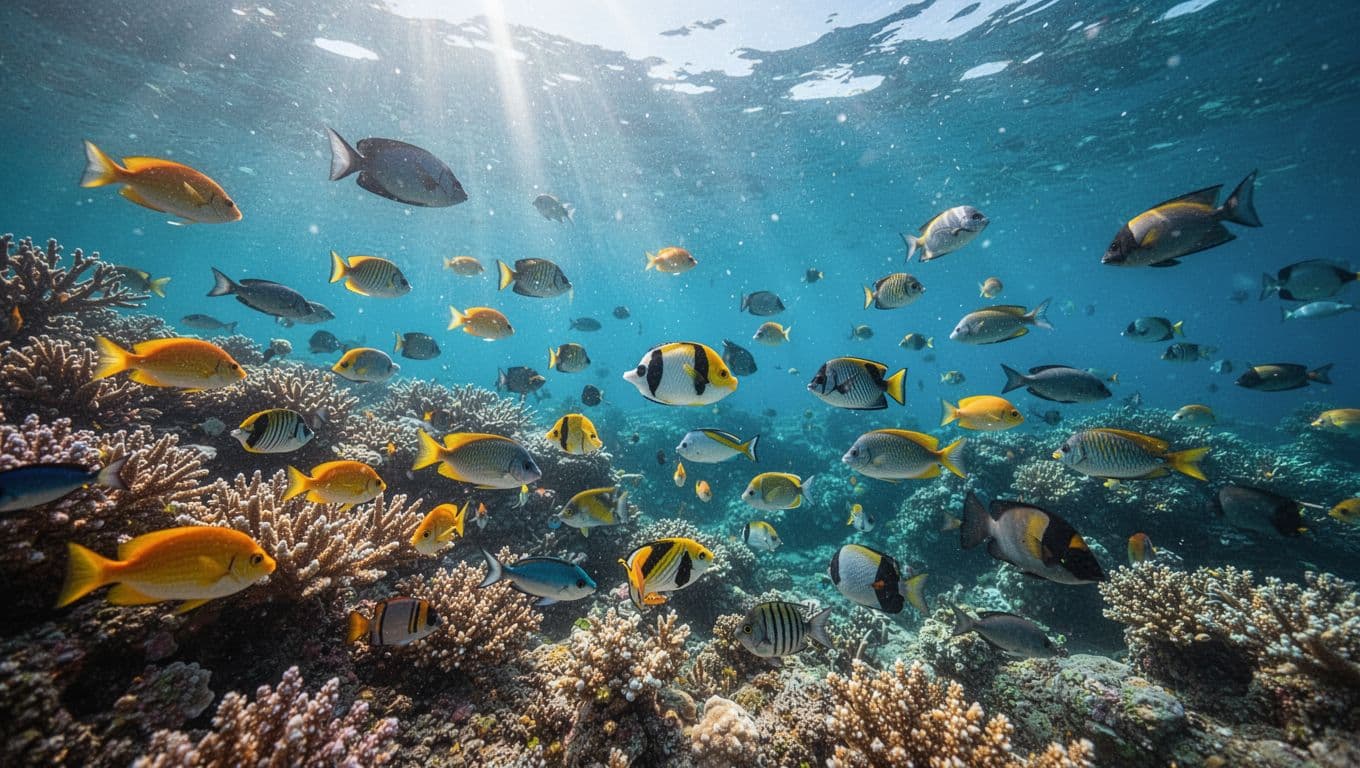
Kealakekua Bay has clear water and rich marine habitat, so you can often see details below you without swimming fast. The bay’s protected areas can offer visibility of up to 100 feet when conditions cooperate. That clarity rewards a quiet, level approach because fish may stay close to coral heads and reef edges.
When you’re researching snorkeling Big Island Hawaii conditions, remember that one forecast doesn’t describe every section of the coast. Wind, swell, current, boat traffic, and recent weather can change the experience. Your guide checks the conditions before and during the trip, then chooses the safest entry and route.
A boat entry also changes how you begin. You can enter with your mask and fins ready, move away from the boat, and settle into the water without crossing sharp lava rock. The Captain Cook Monument snorkeling guide also describes boat access as the easiest way to reach the area for many visitors.
Once you reach the reef, don’t rush to start kicking. Take several seconds to check your mask seal, find a comfortable breathing rhythm, and notice how your body floats. The first calm minute often teaches you more than a fast lap around the bay.
Water movement can make a perfect float feel different from one minute to the next. If a small swell lifts you, keep your torso relaxed and avoid stiffening your knees. If you feel a current, follow your guide’s direction rather than trying to overpower it.
The goal is to move with the bay while keeping a respectful distance from the reef. A low, level profile helps you observe marine life without reaching down or placing your feet near coral.
How to settle into a flat float during Captain Cook snorkeling
Use this sequence after you enter the water. Move slowly, and let each step become comfortable before adding the next one.
- Check your equipment before swimming. Press the mask gently against your face and make sure the skirt seals around your eyes and nose. Bite the snorkel mouthpiece without clenching your jaw. Your fins should feel secure but shouldn’t pinch your toes or heel.
- Take a normal breath and place your face in the water. Don’t fill your lungs as much as possible or hold your breath. A regular inhale gives you enough lift while keeping your breathing steady.
- Lengthen your body. Stretch your arms forward or let them rest beside your torso. Extend your legs behind you, keep your knees soft, and point your fins toward the boat’s wake or the open water.
- Press your chest slightly down. This small movement helps bring your hips toward the surface. You shouldn’t bend sharply at the waist. Picture your whole body becoming longer rather than folding in the middle.
- Begin a small flutter kick. Start the movement at your hips. Let your legs follow, with your knees moving only a little. Your fins should create gentle pressure against the water, not large splashes.
- Pause your kick for a few seconds. Notice whether your body stays level. If you remain close to the surface, your alignment is working. If your legs drop, adjust your head and chest before kicking harder.
- Glide between kicks. A slow kick followed by a short glide usually works better than continuous, forceful movement. You can watch fish and coral while using less air and less muscle effort.
A common mistake is trying to look forward while floating. Your eyes naturally want to scan the horizon, especially when you’re close to a boat or other swimmers. However, lifting your face changes your body angle immediately. Keep your eyes down, then lift your head only when you need to communicate or orient yourself.
Your hands can help with small corrections, but they shouldn’t become paddles. If you need to turn, make a gentle sculling motion with one hand, then return your arms to a relaxed position. Avoid pulling yourself over coral or reaching toward animals.
Don’t chase fish. A level body and quiet fins let marine life remain comfortable, while a fast approach usually makes it disappear. Your best views often happen when you slow down.
Use your breath to control buoyancy
Breathing affects your position more than many beginners expect. When you inhale, your chest becomes slightly more buoyant. When you exhale, your body settles a little lower. You can use that natural change to maintain a steady position, but your breathing should remain easy and continuous.
Breathe in through the snorkel without lifting your head. Then exhale smoothly and completely enough to prepare for the next breath. Avoid taking rapid, shallow breaths because they can make you feel tense. Also, never hyperventilate or hold your breath to stay underwater longer.
If you feel short of breath, stop swimming. Lift your face from the water, hold the boat or a flotation aid if one is available, and let your breathing return to normal. Tell your guide what you feel. A professional guide would rather help you pause than watch you push through discomfort.
Anxiety can make your legs stiff and your shoulders rise. Try relaxing one area at a time. Drop your shoulders, soften your knees, and release your jaw around the mouthpiece. Then take a normal breath and return your face to the water.
You can also roll onto your back for a short rest if conditions and your guide allow it. Keep your mask and snorkel secure, signal for assistance, and don’t drift away from the group. Back floating gives your breathing muscles a break while you regain confidence.
Snorkel clearing also becomes easier when you stay calm. If water enters the tube, follow the equipment instructions from your guide. Most purge-valve snorkels clear with a firm exhale through the mouthpiece. If the problem continues, lift your face, reset, and ask for help instead of repeatedly swallowing water.
Your breathing pattern should support the float, not become another task to manage. Once the rhythm feels ordinary, your body usually settles closer to the surface.
Gear and guide support can fix floating problems
Good equipment doesn’t replace technique, but it removes problems that make technique harder. A leaking mask forces you to lift your head. Fins that don’t fit change your kick. A loose snorkel can pull against your mouth and make your neck tense.
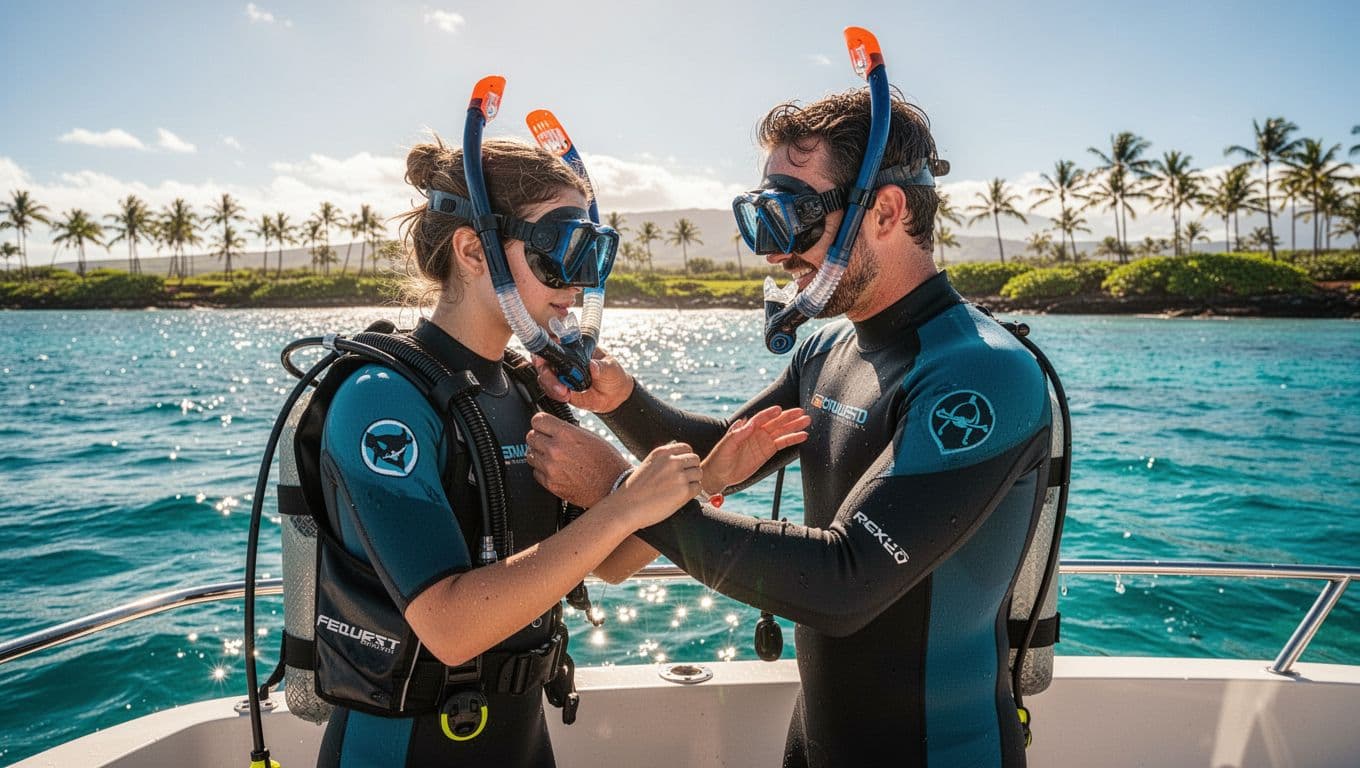
Before entering the water, ask your guide to check the mask seal and strap position. The strap usually sits around the widest part of the back of your head, not high on your crown. Tightening it too much can distort the silicone skirt and create leaks.
Fins should stay secure during a relaxed kick. You shouldn’t need to curl your toes to keep them on. If your feet feel cramped, tell the crew before you enter. A minor adjustment on the boat can prevent a tiring swim later.
Beginners may feel more comfortable with a flotation vest or another approved aid. Use it as support while you learn your position, not as a reason to ignore your breathing or group instructions. Ask how to adjust it so it doesn’t ride up around your neck.
Kona Snorkel Trips builds its guided outings around small groups, quality snorkeling equipment, and lifeguard-certified guides. The crew also teaches reef-safe habits, including keeping your hands and fins away from living coral. You can compare the company’s Big Island snorkeling tours before choosing an outing that matches your comfort level.
For a trip focused on Kealakekua Bay, the Captain Cook snorkeling tour includes guidance near the historic monument and reef habitat. A guide can point out where to slow down, how to avoid crowding other swimmers, and when to change direction.
Correct the mistakes that make your legs sink
The most common problem is a lifted head. You may raise your chin to see the coastline, your guide, or the swimmer ahead. That action pushes your hips down and makes your kick feel heavy. Return your eyes to the reef and allow your neck to follow the line of your spine.
Arms that paddle constantly create another problem. Many swimmers use their hands because they don’t trust the water to support them. Small corrections are fine, but continuous arm movement wastes energy and can disturb nearby marine life. Keep your hands still for several seconds and see whether your fins can provide enough movement.
Large bicycle kicks also increase fatigue. Bending your knees toward your chest creates drag and sends your fins downward instead of backward. Straighten your legs, soften your ankles, and use a smaller kick that begins near your hips.
If your hips continue to sink, take a normal inhale and press your upper chest slightly into the water. Do not arch your lower back or force your stomach downward. Your body should remain long and relaxed.
Legs that float too high can cause a different issue. The fins may slap the surface and create noise. Lower them with a gentle ankle adjustment rather than bending your knees. A quiet fin stays in the water and produces steadier movement.
Water inside the mask can also make you lift your face repeatedly. Stop, clear the mask according to your guide’s instructions, and check that hair isn’t trapped beneath the silicone skirt. If the seal still leaks, request a different mask.
Finally, don’t use the reef as a handrail or a place to stand. Coral can break under a single misplaced step, and lava rock can be sharp. A Big Island snorkeling safety guide also warns about sea urchin spines and uneven lava surfaces.
Practice the float before your Captain Cook trip
A swimming pool is a useful place to practice the basic position, especially if you haven’t snorkeled before. Use your mask and snorkel in the shallow end with a buddy nearby. First, place your face in the water and practice breathing without moving your arms or legs.
Next, extend your body and make ten small flutter kicks. Stop for a few seconds. Notice whether your hips remain near the surface. Repeat the pattern with smaller kicks until you can glide without feeling rushed.
Practice turning your head only when you need to breathe or communicate. Your snorkel lets you breathe while looking down, so you don’t need to rotate your whole body to find the reef. This habit will feel useful when you’re snorkeling Big Island reefs in clear water.
A shallow-water practice area can work if the bottom is sandy and a qualified adult stays with you. Don’t practice alone, near breaking waves, or above coral. Avoid putting your feet down unless your guide tells you that the bottom is clear and the location allows it.
Families should give children time to learn the mouthpiece before the tour. A child who dislikes the snorkel can practice with a face mask first, then add the tube when comfortable. Tell the guide about a child’s swimming experience, fear of deep water, or need for extra support.
Even confident swimmers should follow the guide’s boundaries. Ocean swimming differs from pool swimming because water movement, visibility, boats, and reef surfaces add new variables. Stay with your group and keep enough space to move without kicking another swimmer.
Plan for a comfortable Kealakekua Bay snorkel
If you want to snorkel Big Island waters, choose a trip that explains the entry process before you arrive. Ask whether you enter from a boat, what flotation equipment is available, which gear is included, and how guides handle changing conditions.
Wear a rash guard or other sun-protective clothing when possible. It reduces the amount of sunscreen that reaches the water. Apply reef-conscious sunscreen to exposed skin, and follow the operator’s guidance about products and timing.
Eat lightly and drink water before boarding. A heavy meal can make surface swimming uncomfortable, while dehydration can add to fatigue in the sun. Bring any medication you may need, and tell the crew about allergies or medical concerns before departure.
Kealakekua Bay has historical importance as well as marine life. Stay aware of the Captain Cook Monument and listen when your guide explains boundaries around the site. Respect the area by keeping your hands off the reef, avoiding contact with animals, and leaving shells and rocks where they are.
The best trip length depends on your comfort, fitness, and group. A private outing may suit you if you want more flexibility with rest breaks or need close attention. A small-group tour can provide guidance while keeping the experience social and personal.
Kona Snorkel Trips offers a Kealakekua Bay snorkel trip with a crew that prioritizes safety, fitted equipment, and reef education. If you’ve practiced the horizontal float and want to reserve a place, you can check availability.
Floating horizontally protects your energy and the reef
A relaxed horizontal position lets you breathe steadily, observe more marine life, and move with less effort during Captain Cook snorkeling. Keep your face down, chest slightly pressed into the water, hips near the surface, and fins moving in small strokes from the hips.
When your head rises or your kick grows too large, pause and reset instead of swimming harder. A fitted mask, comfortable fins, and clear guidance make the adjustment easier, especially when you are new to ocean conditions.
Once your body settles flat, the reef comes into view without a struggle. That calm, careful approach gives you a better experience and helps protect the living habitat beneath you.