
Underwater Video Settings for a Kona Manta Ray Snorkel
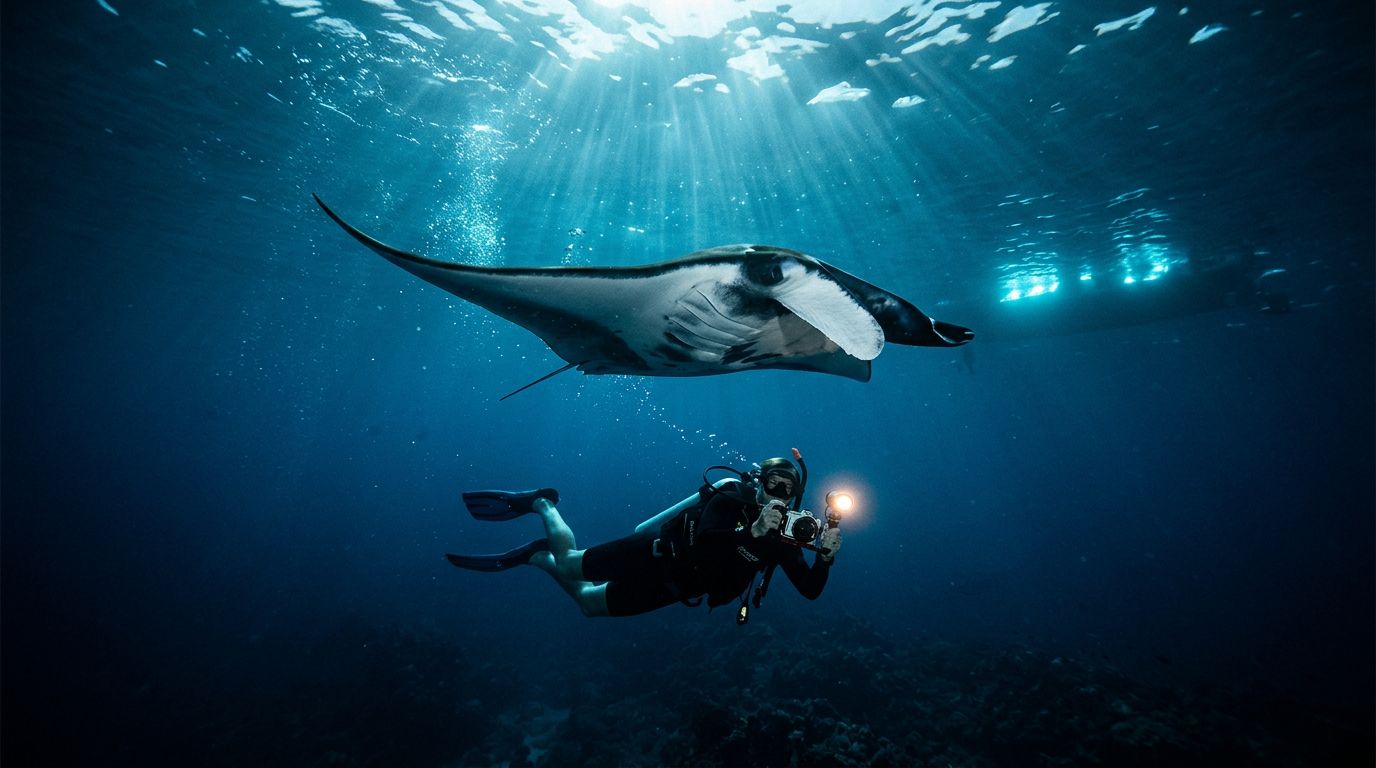
One calm manta pass can last only a few seconds, yet the right footage can preserve the entire encounter. Your underwater video settings need to handle darkness, moving wildlife, bright tour lights, and your own movement at the surface.
If you’re planning on snorkeling Big Island Hawaii, a simple setup usually works better than a complicated one. You need enough light, stable framing, natural color, and settings you can adjust quickly. Start with the camera preset below, then fine-tune it for your equipment and the conditions.
Best underwater video settings for a Kona manta ray snorkel
Night snorkeling creates a difficult filming environment. Your camera moves between dark open water, bright lighted boards, the ocean surface, and the pale underside of a manta ray. Automatic settings can handle some of those changes, but a few limits help prevent noisy or overexposed clips.
Use these settings as a practical starting point:
| Camera setting | Recommended starting point | Why it works |
|---|---|---|
| Resolution | 4K | Gives you room to crop and stabilize later |
| Frame rate | 30 fps | Captures motion while allowing more light |
| Shutter speed | Auto or 1/60 second | Keeps exposure usable in dark water |
| ISO maximum | 800, then test 1600 if needed | Limits grain while preserving brightness |
| Exposure compensation | 0 or -0.5 | Protects bright manta highlights and lights |
| White balance | Auto or underwater mode | Handles changing light more easily |
| Color profile | Natural or standard | Produces usable footage without heavy editing |
| Field of view | Wide | Keeps a full manta in the frame |
| Stabilization | Standard or low-light mode | Reduces shake without excessive cropping |
A 60 fps setting can make swimming movement look smooth, but it often requires a faster shutter. That can make nighttime footage too dark. Use 60 fps only when the lighted board or your camera light provides enough illumination.
At night, a higher frame rate does not automatically create better footage. It can force a faster shutter and leave your manta clips dark and grainy.
Your camera’s underwater mode may automatically adjust color and exposure. Test it before the trip because some modes apply strong sharpening or color correction. If you plan to edit in DaVinci Resolve, Final Cut Pro, or another editor, a natural profile gives you more control without making the original footage difficult to view.
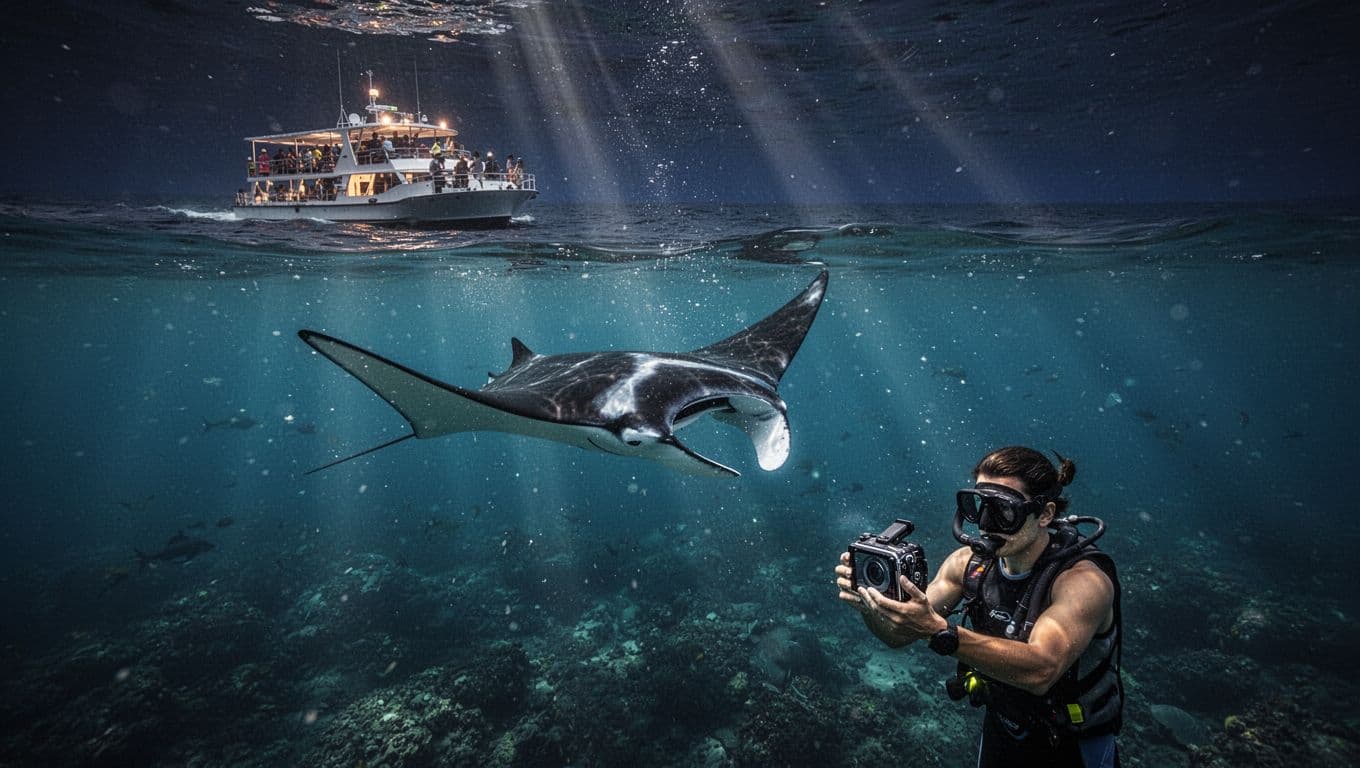
The most important setting is exposure. A slightly dark clip can often be improved. A white manta belly with blown-out highlights usually cannot be repaired.
Prepare your camera before entering the water
The best footage starts before you leave the harbor. Once you are floating in dark water, changing settings can distract you from the guide and the animals. Set up your camera on the boat, then record a short test clip before the group enters the water.
Charge every battery and bring a spare if your operator allows one. Cold water and continuous 4K recording can reduce battery life. Format your memory card before the trip, and confirm that it has enough space for several short clips.
A waterproof housing needs the same attention as the camera. Check the gasket for hair, sand, or salt crystals. Close the housing carefully and test every latch. A tiny leak can end your filming session and damage the camera.
Fog inside the housing is another common problem. Keep the camera and housing out of direct sun before entering the water. Anti-fog inserts can help, especially when warm air meets cooler ocean water. Avoid opening the housing after you board unless the crew gives you a dry, protected area.
Action cameras often produce soft or hazy footage when saltwater covers the lens. Clean the lens before entering, then rinse it with fresh water after the trip. Don’t wipe the lens with your fingers in the ocean because oils can create streaks and glare.
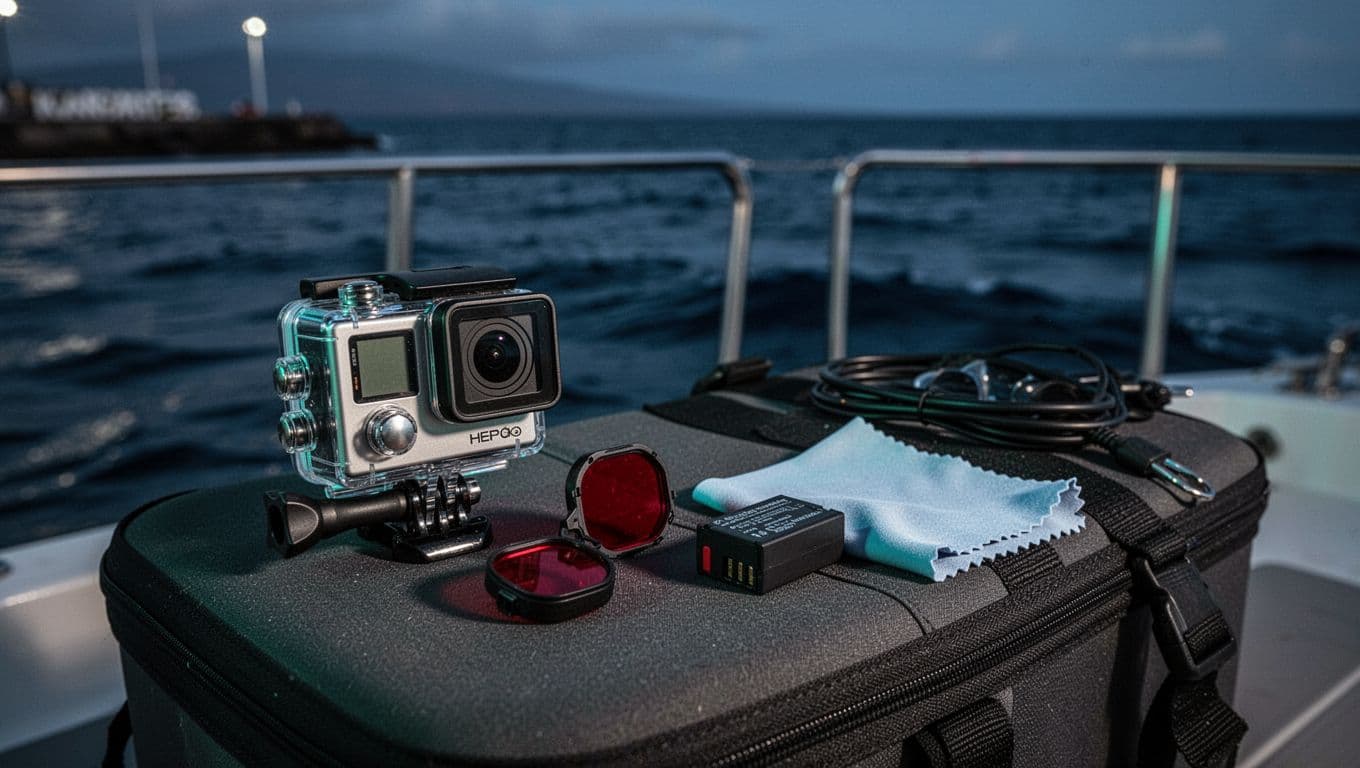
A red filter can restore warm colors during a daytime reef snorkel, but it usually isn’t the right choice for a nighttime manta encounter. Red light disappears quickly underwater, and the filter can remove light your camera needs. For dark water, remove the filter unless your specific lighting setup calls for one.
Before snorkeling Big Island waters, ask your guide how cameras and lights fit into the safety briefing. You should always be able to hear instructions, keep your airway clear, and move without the camera getting in the way.
Adjust exposure for darkness and tour lights
Manta tours often use bright lights to attract plankton near the surface. Those lights create the conditions that let you see the manta rays, but they also make exposure difficult. The center of your frame may look bright while the surrounding ocean looks nearly black.
Start with exposure compensation at 0. If the lighted board or manta underside appears washed out, lower it to -0.5. On some cameras, a setting between -0.5 and -1.0 works better when the light source fills much of the frame.
Keep ISO under control. ISO 800 is a sensible starting limit for many action cameras. If your clips remain too dark, test ISO 1600, but expect more visible noise. A noisy clip can look worse after you brighten it during editing.
Manual shutter control can help when your camera supports it. At 30 fps, 1/60 second is a useful starting point. If you set the shutter too fast, the camera receives less light. If you set it too slow, manta movement and your own motion can create blur.
White balance needs attention because the scene contains several light colors. Auto white balance may shift while you move between the boat lights and open water. If your camera has an underwater mode, test it first. A fixed temperature or custom white balance can work well, but only if you set it under the same lighting you will use during the snorkel.
The underwater white balance tips from Divevolk explain why color changes with depth and why frequent adjustments can matter. For an easier workflow, record a few clips with auto white balance and compare them with clips using your camera’s underwater preset.
Your built-in camera light may not reach far enough to illuminate a manta. Don’t point a bright light directly at the animal unless your guide approves it. Follow the crew’s instructions because wildlife viewing depends on calm, consistent behavior.
Frame manta rays without chasing them
A manta ray can fill your frame quickly. You may see the animal approaching from below, swim past the lighted board, and disappear into the dark water within moments. Start recording before the manta reaches you instead of trying to press the button during the closest part of the pass.
Use a wide field of view, but avoid digital zoom. A wide angle preserves the animal’s wingspan and gives you room to reframe later. Digital zoom removes detail, increases shake, and makes it easier to cut off a wingtip.
Keep the camera pointed slightly ahead of the manta’s direction. This creates open space in front of the animal and makes the clip feel more natural. If the manta turns toward you, lower the camera slightly so you capture its full body rather than only the underside.
Your body position affects the image as much as the camera settings. Keep your fins still, make small movements, and let the guide position the group. A stable snorkeler creates smoother footage than an expensive stabilization mode.
Never touch, block, chase, or corner a manta ray for a closer shot. The NOAA manta viewing guidelines provide a useful reference for respectful wildlife interactions. NOAA Fisheries also advises viewers to give marine animals space and allow them to move away freely in its giant manta conservation guidance.
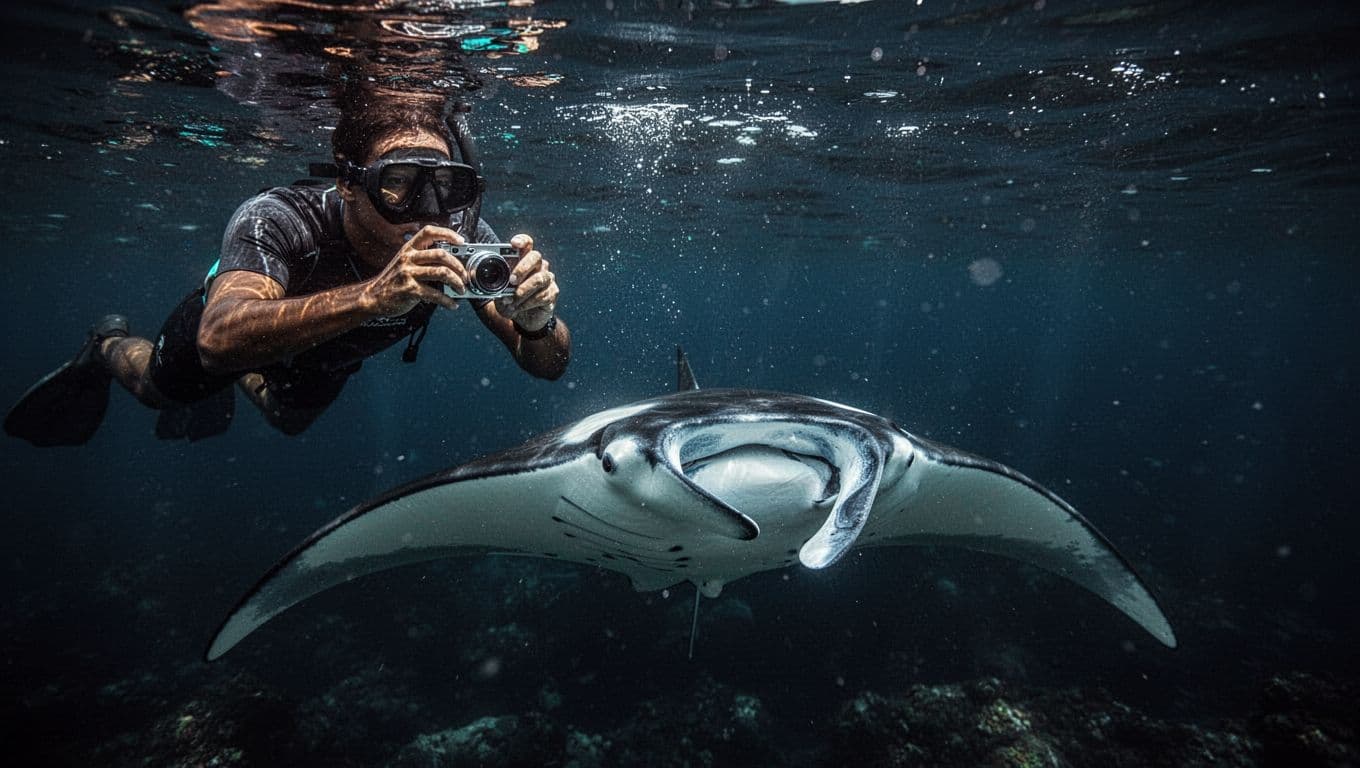
A good clip shows the manta moving naturally. Leave the animal room in the frame, and don’t swim after it when it turns away. Your guide’s instructions take priority over any shot you want to capture.
Choose a tour that supports safe filming
The boat, guide, and group size can affect your footage. A crowded lineup may make it harder to hold a steady position or keep other snorkelers out of the frame. A smaller group can give you more room to compose shots while still following the operator’s safety plan.
Kona Snorkel Trips is a Kailua-Kona ocean adventure company built around a “Reef to Rays” philosophy. Its tours focus on personal service, professional guidance, and responsible encounters with marine life. The operation uses high-quality snorkeling equipment and custom-built lighted boards for nighttime manta experiences. Lifeguard-certified guides lead the excursions and provide safety direction in the water.
For a manta-focused experience, you can also compare Manta Ray Night Snorkel Hawaii, another manta ray tour company serving visitors on the Big Island. Your choice should come down to the schedule, departure details, group experience, equipment, and the safety practices explained before you enter the water.
Kona Snorkel Trips also offers a Kona manta ray night snorkel, which fits travelers who want a guided nighttime encounter rather than an independent attempt to locate manta rays. Ask whether you can bring your own camera, whether waterproof cameras are available to rent, and where you can safely store personal gear.
If you want more control over timing and composition, a private Kona boat charter may suit your group. Private trips can make it easier to discuss camera plans with the crew before departure. You still need to follow the same wildlife rules and safety instructions.
When you book a manta trip with Kona Snorkel Trips, you can also check availability for the date and time that fit your plans.
Match settings to your camera
Different camera brands use different names for similar controls. The basic principles remain the same, but you should test your exact model before the trip.
GoPro cameras commonly offer manual exposure, ISO limits, color profiles, and stabilization controls. A practical GoPro starting point is 4K at 30 fps, an ISO maximum of 800, natural color, wide field of view, and standard stabilization. If the water looks too dark, raise the ISO limit before increasing the frame rate.
DJI Osmo Action cameras offer comparable exposure and color controls. Strong stabilization can crop the image and reduce available light in some conditions. Use a standard stabilization setting first, then review a test clip while the camera is still dry.
Insta360 cameras can capture a wide scene that you reframe later. That flexibility helps when a manta approaches from an unexpected direction. However, 360 footage requires more editing, and low-light scenes may show more noise or stitching issues. A traditional action camera is often easier when you want a quick, shareable clip.
A phone can work with a reliable underwater housing, but it creates more risks. Touchscreens respond poorly underwater, battery use can be high, and a loose case can ruin the device. If you use a phone, set the recording mode before entering the water and lock the screen if the housing allows it.
You don’t need the most expensive camera to snorkel Big Island reefs. A clean lens, stable position, correct exposure, and a full battery matter more than a long list of advanced settings.
Record footage that is easier to edit
Short clips are easier to review and share than one uninterrupted recording. Start before a manta enters the light, hold the frame steady, and continue for several seconds after the animal passes. This gives you clean openings and endings during editing.
Avoid switching settings while the manta is in front of you. Sudden exposure changes can create visible brightness shifts. Choose your preset before the encounter, then focus on framing and safe body position.
Underwater footage often has too much cyan or blue. Adjust color gently in your editing software. Lower blue or cyan saturation if needed, add a small amount of warmth, and protect the highlights on the manta’s underside. Heavy color correction can make the water look artificial and create strange skin tones on swimmers.
Sharpening also needs restraint. Water already reduces fine detail, and aggressive sharpening can make backscatter, bubbles, and image noise more obvious. Start with a small adjustment and compare the clip at full size.
The Reef Photo guide to underwater video color includes practical advice on filters and manual white balance. Its central lesson applies to manta footage too: color correction works best when you begin with a properly exposed clip.
Most underwater audio consists of bubbles, boat noise, and muffled voices. Keep natural sound when it adds atmosphere, but don’t expect clear conversation. If you add music, keep the volume low enough that the ocean still feels present.
Common mistakes that ruin manta footage
A few habits cause most disappointing clips:
- Recording in 1080p at a high frame rate can leave you with less detail and a darker image than 4K at 30 fps.
- Leaving a red filter attached at night can remove valuable light and create muddy footage.
- Using digital zoom makes the manta look closer while reducing detail and increasing shake.
- Pointing the camera directly into a bright light source can create glare and washed-out highlights.
- Holding the camera above your head for the entire encounter makes your arms tired and creates unstable footage.
- Chasing a manta after it turns away can disturb the animal and put you out of position.
- Forgetting to clean the lens creates hazy spots that look like a camera problem.
- Changing white balance, ISO, and shutter speed repeatedly can produce clips that don’t match during editing.
Give yourself time to practice with the camera in shallow water or on a daytime reef trip. A Kealakekua Bay snorkeling tour can give you a chance to learn how your housing, stabilization, and color settings behave in brighter water before you film at night.
Good planning also makes snorkeling Big Island conditions more enjoyable. You can spend less time looking at buttons and more time watching the manta’s wings move through the light.
Conclusion
The best underwater video settings for a Kona manta ray snorkel favor usable light and steady movement. Start with 4K at 30 fps, wide framing, a controlled ISO limit, natural color, and modest stabilization. Then adjust exposure to protect the manta’s pale underside and the brightest tour lights.
Your camera should support the experience rather than distract from it. Prepare the housing on the boat, record short clips, keep a respectful distance, and follow your guide’s instructions. With those habits, even a compact action camera can capture the quiet beauty of a manta passing through Kona’s nighttime water.