
Captain Cook Snorkeling With an Ostomy: Plan With Confidence
An ostomy doesn’t automatically keep you out of the water, and Captain Cook snorkeling can fit into your Big Island trip with the right preparation. The key is a healed surgical site, a pouching system you trust, and a practical plan for heat, output, leaks, and getting back aboard.
Kealakekua Bay is easiest for many visitors by boat. That makes the day convenient, but it also means you should settle medical and boarding details before departure. This guide helps you decide if the outing fits your routine and prepare without spending your whole vacation worrying about your appliance.
Can You Go Captain Cook Snorkeling With an Ostomy?
In most cases, yes. People with a colostomy, ileostomy, or urostomy can swim when their surgical site has healed and their pouching system fits securely. Salt water won’t harm the stoma, and a properly attached appliance is designed to resist water.
The United Ostomy Associations of America swimming guidance explains that water won’t enter the stoma through a secure pouching system. UChicago Medicine also confirms that salt water, fresh water, and chlorinated water are generally compatible with an ostomy.
For a boat excursion, keep your pouch in place unless your own stoma nurse or surgeon has given you different instructions. Empty it before entering the water, and don’t wait until the last minute to apply a new barrier. A pouch that’s already bonded to clean, dry skin gives you more confidence than one applied on the dock.
You should also feel comfortable swimming without overexertion. Snorkeling usually involves floating, kicking, climbing a boat ladder, and handling changing conditions. If you need regular rest, extra flotation, or help boarding, plan those details before you reserve.
Kona Snorkel Trips is a Kailua-Kona ocean adventure company built around a “Reef to Rays” philosophy. Its small-group tours focus on safety, quality equipment, lifeguard-certified guides, reef education, and responsible ocean practices. You can review its Big Island snorkeling tours while considering which format fits your needs.
Get Medical Clearance Before You Book
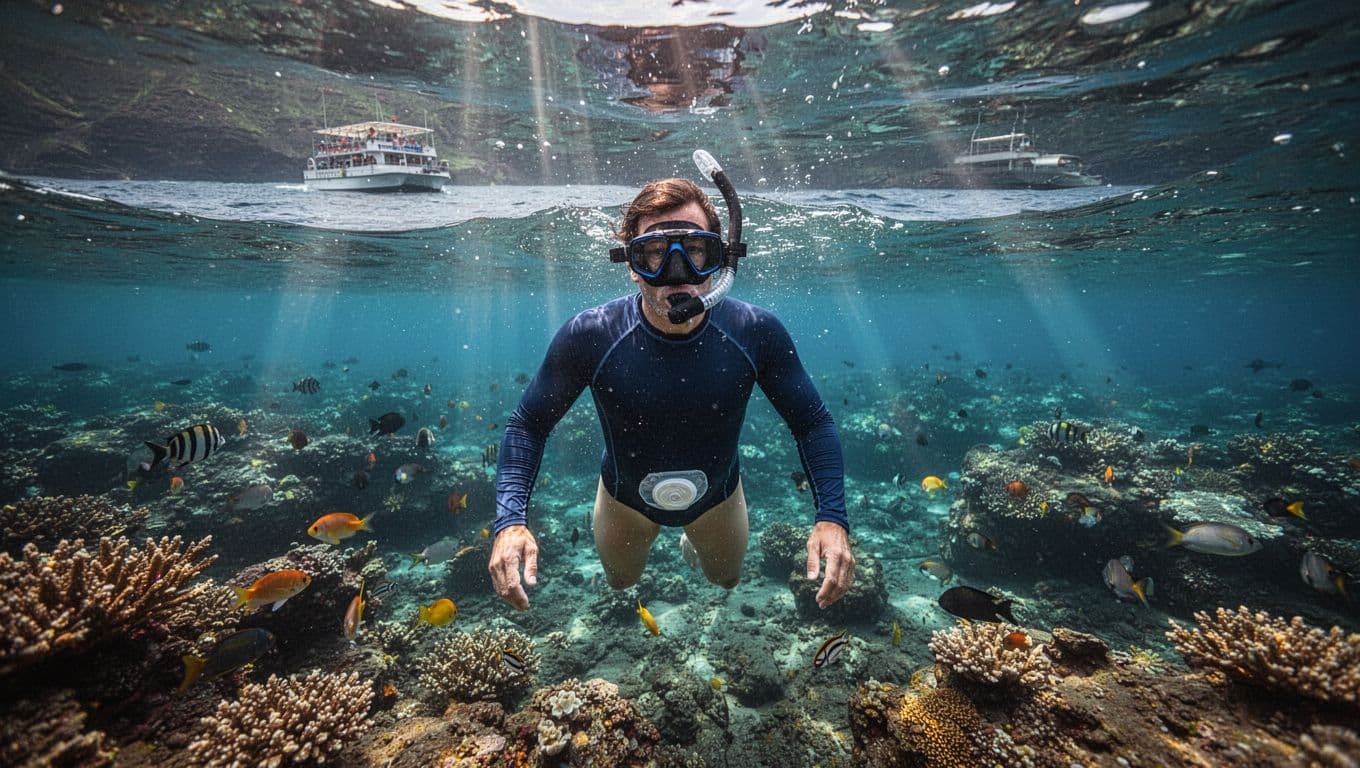
Your stoma-care team should have the final say if you’ve had surgery recently, developed a hernia, or experienced skin problems. Many people return to swimming after the abdominal wound heals, often around six to eight weeks, but your recovery may follow a different timeline.
Ask your surgeon or ostomy nurse whether you are ready for:
- Salt-water swimming and repeated appliance exposure.
- Climbing a boat ladder or stepping across a moving deck.
- Wearing a swim belt, rash guard, or support garment.
- Managing output during a warm, active day.
- Traveling if you have fragile skin or a healing incision.
Your stoma type also affects your planning. An ileostomy can create a higher dehydration risk, especially if output is loose or frequent. A urostomy may require different pouch management. A parastomal hernia, recent appliance change, or recurring skin irritation deserves individual advice before you enter the ocean.
A search for “snorkeling Big Island Hawaii” often begins with visibility, fish, and reef locations. Your first question should be whether the trip matches your current health and care routine. The best day on the water is one where you can pay attention to the reef instead of worrying about an appliance that hasn’t settled.
Don’t schedule the tour if you have an unhealed incision, severe skin breakdown, unexplained bleeding, or a pouch that keeps leaking. Continuous nausea, vomiting, dizziness, or severe watery output also calls for medical attention rather than a swim.
Choose a Kealakekua Bay Tour That Fits Your Needs
Kealakekua Bay sits about 13 miles south of Kona. The Napoopoo turnoff near Highway 11’s mile marker 111 leads toward the bay, but reaching the best snorkeling area by land requires planning, a hike, or a kayak. For many travelers with an ostomy, a guided boat is the simpler option because you avoid carrying supplies over a shoreline route.
The boat still has its own practical details. Ask the operator about boarding steps, ladder height, shade, dry storage, bathroom access, drinking water, flotation equipment, and the time between entering the water and returning to the harbor. You should also ask what happens if you need to leave the water early.
A small group can make a private conversation easier. You don’t need to discuss your medical history with everyone. Instead, tell the captain or lead guide that you have an ostomy and may need a little extra time boarding, resting, or checking your pouch. The crew may not be medical professionals, but they can understand your needs and explain the boat’s layout.
Kona Snorkel Trips offers guided Captain Cook trips to Kealakekua Bay with snorkeling equipment and experienced guides who discuss marine life and local history. Its Captain Cook snorkeling tour is worth reviewing if you want a guided route near the historic monument.
Captain Cook Snorkeling Tours is another company focused on this destination. You can view its Captain Cook snorkeling tours and ask direct questions about boarding, group size, rest breaks, and onboard facilities before booking.
If you need greater control over timing or privacy, consider a private Kona boat charter. A private trip may make it easier to discuss a slower entry or an early return, but it doesn’t replace medical planning or a secure pouch.
Kona Snorkel Trips’ guest reviews can give you a sense of how travelers describe the guides, boat, equipment, and overall experience. Use reviews alongside a direct conversation about your ostomy-related questions.
When the route, boarding process, and your care plan all fit, you can check avaialbility for a Captain Cook outing.
Prepare Your Pouch for Salt Water
Your pouching routine matters more than the brand or style of swimwear you choose. Follow the same process that works at home, then give the appliance enough time to bond before you board.
Apply a new barrier or pouch several hours before swimming when possible. Ostomy care guidance commonly recommends allowing two to four hours for the system to warm against your skin and develop a stronger seal.
Apply a new appliance before the boat day, not while the engine is running at the dock.
Wash the skin around the stoma with the products you normally use. Let it dry fully, and keep oils, moisturizer, and sunscreen away from the area under the barrier. Even a small amount of residue can affect adhesion.
Before you leave, check the edges of the baseplate. If you routinely use waterproof tape or barrier strips, you can frame the outer edge for extra support. Avoid trying a new product for the first time on your vacation. A familiar system is easier to troubleshoot.
Empty the pouch before swimming. If you use a drainable pouch with a filter, cover the filter with its sticker before entering the water and remove the sticker after the pouch dries. A support belt, swim wrap, or high-waisted swimwear can provide extra comfort, but none is required if your system already feels secure.
Modern appliances are water-resistant, but no seal lasts forever. Long exposure, movement, heat, and an imperfect fit can still cause an edge to lift. Check your system before you enter, and don’t ignore a corner that already looks loose.
Pack a Boat-Day Ostomy Kit
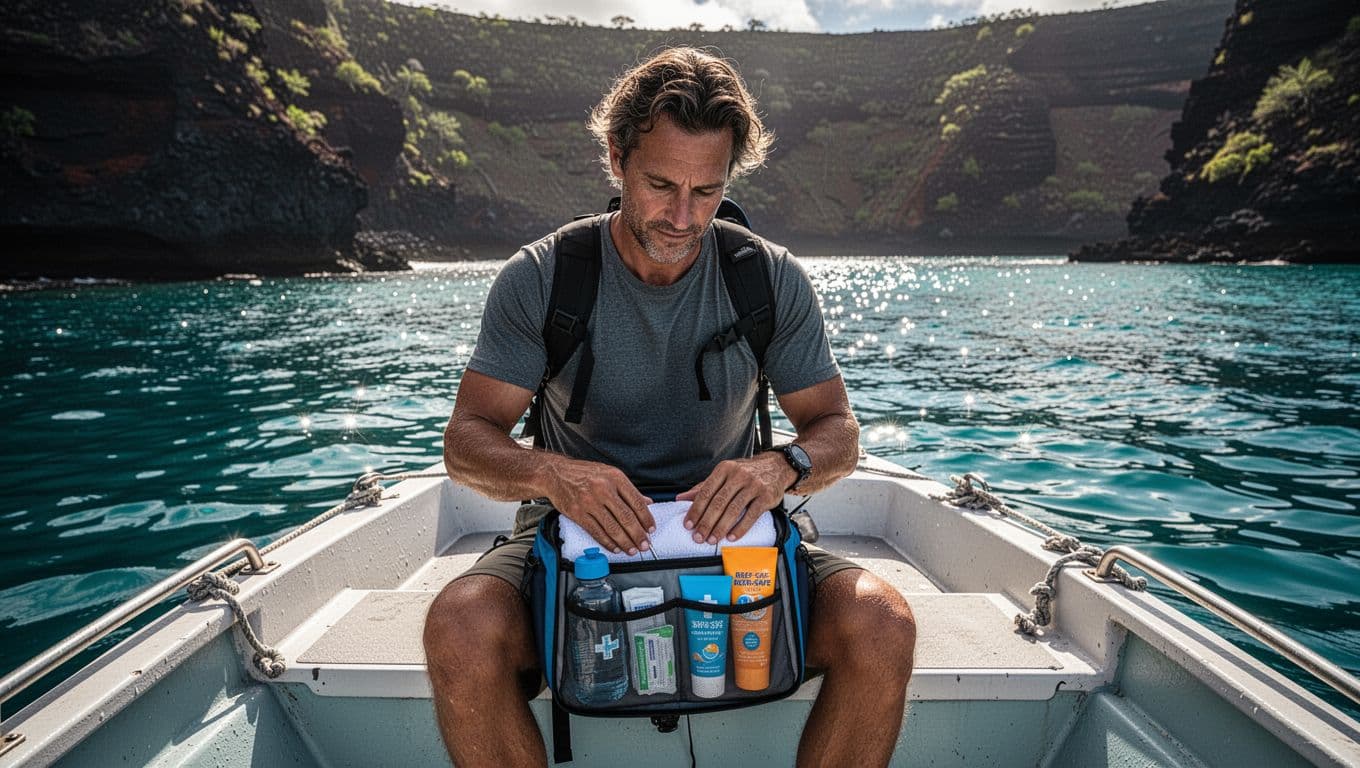
Keep your supplies in a small dry bag that stays within reach. Don’t put your only replacement pouch in luggage stored below deck or in a vehicle.
Bring at least one complete change, and consider packing about twice the amount you expect to use. Your kit can include:
- A spare pouch and skin barrier in your usual size.
- Barrier rings, waterproof strips, or other products you already know work.
- Adhesive remover and skin-prep supplies.
- Disposable bags for used materials.
- A small towel, clean shirt, and dry swimwear.
- Approved medication for output changes, nausea, or dehydration.
- A backup phone, emergency contact information, and your clinician’s details.
The UOAA travel and TSA guidance recommends carrying extra ostomy supplies and dividing them between bags during air travel. Keep the most important items in your carry-on, not only in checked luggage.
For the boat, add water, sunglasses, a hat, reef-safe sunscreen, and a rash guard. Apply sunscreen around the appliance rather than underneath the barrier. A rash guard also reduces sun exposure while you float, which helps you spend less time reapplying products near your pouch.
Pack supplies in their original packaging when possible. If you use scissors to cut a barrier, prepare several pieces before traveling or carry them according to current airport security rules. The Coloplast ostomy travel guide also recommends planning ahead for hydration and travel supplies.
Manage Heat, Hydration, Food, and Activity
A Hawaiian boat trip combines sun, salt water, movement, and time away from your usual bathroom routine. Drink regularly before and during the excursion instead of waiting until you feel thirsty.
If you have an ileostomy or a history of high output, ask your clinician how much fluid and electrolyte replacement you need. Don’t experiment with a new rehydration product on the morning of the tour. Use a plan you’ve already tolerated.
Eat a familiar, light meal before boarding if that matches your normal routine. A large meal, unfamiliar food, or foods that increase gas can make the ride less comfortable. Give yourself enough time to use the bathroom and empty your pouch before leaving your hotel.
Keep approved medications in your dry bag. That may include products your clinician has already recommended for diarrhea, constipation, nausea, or dehydration. Avoid taking something new solely because you’re worried about output.
For snorkeling Big Island waters, reef-safe sun protection matters for both your skin and the marine environment. Apply sunscreen well away from the pouching area, and use clothing for coverage around the appliance. Alcohol can worsen dehydration, so save celebratory drinks for after you return and have rehydrated.
You don’t need to prove anything in the water. Floating near the boat can offer an excellent view of reef fish, coral, and clear blue water. If fatigue starts building, signal the guide and return aboard before you feel depleted.
Follow a Calm Water Plan, Then Check Your Appliance
Before entering Kealakekua Bay, confirm that your mask fits and your fins feel secure. Use the flotation equipment offered by the crew, especially if you aren’t a strong swimmer or the water feels more active than expected.
Tell your guide where you plan to enter and stay within the designated area. Use a buddy system, keep the boat in sight, and avoid swimming farther than you can comfortably return. You can snorkel Big Island reefs without diving deeply or staying in the water for the entire tour.
Ocean conditions can change quickly. Even a protected bay may have chop, surge, current, or a difficult ladder exit. If the captain delays entry because of conditions, treat that as a safety decision rather than a lost opportunity. Good snorkeling Big Island conditions still require careful judgment at the waterline.
Stop immediately if you feel dizzy, weak, nauseated, unusually thirsty, or short of breath. Also leave the water if you feel warmth, movement, or moisture under the appliance. A leak is easier to manage on the boat than after the seal has failed completely.
Once you’re aboard, sit in the shade if possible and inspect the pouch edge. If the seal remains intact, you may not need to change the appliance immediately. Pat it dry, check for lifting, and follow your normal routine when you have a private, clean space.
Don’t wait to seek medical help for severe or persistent symptoms. UOAA guidance identifies severe skin irritation or ulcers, an unusual change in stoma appearance, severe watery output lasting more than five or six hours, and continuous nausea or vomiting as warning signs. Your own clinician may give you additional instructions.

Conclusion
An ostomy doesn’t have to end your Captain Cook snorkeling plans. You can make the outing more comfortable by waiting until your surgical site has healed, using a pouching system you trust, packing extra supplies, managing hydration, and discussing your needs with the operator before boarding.
Kealakekua Bay rewards a calm approach. Prepare your appliance early, choose a tour with practical support, and leave the water before fatigue or leakage becomes a problem. With those decisions made in advance, you can focus on the reef, the clear Pacific water, and the experience you came to Hawaii to enjoy.