
Manta Ray Snorkeling: Submit Your Sighting Photo
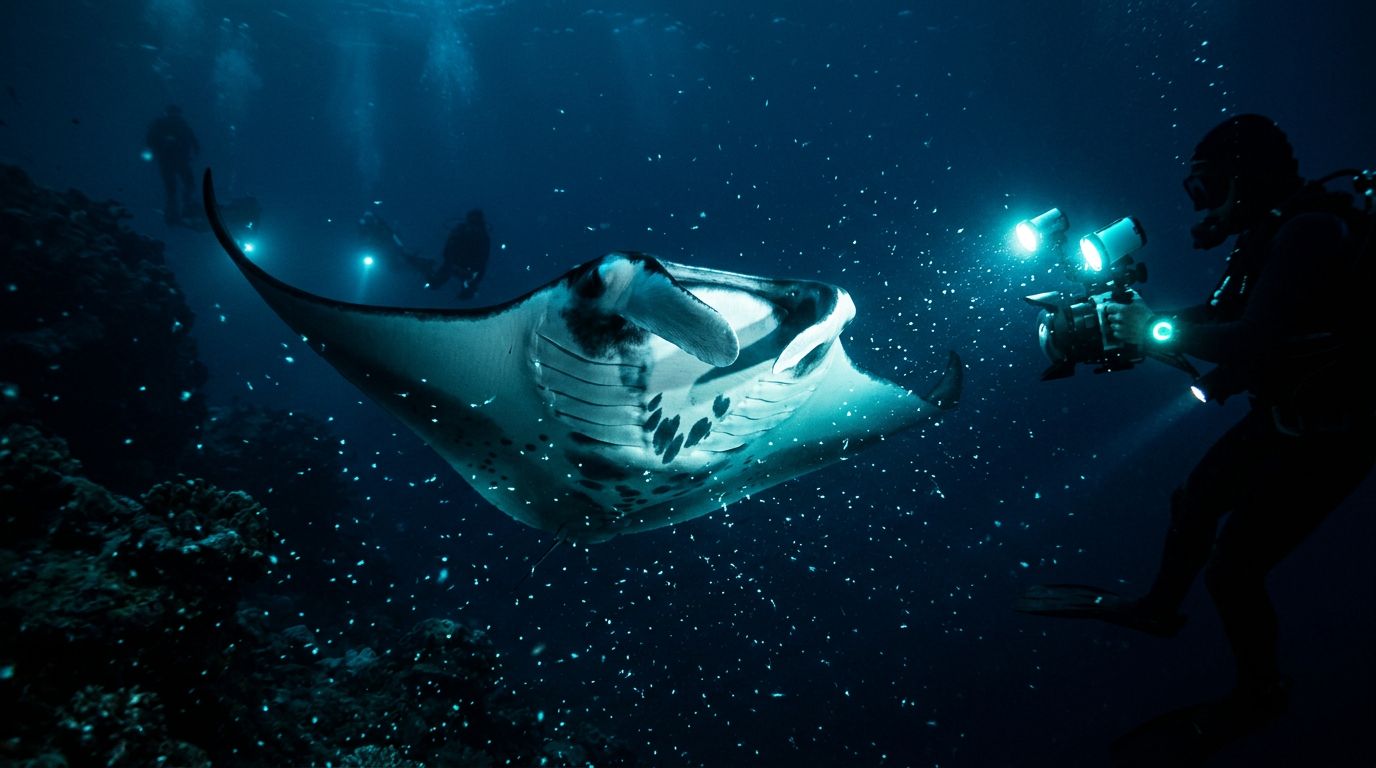
One clear image from manta ray snorkeling can help identify an individual animal long after your Hawaii vacation ends. If you’re planning a night on the Kona coast, Kona Snorkel Trips combines small-group guidance, custom lighted boards, and reef-safe practices. For a dedicated nighttime outing, Manta Ray Night Snorkel Hawaii offers another manta-focused option.
Submitting your photo is simple, but a dark, cropped image without a date or location gives researchers little to work with. Follow the right upload process, include useful details, and protect the manta’s space while taking photos.
Why Submit a Manta Sighting Photo?
A manta encounter can last only a few minutes, yet your photo may support identification work for years. Researchers and conservation groups compare markings, locations, and behavior to learn more about individual rays and local populations.
Individual mantas have recognizable markings
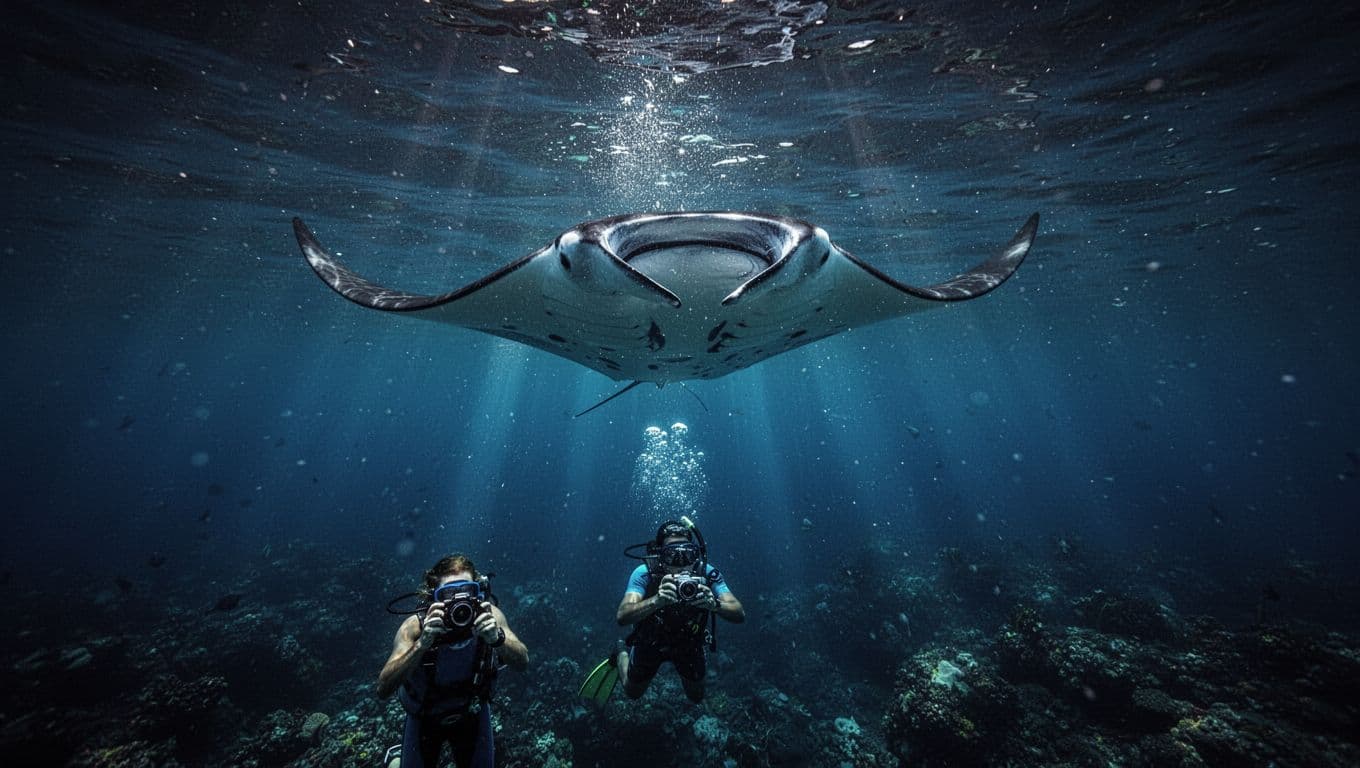
The underside of a manta ray contains a unique pattern of dark spots and patches. Researchers often call this pattern a “bellyprint.” It works much like a fingerprint because the markings can help distinguish one animal from another.
A clear underside photo is especially useful when it shows the full belly area. Even if the image isn’t perfect, it may reveal enough detail for a match in an identification database.
NOAA has reported that reef manta rays in Hawaii can form small, genetically distinct populations. You can read more about that finding in its reef manta ray genetic study. Local sightings help add context to that broader research.
Your details make the photo more useful
A photo alone can’t tell researchers when, where, or how you saw the animal. Add the date, approximate time, location, and the type of encounter.
For example, say whether you saw the manta during a guided night snorkel near Kailua-Kona, from shore, or during a daytime reef outing. Mention whether the animal appeared healthy, had a visible injury, or showed unusual behavior.
Hawaii’s Department of Land and Natural Resources has also encouraged the public to submit past and future oceanic manta sightings. Your report can still help even when you don’t know the animal’s name or species.
Manta ray snorkeling: choose the right submission route
Several active projects accept manta photos. For a sighting in Hawaii, start with the Hawaii-focused option before sending the same image to a broader international database.
Start with the Manta Pacific Research Foundation
The Manta Pacific Research Foundation, or MPRF, runs the Manta Ray ID Project for Hawaii sightings. Its Report A Sighting form accepts manta photos and sighting information from the Big Island and other Hawaiian islands.
The form allows multiple photo uploads. It also gives you a place to add manta names if you already know the animal. Use the clearest image first, then add additional views that show the belly, wing tips, scars, or other useful markings.
MPRF asks you to confirm that you own or created the images. If a guide, boat photographer, or another traveler took the photo, ask for permission before uploading it under your name.
Consider a second database when appropriate
MantaMatcher is a broader photo-identification platform. It asks for an image or video of the manta’s bellyprint, along with when and where you saw it. You can also add the species or sex if you know those details.
The Manta Ray Tracker app accepts personal manta photos and sighting information. Manta Ray Advocates also maintains a Big Island-focused community database and accepts information about known or unidentified mantas.
You don’t need to send the same image everywhere. Start with MPRF for a Hawaii sighting, then use another database when it offers a useful second record or a different identification service. The Kona manta project is also listed through SciStarter’s manta ray research page.
What Makes a Manta Photo Useful?
The best research photo isn’t always the most artistic one. Identification depends on visible markings, a stable frame, and enough surrounding detail to understand the encounter.
Show the underside whenever possible
Try to photograph the manta from below or at a diagonal angle that includes its belly. A full-body view is more helpful than a close crop of one wing.
If the manta turns, take several photos rather than relying on a single frame. One image may show the central belly pattern, while another reveals a scar or unusual marking near the tail.
Avoid heavy filters. Strong color adjustments can change the appearance of natural markings and make comparison harder. Keep the original file, even if you also create a brighter copy for your personal album.
A sharp photo of the underside usually has more identification value than a dramatic photo that shows only the manta’s back.
Use steady framing and gentle lighting
At night, hold your camera steady and let the guide’s lighting illuminate the animal. Wide-angle settings usually work better because mantas can swim close to you.
Don’t chase the manta to fill the frame. Keep your body still and let the animal choose its path. A calm position gives you better footage and reduces stress for the animal.
Avoid flash photography. Current Kona guidance also prohibits strobes in the manta viewing environment because sudden bursts of light can disturb the animals. If you use a camera light, follow the guide’s instructions and keep the setting appropriate for the site.
NOAA explains that manta photos can help identify individual animals. Its giant manta conservation guidance also gives reporting information for manta encounters and conservation concerns.
Prepare Your Files Before You Upload
A few minutes of file preparation can prevent confusion later. Do this after you return to shore, when you have a stable internet connection and time to check each image.
Keep the original image
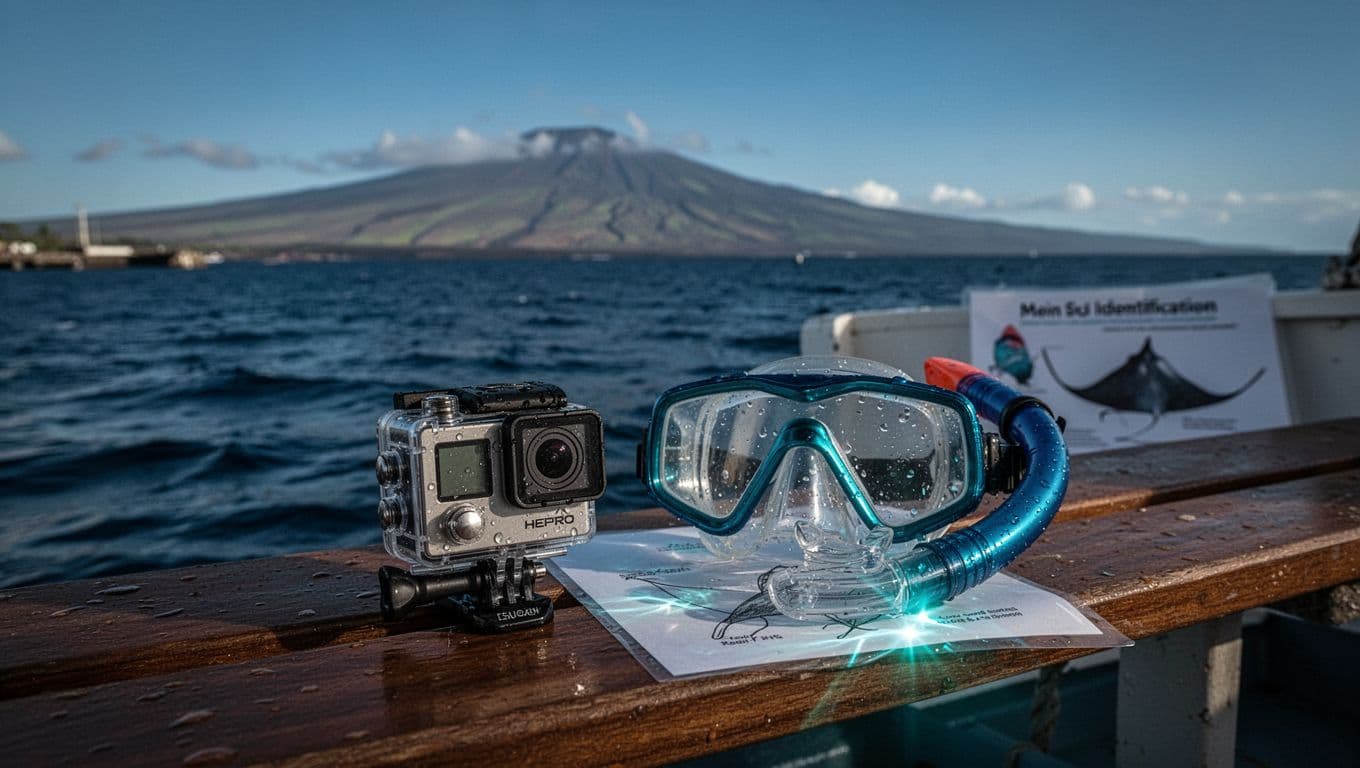
Save the original photo or video before editing. Don’t rely only on a compressed social media copy because apps often remove detail and metadata.
Create a separate folder for the encounter. Include the original files, edited copies, and any notes you wrote on the boat. If your camera records video, save short clips that show the belly pattern or unusual behavior.
The MPRF sighting page accepts JPEG and PNG image files. Convert files only when needed, and check that the conversion hasn’t blurred the manta’s markings.
Confirm image ownership and consent
Upload photos you took yourself or photos you have permission to use. A guide or boat photographer may retain ownership of images taken during your tour, even if you appear in the frame.
If another person shares a photo with you, ask whether you may submit it to a research database. Keep the photographer’s name and contact information with your notes. MPRF’s submission agreement asks you to confirm your rights to the images.
Avoid adding visible text, stickers, or large watermarks across the manta. If you need to identify the file, use the upload form’s description field instead.
How to Submit Your Big Island Sighting
The process takes only a few steps when your photo and notes are ready.
Use the MPRF report form first
Open the Manta Pacific Research Foundation’s sighting form and work through the fields carefully. You can:
- Upload one or more JPEG or PNG images.
- Enter the date and location of the sighting.
- Add the manta’s name if you know it.
- Describe the encounter and any unusual details.
- Confirm your image ownership before submitting.
Use a recognizable location name, such as Kailua-Kona, Garden Eel Cove, or the general area where you entered the water. If you don’t know the exact site, say so and provide the closest landmark or harbor.
Avoid guessing the species or sex. Add those details only when you know them or when the form allows you to mark them as uncertain. An accurate “unknown” is more useful than a confident mistake.
Use another route for special situations
A second report can make sense when your photo shows an injury, entanglement, or unusual condition. For an animal in immediate danger, contact the NOAA Marine Wildlife Hotline at 888-256-9840 before focusing on a routine photo submission.
NOAA also lists [email protected] for giant manta reports. Use the Hawaii-focused MPRF form for standard reef manta sightings, and include the NOAA route when the situation involves a conservation concern or a possible giant manta.
You can also submit to MantaMatcher or Manta Ray Tracker if you want a wider comparison. Keep your descriptions consistent across forms so the same sighting doesn’t appear to contain conflicting information.
Record the Details Behind Your Photo
Your memory fades quickly after a nighttime ocean encounter. Write down the key facts as soon as you return to the dock.
Capture the basic sighting information
Use this quick reference while completing the report:
| Detail | What to record |
|---|---|
| Date | The day you saw the manta |
| Time | Approximate local time, such as after sunset |
| Location | Site, beach, harbor, or nearest landmark |
| Camera position | Above, below, side angle, or surface view |
| Number of mantas | The number visible during the encounter |
| Animal markings | Belly spots, scars, missing tissue, or unusual marks |
| Water conditions | Clear, cloudy, calm, surge, or strong current |
| Photographer | Your name or the permitted photographer’s name |
The exact location matters because manta sightings can reveal patterns in site use. A photo without a location may still support identification, but it gives researchers less information about where that animal travels.
Describe behavior without exaggerating
Write what you saw in plain language. You might mention that the manta made repeated passes, circled a lighted board, fed near the surface, or moved away after another swimmer approached.
Include unusual details such as a visible injury, fishing line, missing section of wing, or abnormal swimming motion. Don’t diagnose the animal. Describe the visible fact and let researchers interpret it.
If you saw more than one manta, note whether you photographed the same animal repeatedly or several different rays. A guide may know individual mantas by name, so include that name only if someone identified it during the encounter.
Protect the Manta While Taking Photos
A sighting photo should never come at the animal’s expense. Mantas are wild animals, and their behavior can change when swimmers crowd, touch, or chase them.
Let the manta choose the distance
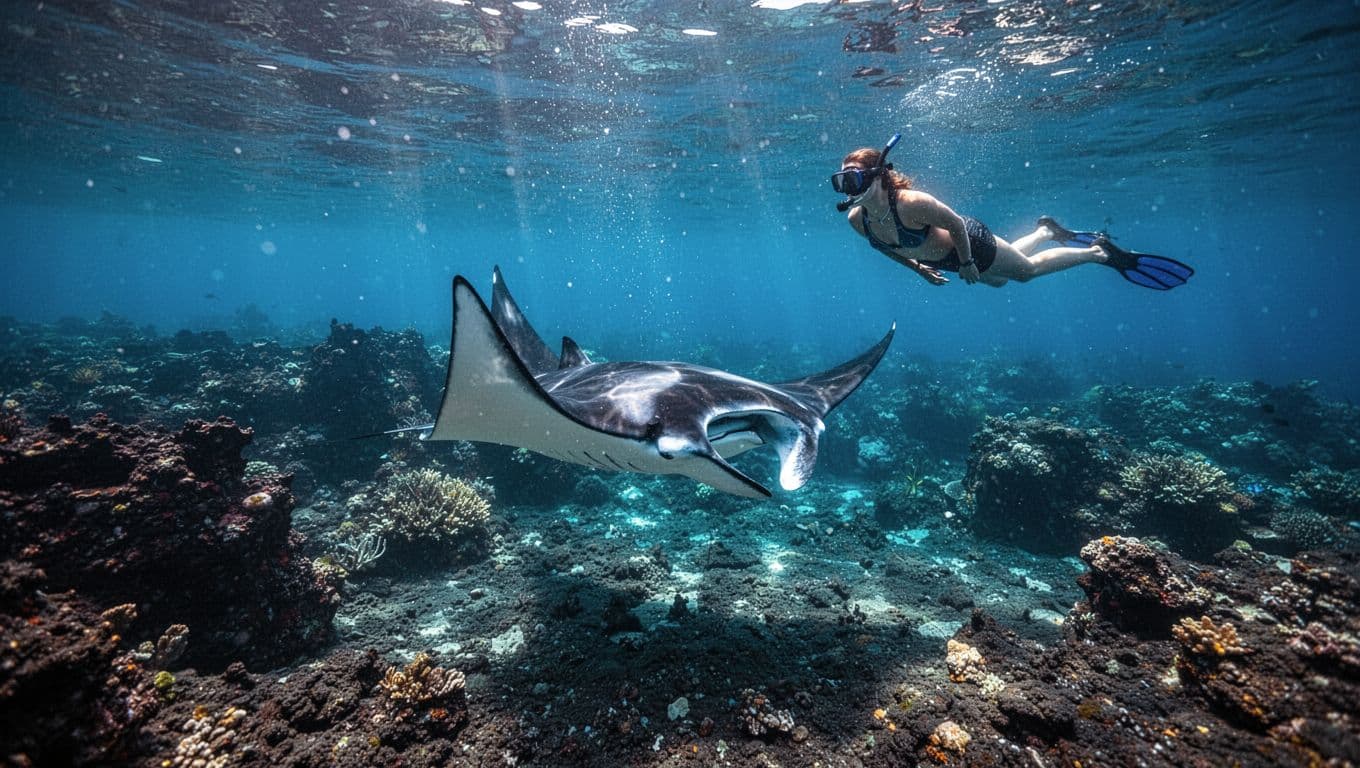
Stay still, keep your fins behind you, and avoid reaching toward the manta. Never touch, ride, block, or feed it.
At a guided night site, remain in the position your guide gives you. The manta may pass directly below, turn away, or leave the area. Accepting that change protects the animal and often produces a more natural photograph.
Keep your breathing calm and avoid splashing. Sudden movement can disturb the manta and make the image less stable.
Follow the site’s lighting rules
Use only the lighting approved by your guide. Kona manta sites use carefully positioned lights to attract plankton, which brings mantas close to the viewing area. Extra strobes and powerful flashes can create glare, backscatter, and stress.
Reef-safe sunscreen, careful fin control, and a clean mask also matter. Don’t stand on coral or drag equipment across the reef while trying to frame a shot.
If conditions become rough or visibility drops, put the camera away. Your safety takes priority over a single image, and a later frame isn’t worth losing control in the water.
How a Guided Kona Outing Can Help
A guided trip gives you more control over the encounter before you ever upload a photo. You can ask about camera settings, lighting rules, animal distance, and the location details you’ll need for your report.
Choose a guide who puts safety first
Kona Snorkel Trips follows a “Reef to Rays” philosophy, with small-group ocean adventures led by Lifeguard Certified guides. The team provides well-maintained snorkeling gear and custom-built lighted boards for nighttime manta encounters.
You can review the Kona manta ray night snorkel before choosing a trip. The Big Island snorkeling tours page also includes other guided ocean options.
Ask your guide where to position yourself, whether your camera light is allowed, and which location name to use in the sighting form. Those answers can make your report more accurate.
When you’re ready to plan a guided outing, you can check availability.
Build the rest of your ocean itinerary
You may have searched for “snorkeling Big Island Hawaii” while comparing water activities. Keep the rest of your schedule flexible so you can enjoy different conditions and marine habitats.
You can snorkel Big Island reefs during the day, visit Kealakekua Bay on a Captain Cook snorkeling tour, or look for seasonal humpbacks on Kona whale watching tours. For snorkeling Big Island sites with your own group, private Kona boat charters can give you a more flexible schedule.
If the manta encounter is your main goal, you can check availability for a dedicated night trip.
Give Your Manta Photo a Longer Life
Before you leave the boat, remember the details that a research form will ask for. Save the original image, confirm that you can share it, and write down the location while the encounter is fresh.
A clear underside photo, accurate sighting information, and respectful viewing habits give your submission the greatest value. You may have set out for a memorable night in the water, but a well-documented encounter can also help researchers recognize and monitor Hawaii’s manta rays.