
Kealakekua Bay Snorkeling: Find Your Way Underwater
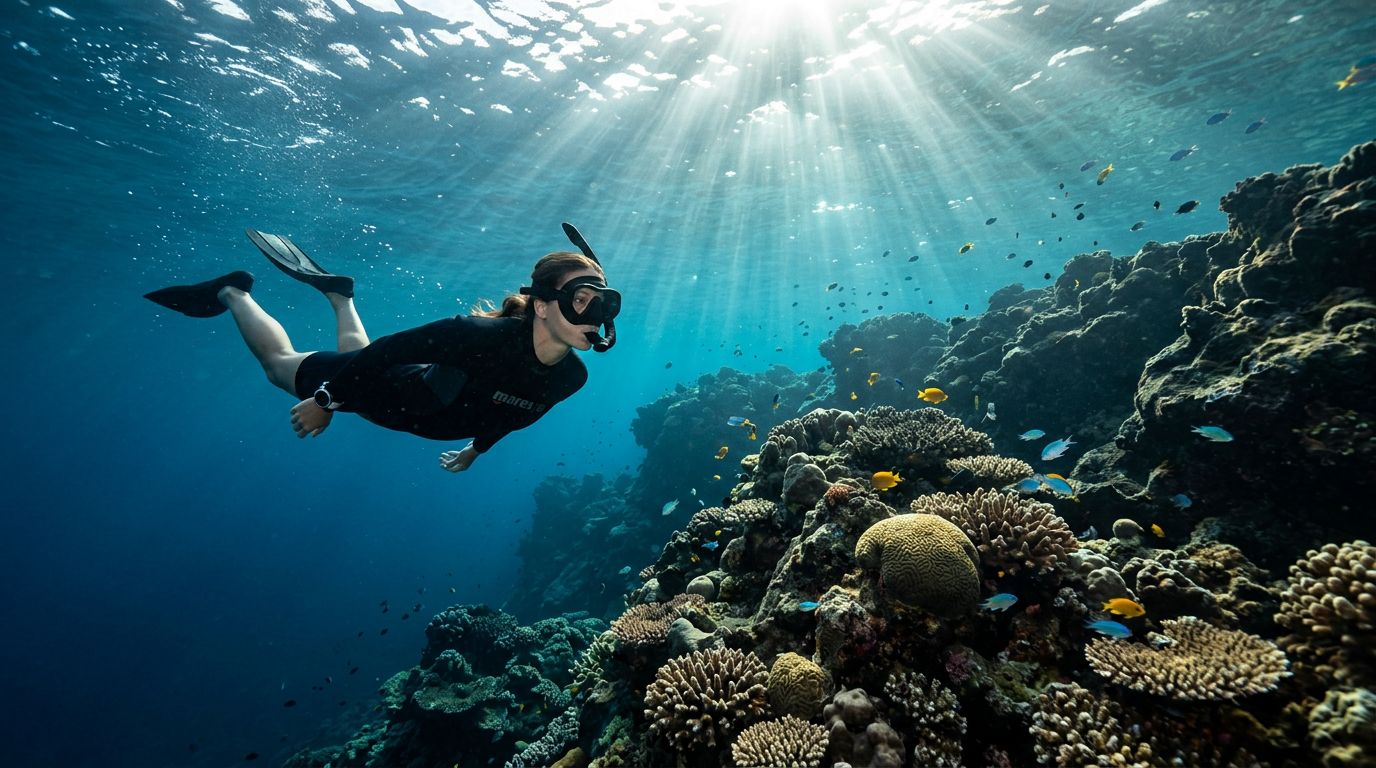
A clear bay can make you feel lost faster than a cloudy one. During Kealakekua Bay snorkeling, bright surface glare, steep lava contours, and a wide reef can make every direction look similar.
Kona Snorkel Trips helps you build simple orientation habits before you enter the water. Captain Cook Snorkeling Tours is another company focused on this area. With the right preparation, you can spend less time checking where you are and more time watching the reef.
Why Kealakekua Bay snorkeling rewards good orientation
Kealakekua Bay is a protected marine area on the western coast of Hawaii Island. The Captain Cook Monument area sits across the bay at Ka’awaloa Flats, where underwater terrain, cliffs, and open water create strong visual contrasts.
Those features make the bay beautiful, but they can also distort your sense of direction. When you look down for several minutes, your body may continue drifting while your attention stays on fish or coral. A short swim can also feel longer than expected when you lift your head again.
Clear water changes your sense of distance
In clear water, the surface may look close even when you’re several yards away. The reef can appear shallow because sunlight reaches the bottom, while the shoreline can seem farther away because the cliffs rise sharply above you.
You should check your position regularly instead of waiting until you feel uncertain. Look toward the surface, locate your guide or buddy, and compare the reef beneath you with the shoreline ahead. These short checks take only a few seconds.
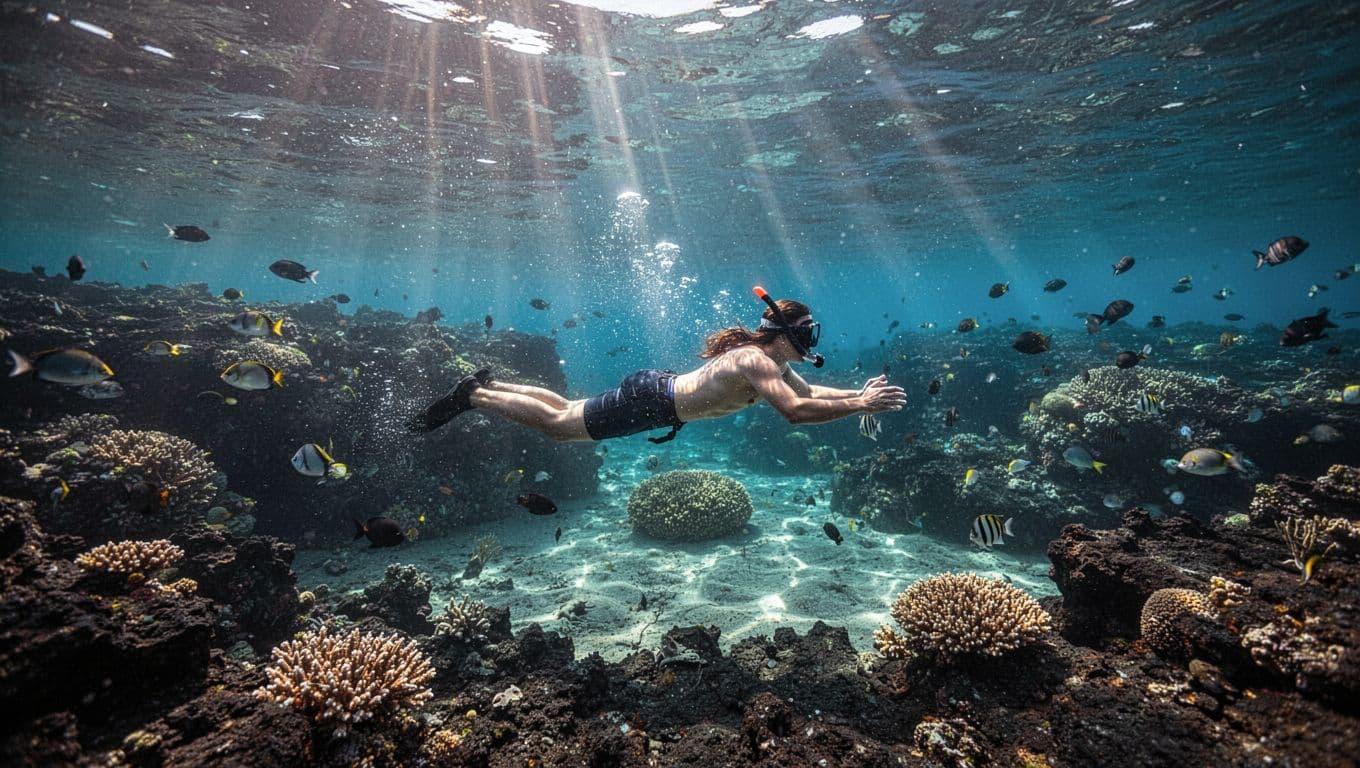
Use the bay as a set of reference lines
You can orient yourself with several fixed features:
- The line where the reef meets sand
- A distinct lava ledge or wall
- The direction of the bright surface
- A cliff profile above the water
- The position of the boat or group
Choose two references at a time. For example, you might stay parallel to the reef while checking the shoreline every minute. That gives you a route without relying on memory alone.
The DLNR’s Kealakekua Bay rules also matter to your route planning. The conservation district prohibits taking, injuring, or disturbing marine life, coral, rocks, sand, and other natural features.
Prepare your body and gear before entering
Good orientation starts before you put your face in the water. A loose mask, leaking snorkel, or uncomfortable fins can pull your attention away from the surroundings.
Take a few minutes to adjust everything while you’re still on the boat or at the entry point. You should be able to breathe naturally, look around without fighting your equipment, and kick without excessive effort.
Fit your mask and snorkel first
Press the mask gently against your face before tightening the strap. A proper seal should hold the mask in place without requiring an overly tight strap. If water enters, ask for help rather than spending the entire swim clearing it.
Your snorkel should sit comfortably beside your head. Keep the mouthpiece relaxed in your mouth, since biting down hard can tire your jaw and affect your breathing.
Fins should feel secure without squeezing your toes. Use steady, compact kicks. Large kicks make you tired faster and can stir up sand near shallow reef areas.
Learn the route and signals
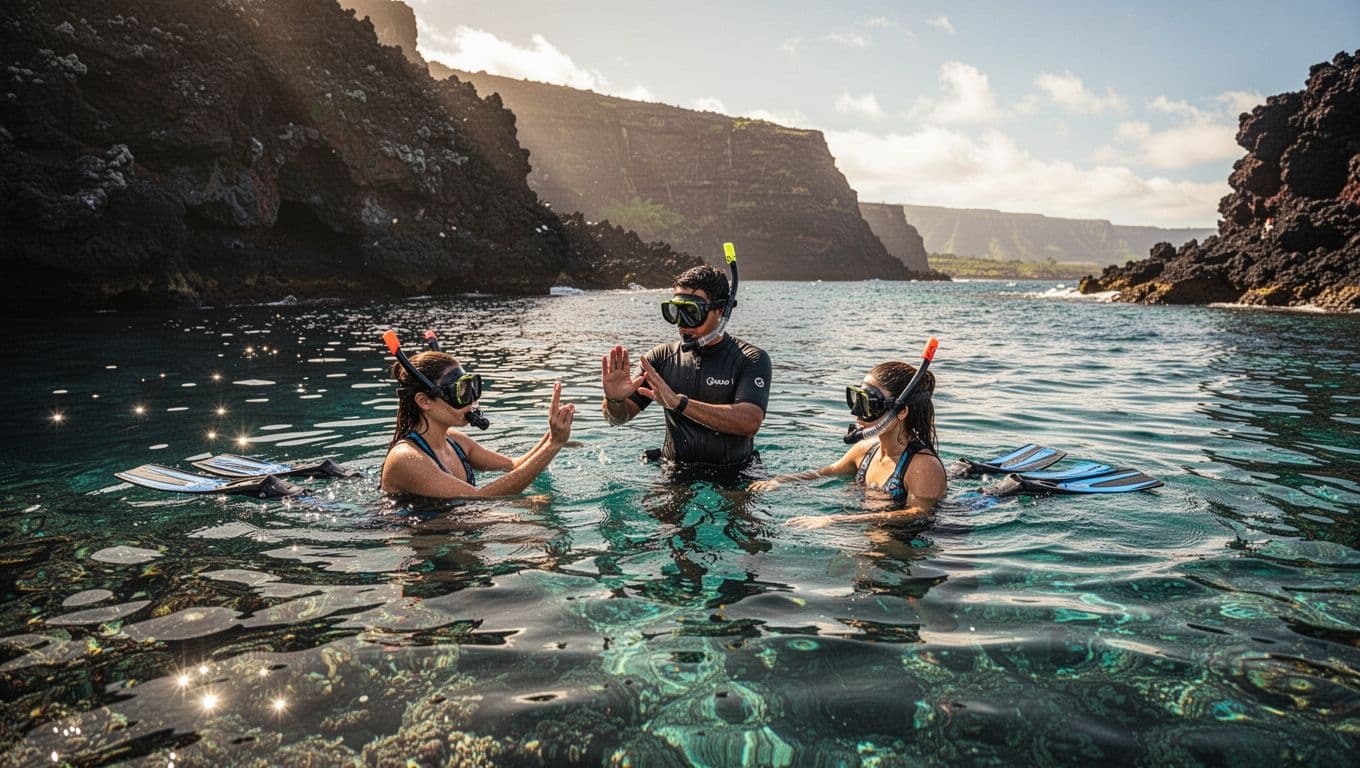
Before you enter, ask your guide where the group will begin, which direction you’ll swim, and how you’ll return. Find out where the boat or exit point will be when you surface.
Agree on basic signals for “okay,” “slow down,” “I need help,” and “I want to return.” A thumbs-up signal usually means you want to go up or end the dive, but confirm the meaning with your guide.
Kona Snorkel Trips uses lifeguard-certified guides who can review these details with you. Stay close enough to see the guide’s signals without swimming hard to catch up.
Build a mental map before you put your face down
You don’t need a detailed underwater map. A simple mental picture is enough. Notice where you enter, what lies beneath you, and which landmark should appear when you turn around.
Pause at the surface before swimming away. Look at the shoreline, the boat, the cliffs, and the direction of the reef. Then repeat the same scan after you have moved a short distance.
Mark your entry and return points
Your entry point may be a boat ladder, a floating platform, or a specific spot near the reef. Study it from the water before you begin exploring.
If you swim along the reef, remember the direction you traveled. You might tell yourself, “The deeper water is on my left, and the reef is on my right.” When you turn back, reverse that relationship.
This simple method works better than trying to remember every coral head. Individual fish and small reef shapes change as you move, but the broader reef edge remains useful.
Choose a route with an obvious turnaround
A route should have a clear point where you stop exploring and head back. That point might be a large lava formation, a change in reef depth, or the location your guide identifies during the briefing.
Don’t wait until you’re tired to make the decision. Fatigue affects your kick, breathing, and ability to notice landmarks. Turn around while you still feel comfortable and can keep your attention on the group.
The state identifies Kealakekua Bay as a marine life conservation district in its Hawaii administrative rules. A guided route helps you stay within the appropriate area while respecting access and conservation limits.
Keep your bearings while you snorkel
Orientation works best as a repeated habit. You don’t need to stop every few seconds, but you should lift your head at regular intervals.
A calm pace gives you more time to notice changes. If you rush toward a turtle, school of fish, or interesting lava formation, you may lose track of the group and your return direction.
Use a regular visual scan
Try this simple sequence as you swim:
- Look down briefly to observe the reef without touching it.
- Look forward to identify the next section of reef or open water.
- Lift your head to locate your guide, buddy, boat, and shoreline.
Then return your face to the water. This scan keeps you connected to both the marine life and your surroundings.
You can also make small course corrections instead of large ones. If the reef edge begins to angle away, adjust your direction gradually. A sharp turn can place you farther from the group than you expect.
Stay close enough to communicate
Your buddy should remain within easy sight. If visibility changes, shorten the distance rather than assuming you’ll reconnect later.
The same applies to your guide. You don’t have to swim directly beside the guide, but you should be able to see the guide’s position and signals without searching.
If you lose sight of your buddy or guide, stop swimming first. Continuing forward can turn a small separation into a difficult search.
Surface briefly if needed. Tell the guide what happened, then return to the group when instructed. A short pause is safer than guessing which direction everyone went.
What to do if you feel turned around
Feeling disoriented doesn’t mean you’ve done anything wrong. Even experienced swimmers can lose their reference points after looking down for several minutes.
The important response is to slow down before anxiety changes your breathing. Fast kicking uses energy and moves you farther from the place where you first felt uncertain.
Stop, float, and breathe slowly
Bring your face out of the water or roll onto your back if that’s comfortable. Take slow breaths and let your fins stop moving.
Look for the guide, your buddy, and the boat. If you can see the shoreline, note the angle of the cliffs and the direction of the reef. Avoid making a fast decision while your breathing is unsettled.
If your mask has shifted or your snorkel is uncomfortable, fix the problem at the surface. Equipment problems are easier to manage when you’re calm and supported by your flotation.
Signal before you change direction
Use the signal you agreed on during the briefing. If you need assistance, attract the guide’s attention and remain in place. Don’t swim toward a distant boat or shoreline without direction.
If the group has moved away, surface and call out. A guide can give you a direct route back. You should never feel embarrassed about ending the swim early.
Families can practice this response before entering. Tell children to stop kicking, raise a hand, and stay with the nearest adult or guide if they feel confused. A clear plan removes much of the fear from an unfamiliar setting.
Use reef contours without damaging them
The reef can help you stay oriented, but it should never become something you hold, stand on, or push away from. Coral may look solid while remaining fragile and slow to recover from contact.
When snorkeling Big Island reefs, keep your body horizontal and leave enough room for your fins to clear the bottom. A horizontal position also gives you better control in shallow water.
Hold a respectful line beside the reef
Swim beside the reef rather than directly over its shallowest sections. Keep your fins behind you and use compact kicks. If you need to stop, float in open water or ask your guide where it is safe to pause.
Avoid dragging your hands across lava rock. Some surfaces may have sharp edges, while other areas support small organisms that you shouldn’t disturb.
Your guide can point out arches, ledges, and channels that provide visual interest without requiring contact. Follow the route at a comfortable distance and leave room for other swimmers.
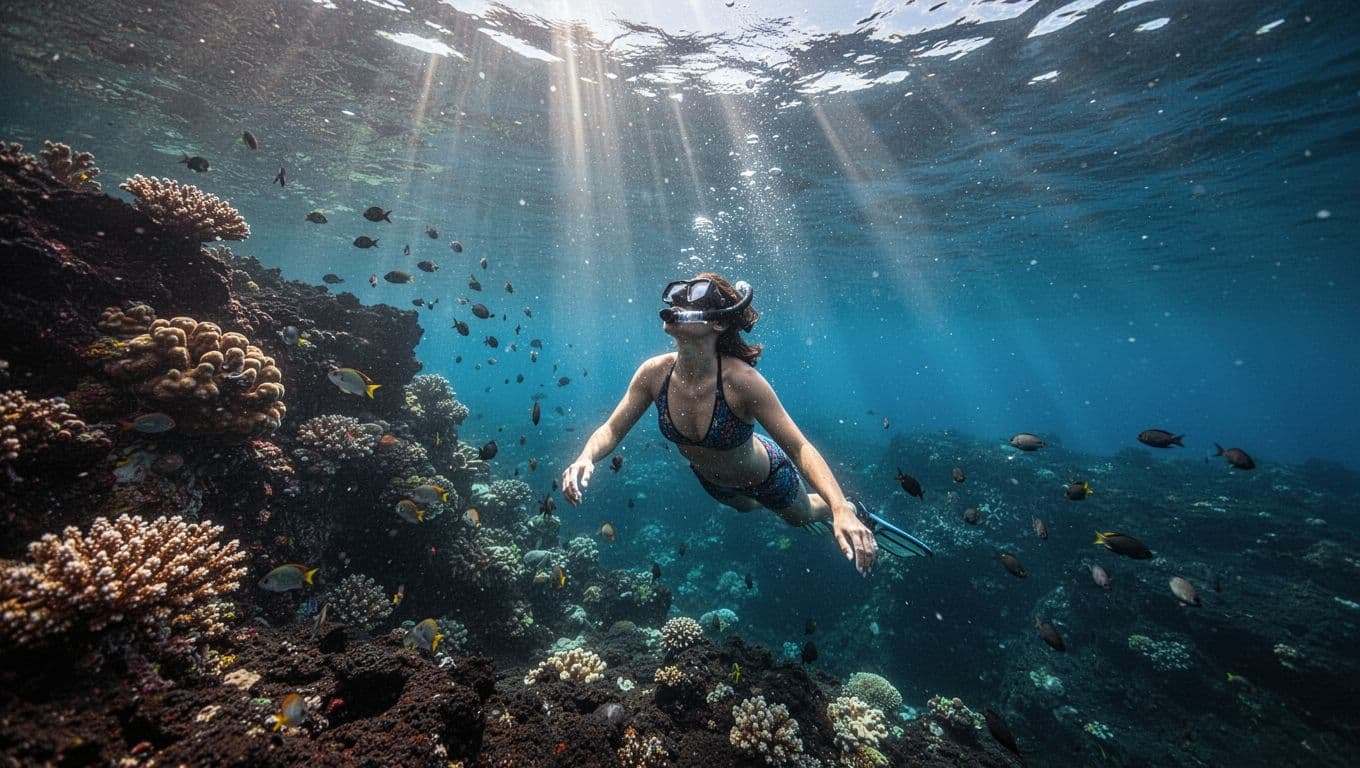
Watch marine life without chasing it
Kealakekua Bay’s conservation rules prohibit feeding fish and injuring or taking marine life. You should also avoid chasing turtles, blocking animals, or touching anything you see.
Stay still when possible. Fish often move closer when you stop pursuing them, and you’ll notice more behavior when you observe quietly rather than kick after every subject.
Use a camera only if you can operate it without touching the reef or wildlife. A wrist strap can reduce the chance of dropping equipment, but it shouldn’t become an excuse to reach into coral.
The Hawaii coral reef strategy highlights the need to protect reef habitats. Your small choices help keep the bay healthy for future visitors.
Why a guided Kealakekua Bay snorkeling tour helps
A guide gives you more than directions to the reef. You also get a person who can watch group spacing, explain local conditions, and help you respond when your mask leaks or the water feels different than expected.
A guided trip can be useful if you’re new to snorkeling, traveling with children, or visiting the bay for the first time. You can focus on your breathing and surroundings while the guide manages the route.
What Kona Snorkel Trips brings to the water
Kona Snorkel Trips follows a “Reef to Rays” philosophy built around careful ocean experiences. Its small-group trips include high-quality snorkeling gear and guidance from lifeguard-certified professionals.
The crew also focuses on reef-safe behavior and local marine education. You can ask questions about the bay, fish, coral, and volcanic formations while staying with the group.
When you compare snorkeling Big Island Hawaii tours, look at more than the destination photo. Ask how the operator handles safety briefings, group size, equipment, and changing ocean conditions.
You can browse the company’s Kona snorkeling excursions before choosing a tour that fits your comfort level.
When a private trip makes sense
A private outing gives your group more control over pace and attention. You can tell the crew if you want extra time practicing surface checks, prefer a shorter swim, or need frequent breaks.
Kona Snorkel Trips offers private Kona snorkeling tours for families and groups that want a custom schedule. Swimming skills are required for guests entering the water, so discuss individual needs before booking.
The orientation habits also help at other sites. If you later join a Kona manta ray snorkeling experience, you will still need to track your guide, group, and exit point. Night water has fewer natural visual references, which makes the pre-swim briefing even more important.
Plan the day around access and comfort
Kealakekua Bay isn’t a casual roadside beach stop. The Captain Cook Monument area is remote, and access is shaped by state rules, terrain, and permitted water travel.
You can snorkel Big Island waters in many locations, but each site has its own entry conditions. Planning around the bay’s logistics helps you arrive ready instead of rushing through the briefing.
Know what access involves
The only car access into the bay is at Napo’opo’o Beach on the eastern shoreline. The monument area at Ka’awaloa Flats is reached by the historic Ka’awaloa Trail or by guided kayak access through permitted commercial vendors.
The trail has no restrooms, and the hike can be demanding in heat. If you choose a water-based tour, confirm that the operator follows current permit requirements for transiting the bay.
A boat tour also reduces the need to carry snorkeling equipment along a long trail. Your crew can explain the entry point, where you’ll swim, and how you’ll return to the boat.
Choose comfort over ambition
Eat lightly before departure, drink water, and protect your skin according to your operator’s guidance. If boat travel affects you, ask about motion-sickness preparation before the day begins.
Tell the crew about your swimming ability, recent injuries, breathing concerns, or discomfort with open water. Basic swimming skills are required for water entry, and you should feel able to float or swim without constant assistance.
When snorkeling Big Island conditions change, your guide may shorten the route or adjust the activity. Follow that decision. A safe, comfortable swim is more rewarding than forcing a longer distance.
Practice a simple orientation routine
You can use the same routine on almost any guided snorkeling trip. Repetition keeps your attention organized, especially when the reef becomes visually busy.
Before entering the water, identify the guide, your buddy, the boat, and the return direction. Once you begin swimming, keep your route simple and check your references often.
Use the first five minutes to settle in
Start with a slow swim near the group. Test your mask, snorkel, and fins while you still have plenty of energy.
Look down at the bottom, forward toward the next reef feature, and up toward the surface. Notice whether you are moving parallel to the reef or crossing toward deeper water.
After five minutes, check your breathing and distance from the guide. If you feel comfortable, continue. If you feel rushed or tired, tell the crew before the group travels farther.
Finish each swim with the same checks
As you return, keep the reef and boat in view. Don’t leave the water until the guide confirms the group is together.
After climbing aboard, remove your fins carefully and keep walkways clear. Drink water and mention any equipment issue before the next activity.
The strongest orientation skill is simple awareness. You don’t need perfect memory or advanced diving experience. You need a calm pace, clear signals, and regular checks of the people and features around you.
Choose a Captain Cook tour with orientation in mind
A Kealakekua Bay snorkeling trip should give you time to understand the route before the water becomes your whole view. The guide’s briefing, boat position, group size, and equipment all affect how comfortable you feel once you begin.
Kona Snorkel Trips’ Kealakekua Bay Captain Cook snorkel tour is built around guided access to the bay’s reef and the historic monument area. You can also learn more about Captain Cook Snorkeling Tours when comparing options for this part of the coast.
If you already know that this is the trip you want, you can check avaialbility for the Captain Cook snorkeling experience.
Conclusion
Good orientation lets you enjoy Kealakekua Bay without losing track of your route. Fit your gear before entering, identify fixed reference points, stay near your guide and buddy, and pause whenever your position feels unclear.
The bay’s protected reef deserves careful attention. When you combine calm swimming with reef-safe habits, you get a better view of the marine life and leave the area undisturbed. Your best Kealakekua Bay snorkeling memory may begin with one simple decision: look up often enough to know exactly where you are.