
Snorkel Kona Hawaii: Photograph Fish Without Chasing Them
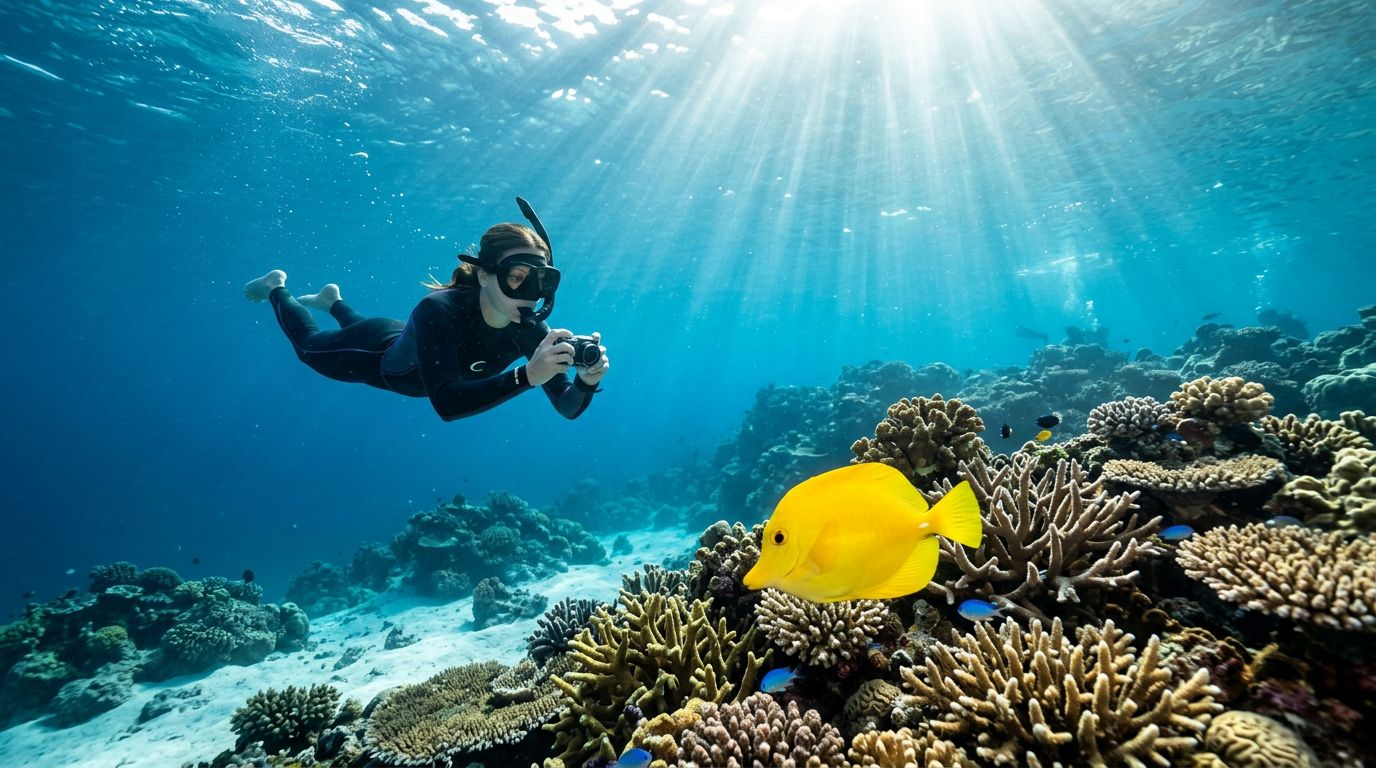
Fish rarely move into a perfect pose. During a snorkel Kona Hawaii outing, a yellow tang may cross your frame for one second, then disappear behind coral. Kona fish photography gets easier when you stop treating the reef like a moving target.
For snorkeling Big Island Hawaii trips, clear water helps, but your movement matters more once you enter the ocean. If you snorkel Big Island reefs with a camera, patience, buoyancy, and good timing will usually produce better photos than faster swimming.
The best approach starts with understanding how fish use the reef.
Why Chasing Fish Produces Weak Underwater Photos
Chasing a fish feels natural. You see a colorful subject, point your camera, and kick toward it. However, the fish notices your movement before you reach a useful shooting distance.
A swimmer moving directly toward a fish looks large and threatening. Your fins flash, bubbles rise, and your shadow crosses the reef. The fish turns away before you can compose the shot.
Fast swimming also creates technical problems. Your camera shakes, your breathing becomes uneven, and you lose control of your body position. Meanwhile, each kick can stir sand from the bottom. That suspended material creates backscatter, which appears as bright spots across the image.
Water makes distance expensive
Underwater, color and contrast fade quickly with distance. Red and orange tones disappear first, while blue and green become more dominant. Water between your lens and the subject also reduces sharpness.
That makes a close, calm approach more useful than a powerful zoom. A fish photographed from a short distance often looks more colorful and detailed than the same fish photographed from farther away with digital zoom.
Your camera’s wide-angle setting can help you work close without cutting off the subject. It also captures more of the reef, which gives the image a stronger sense of place.
Let the reef bring the fish to you
Most reef fish have preferred feeding areas, shelter spots, and routes around coral heads. Instead of following one fish, choose a place where several fish already pass.
Find a stable position near the edge of the reef. Keep your fins above the coral and let the current or your breathing settle. Once your body stops moving, fish often return to their normal behavior.
You may wait only 20 seconds before a subject appears. Sometimes it takes longer. The important change is that you become part of the background instead of an approaching object.
Good underwater photography rewards the swimmer who can wait without drifting.
Kona Fish Photography Starts With Fish Behavior
Fish behavior gives you clues about where to aim before the subject enters your frame. You don’t need to identify every species, but a few simple patterns can improve your timing.
Yellow tangs often graze across rock and coral surfaces. They may move steadily, pause to feed, then turn sideways. If you watch the route instead of the individual fish, you can point your camera toward the next feeding spot and wait.
Parrotfish also spend time feeding along the reef. Their movement can be more deliberate than the quick darting of smaller reef fish. Keep your body still and watch for a change in direction before pressing the shutter.
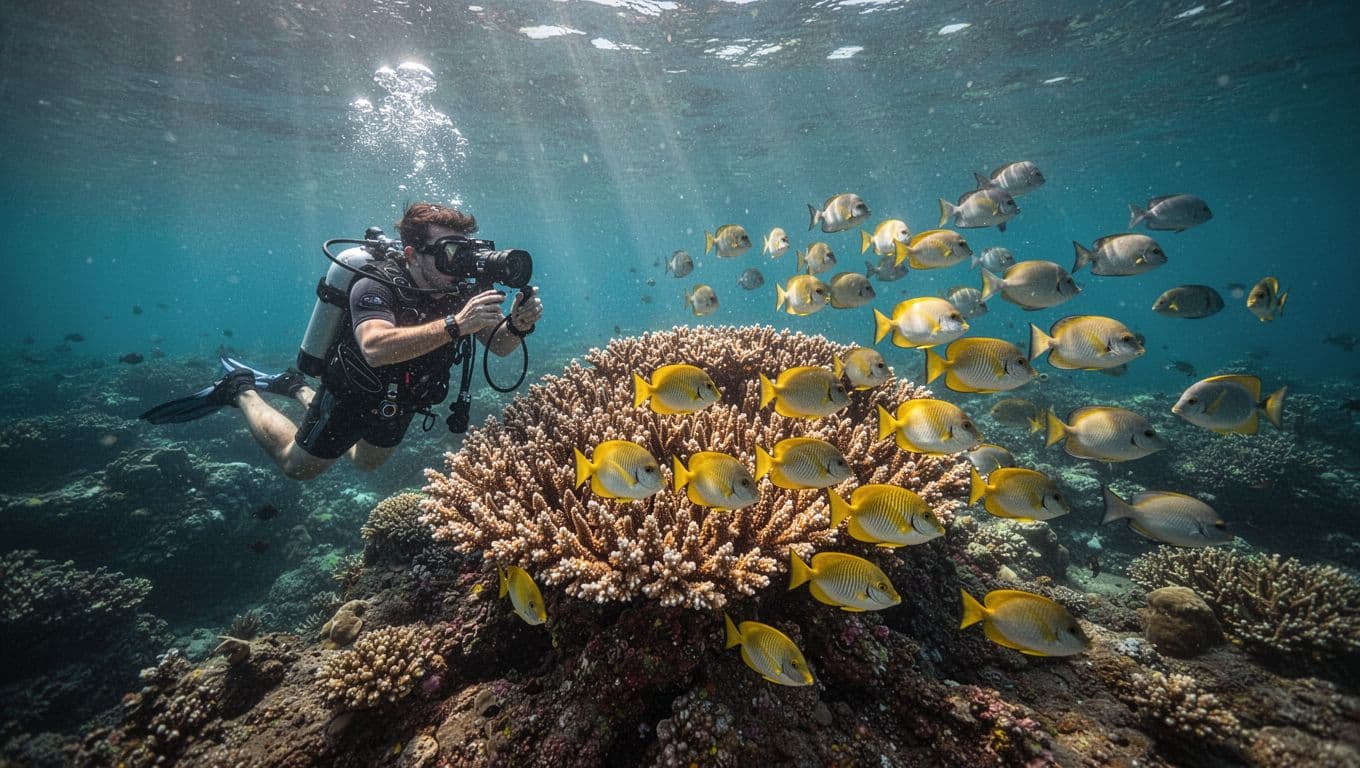
Butterflyfish often stay near coral structures and may circle the same area. Their strong patterns show best when they turn broadside to the camera. Moorish idols can be more restless, so short video clips may work better than trying to capture one perfect still frame.
Wrasses and small damselfish may dart into holes or crevices when you approach. If a fish disappears, keep your camera trained on the opening for a moment. It may reappear from the same shelter.
Watch for pauses, turns, and feeding
A fish’s pause is often your best opportunity. Feeding creates predictable moments because the fish focuses on the reef rather than your camera.
Before you swim closer, watch for three things:
- The fish slows down near a coral or rock surface.
- Its body turns broadside, showing the strongest colors and markings.
- Its path points toward open water instead of directly into a hiding place.
Those cues help you prepare before the subject arrives. You can set your composition, steady your hands, and wait for the fish to enter the frame.
Use behavior as a starting point, not a strict rule. Ocean conditions, fish species, and human activity can change what you see.
Focus on the habitat, not only the fish
A close-up fish portrait can be beautiful, but the reef around the animal gives the image context. Leave enough space to show coral, lava rock, or a cleaning station when the scene allows.
This also reduces pressure on the fish. You don’t need to follow it through the reef to fill every pixel. A wider photograph can show the animal living naturally in its surroundings.
Set Up Your Camera Before You Enter the Water
The best camera is the one you can control without thinking. Before boarding, test every button through the housing. Check the battery, lens port, memory card, and wrist strap.
A fogged or dirty housing can ruin an otherwise perfect encounter. Keep the lens port clean and inspect the seal before entering the ocean. If you’re using a phone housing, confirm that the touch screen responds correctly while sealed.
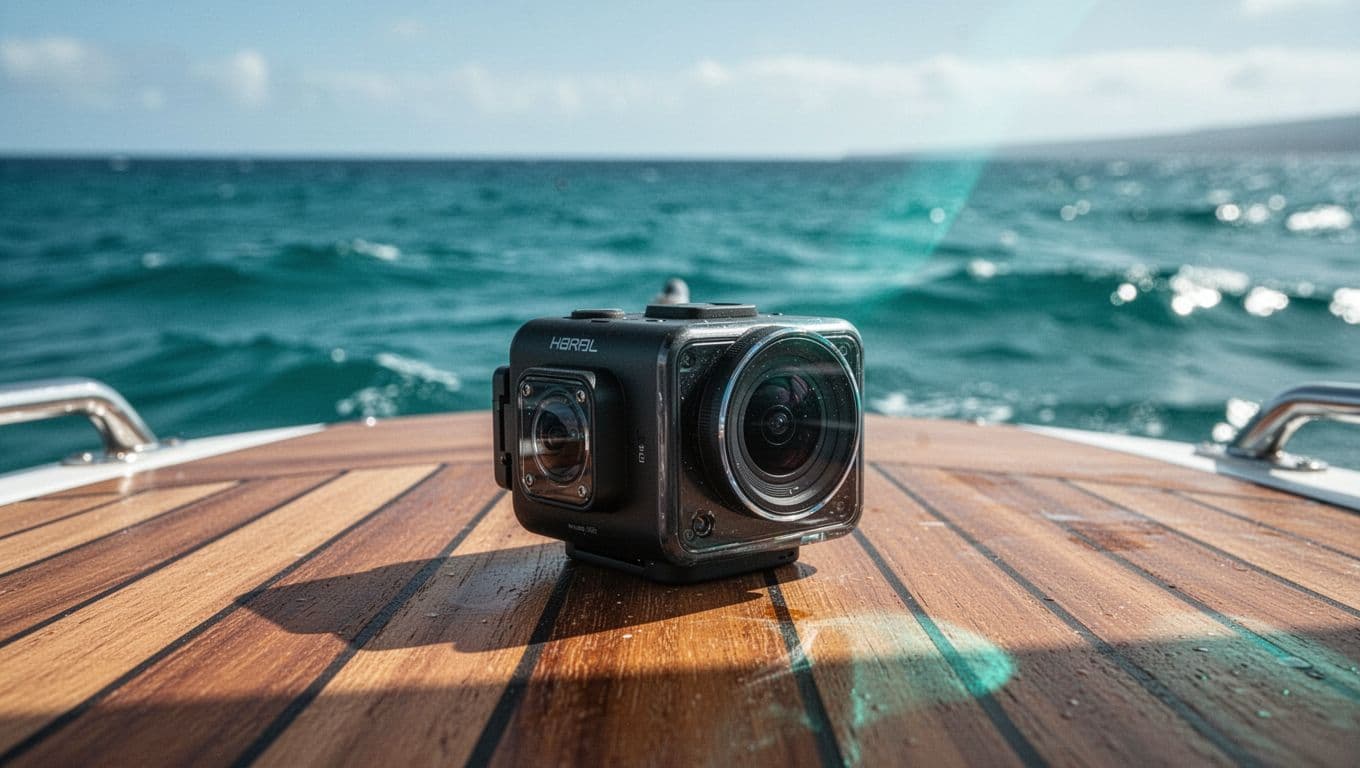
Action cameras work well for snorkeling because they offer a wide field of view and simple controls. A phone in a quality underwater case can produce excellent results in bright, shallow water. Compact cameras provide more control, especially if your housing supports exposure adjustments.
Use a simple starting setup
Set your camera before you reach the reef. You shouldn’t spend the best part of a fish encounter searching through menus.
Use a wide field of view for moving subjects. If your camera offers manual controls, start with a shutter speed around 1/250 second or faster for fish that move quickly. Keep ISO as low as practical, but allow it to rise when the water is darker.
A slightly underexposed image usually holds more color than a bright image with pale coral and blown-out highlights. Exposure compensation around minus one-third can help in strong sunlight, but review your first few images and adjust.
Shoot stills when the fish pauses. Use short video clips when several fish move together or when the action is too unpredictable for a single frame.
Control your buoyancy before your settings
Camera technique begins with body control. Take a slow breath, relax your shoulders, and keep your elbows close to your sides. A loose grip helps you avoid sudden camera movement.
Never hold onto coral for stability. If you need a pause, move into open water or use a safe surface area away from living reef. Your guide can help you find a position that protects both you and the environment.
If you wear fins, keep your kick small and controlled. Large fin strokes waste energy and send water across the reef. A quiet flutter kick, or no kick at all, gives you better control.
How to Get Close Without Chasing Fish
Approach at an angle instead of swimming straight at the subject. A side-on path looks less direct, and it gives the fish a clear escape route.
Start outside the fish’s comfort zone. Stop when the animal changes its behavior. If it keeps feeding, you can wait. If it turns sharply, hides, or swims away, you have moved too close.
A passive approach works well:
- Stop kicking several feet before you reach the area where the fish is feeding.
- Turn your body slightly so your profile faces the reef.
- Exhale slowly and let your body settle at the surface.
- Point the camera toward the expected path instead of tracking the fish with rapid movements.
- Take a few frames, then back away and give the animal space.
Your breathing matters because bubbles and sudden exhalations can startle smaller fish. You don’t need to hold your breath for a long time. Stay comfortable, breathe normally, and wait for a natural pause.
If a fish turns away twice, it has answered you. Reset your position instead of following.
Avoid circling a fish or blocking its route to shelter. Other snorkelers also need room, so check your surroundings before drifting backward. A beautiful photo isn’t worth colliding with another swimmer or losing awareness of your own position.
When the fish leaves, let it go. Another subject may appear nearby, and your calm position will already be ready.
Use Light, Distance, and Composition to Show Color
Kona’s clear water can produce bright images, but sunlight changes as you move around the reef. Whenever possible, keep the sun behind your shoulder. Light traveling toward the subject and back into your lens usually gives you stronger color than shooting directly into the sun.
Clouds can soften harsh reflections. Early morning conditions may offer gentler light and less surface glare, although the best time depends on the day’s weather and the tour schedule.
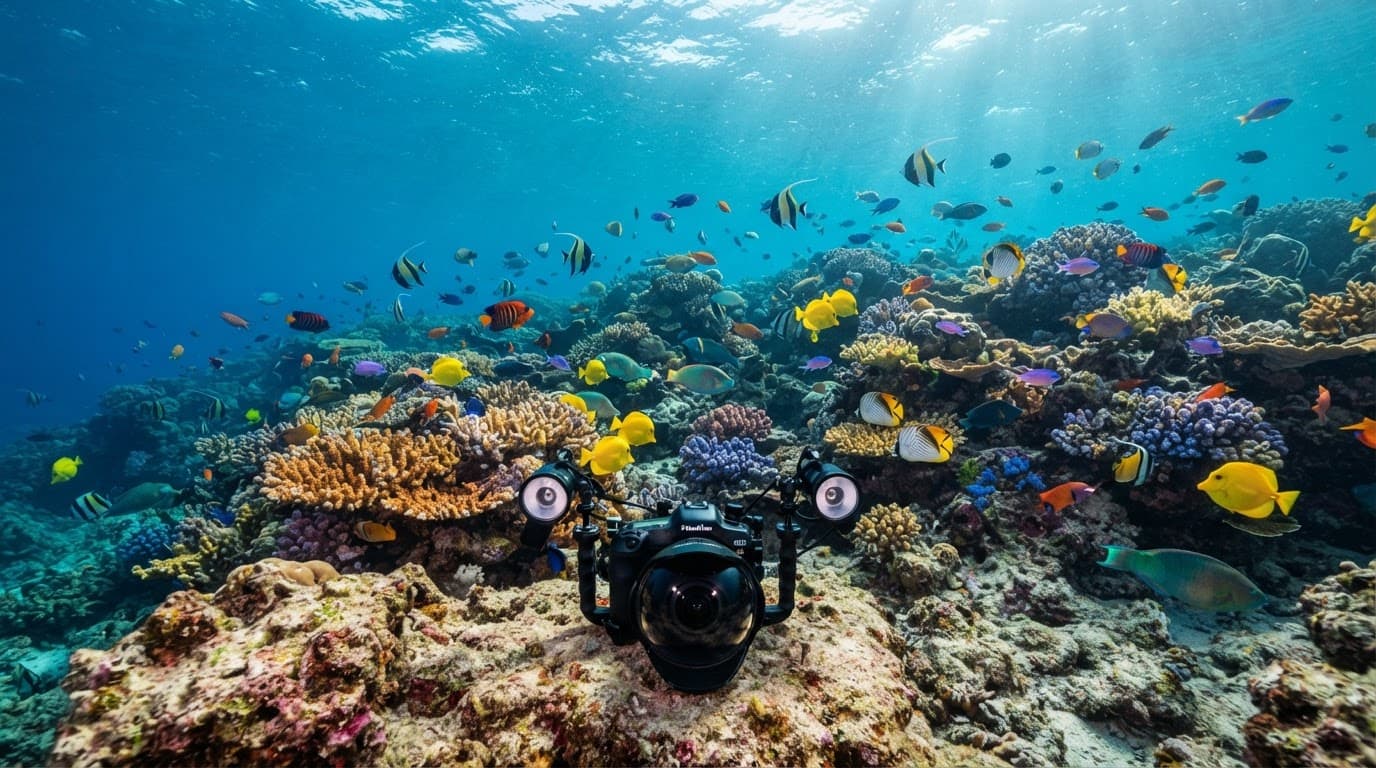
Artificial lights can restore warm colors at close range, but they require care. Keep strobes or video lights pointed toward the subject rather than the water directly in front of the lens. Otherwise, suspended particles may reflect the beam and create backscatter.
Leave room for the fish to move
Place the fish slightly to one side when it faces open water. Empty space in front of the animal makes the image feel more natural and gives the viewer a sense of direction.
A fish facing the edge of the frame can look trapped. Before pressing the shutter, glance at the whole screen. Check the eyes, fins, tail, and the direction of travel.
Get low when you can do so without touching the bottom. Shooting slightly upward can place the fish against brighter blue water instead of a dark, cluttered reef. It also gives the subject more separation from the background.
Try a few compositions during the same encounter:
- A close portrait that emphasizes the eye and markings.
- A wider frame that shows the fish in its reef habitat.
- A side view that captures its full body and swimming direction.
Avoid chasing variety. If the fish begins to react to your movement, return to a stable position.
Use the eyes as your anchor
The fish’s eye should usually be the sharpest point in the frame. Keep the camera level with the animal rather than pointing steeply downward.
A slight turn of the head can change the photo completely. Wait for the eye to catch light, then take a short burst. One frame may show the fish’s eye clearly while the next captures an awkward fin position.
For Kona fish photography, a clean eye and natural posture often matter more than a rare species. A familiar yellow tang can make a stronger image than an unusual fish that appears blurry or stressed.
Choose a Kona Snorkel Trip That Supports Better Photos
If you’re comparing snorkeling Big Island Hawaii options, look beyond the advertised destination. Boat size, group size, guide experience, water conditions, and time at the site can all affect your photographs.
When you snorkel with a guided crew, ask whether the guides explain fish behavior and reef etiquette. A safety briefing should cover entries, exits, currents, separation from the boat, and what to do if you need assistance. Lifeguard-certified guides can also help you choose a comfortable position in the water.
Kona Snorkel Trips follows a “Reef to Rays” philosophy and focuses on small-group ocean experiences around Kailua-Kona. The company departs from Honokohau Marina, where its own dock makes boarding easier than using a crowded launch ramp. Guests receive a safety briefing from Lifeguard Certified guides and use well-maintained snorkeling equipment.
That personalized approach can help when you’re carrying a camera. You have more room to settle, observe the reef, and ask questions about the fish around you. The crew also emphasizes reef-safe practices and education, so photography doesn’t become a reason to touch or crowd marine life.
You can review the available Big Island snorkeling tours and check availability before choosing a departure.
Clear water and a healthy reef create better opportunities, but a calm guide-led experience helps you use those conditions well.
Follow a Simple In-Water Photography Routine
A repeatable routine keeps you focused when the reef becomes busy.
Before entering the water, set your camera to the mode you plan to use. Take a test photo near the boat and check for fog, water droplets, or an incorrect housing setting.
Once you reach the reef, spend the first minute watching without taking pictures. Look for feeding areas, shelter holes, and fish moving along the same section of rock. This short pause can reveal where to position yourself.
Next, choose one subject or area. Stop kicking and wait. When a fish enters the frame, follow its path with small camera movements instead of swimming after it.
Take a short burst while the fish pauses. Then lower the camera and look around you. You may find another subject in better light only a few feet away.
After the encounter, move calmly to a new position. Don’t review every image while floating above the reef. You may drift into coral, lose sight of the boat, or miss the next fish.
On the boat, check your images and adjust one setting at a time. If every photo looks blue, move closer or change white balance. If bright water loses detail, reduce exposure. If the fish is blurred, use a faster shutter or brace your elbows more firmly.
This process turns each encounter into useful feedback. You learn what the water, light, and fish are doing before the next opportunity arrives.
Protect the Reef While You Photograph
Good snorkeling Big Island practices protect the scene you want to photograph. Keep your fins away from coral, avoid standing on the bottom, and never touch, feed, or handle fish.
Don’t move rocks or shells to reveal a hidden animal. Small creatures use those spaces for shelter, and changing the habitat can affect more than the subject in your frame.
Give turtles and other larger animals a wide path. If an animal swims away, allow it to leave. Follow your guide’s directions and obey posted rules in marine conservation areas.
You can also read this ethical underwater photography discussion for practical perspectives from other underwater photographers. The central principle is simple: your presence should cause as little change as possible.
Choose sun protection that follows local guidance, and keep sunscreen out of the water whenever practical by using clothing, shade, and timing. Rinse equipment with fresh water after your trip, and don’t leave straps or loose accessories trailing across the reef.
The strongest fish photograph shows an animal behaving normally. When you give the reef space, you protect the subject and improve your chance of capturing a genuine moment.
Let the Fish Set the Pace
The most memorable image may come after you stop trying to force the encounter. Set your camera before you enter, watch where fish feed, and hold a stable position instead of swimming after every flash of color.
Kona fish photography depends on clean water, soft movement, thoughtful composition, and respect for the reef. A patient snorkeler can capture sharp eyes, bright patterns, and natural behavior without disturbing the animal.
When you return to shore, the best photo won’t only show what you saw. It will show that you allowed the fish to remain itself while you watched.