
Kealakekua Bay Snorkeling Photo Tips for Boat Tour Shots
Kona Snorkel Trips gives you a strong starting point for photos at Kealakekua Bay, because the ride, the reef, and the cliffs all work together. If you want images that feel sharp instead of crowded, you need to think about light, angle, and timing before you jump in.
That matters even more when you plan snorkeling Big Island Hawaii days, since spray and fast-changing sun can flatten a great scene. The good news is that you can bring home better shots without turning your swim into a full-time photo job.
Start with the boat ride, because it sets the scene
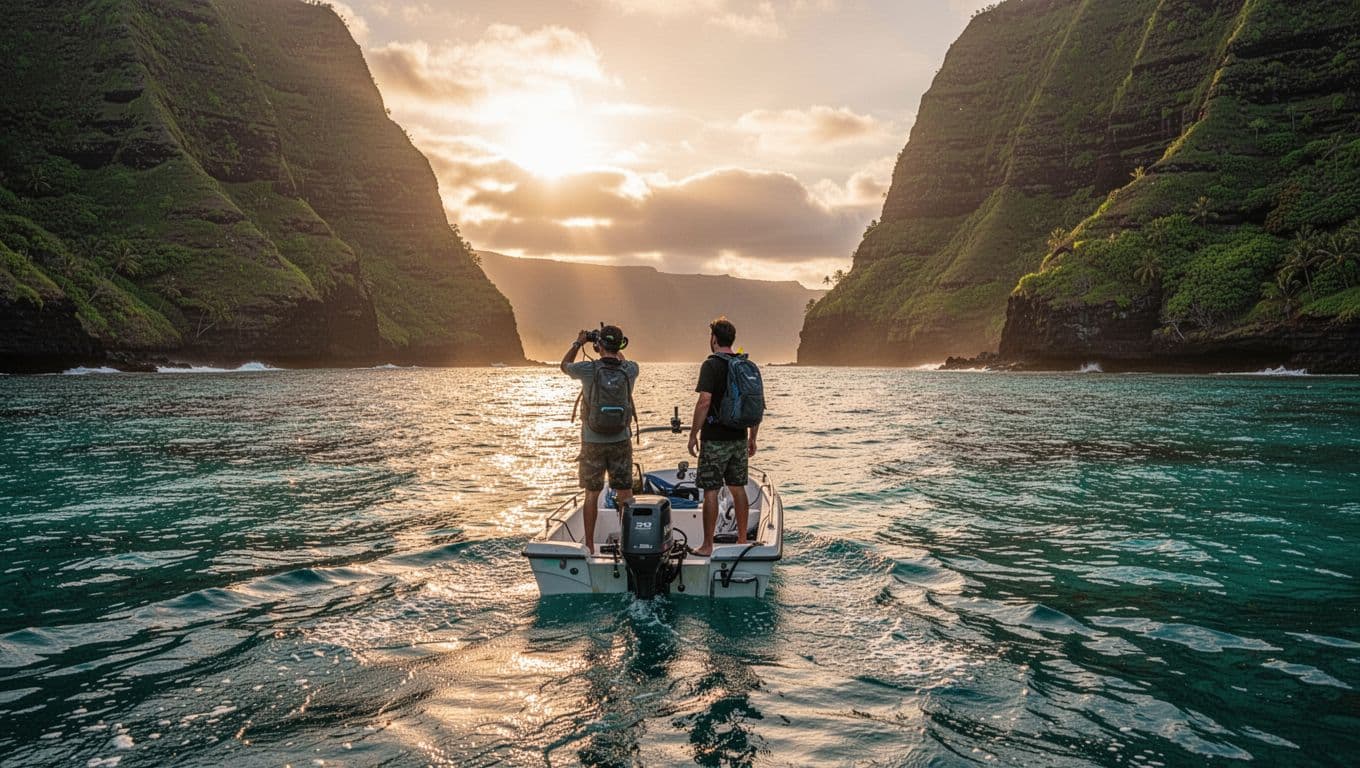
The best photos often begin before you touch the water. When you snorkel Big Island waters, the boat ride gives you cliff lines, blue water, and open sky in one frame.
Shoot from the deck as you approach the bay. Keep your camera ready, but don’t fire too early. The mix of green cliffs and bright water looks best when the boat is still moving slowly and the horizon stays level.
A guided Captain Cook snorkel tour in Kealakekua Bay gives you a clean angle on the monument and the shoreline before the swim begins. That matters because the bay is part seascape, part history. Your photos should show both.
Why wait for the perfect swim shot if the approach is already beautiful?
Pack a small kit that handles salt and sun
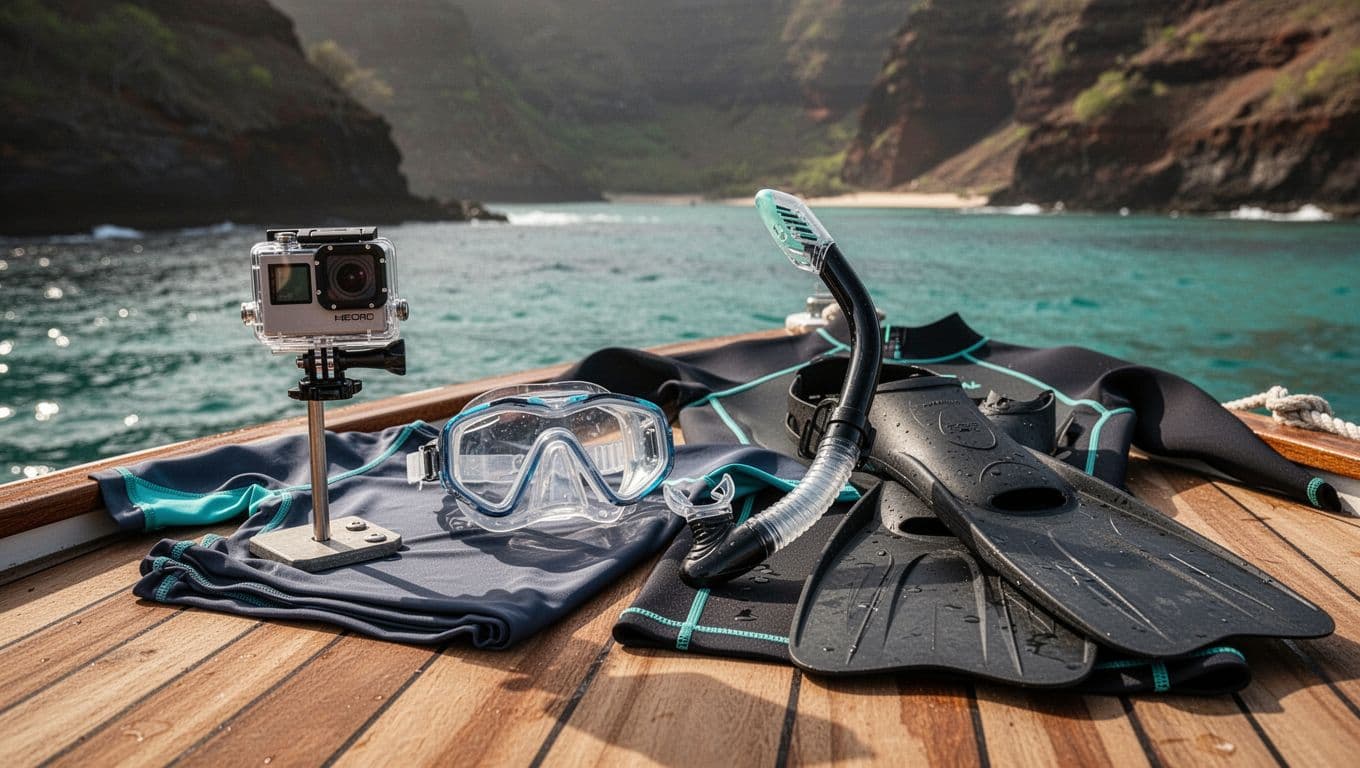
Good gear makes your pictures easier, but bulky gear gets in the way. Keep it simple, especially on a boat where space is tight and spray moves fast.
A few items help more than a bag full of extras:
- A waterproof camera or phone case keeps you ready when water splashes up.
- A microfiber cloth clears salt droplets before they blur your lens.
- A floating wrist strap gives you peace of mind near the ladder or ladder line.
- A small dry bag keeps batteries, cards, and cloths from getting damp.
If you want camera setup ideas that hold up well in the bay, these GoPro settings for Kealakekua Bay snorkeling are a useful reference.
The sharpest shot is often the one you set up before you rush into the water.
Frame the monument and cliffs with intention
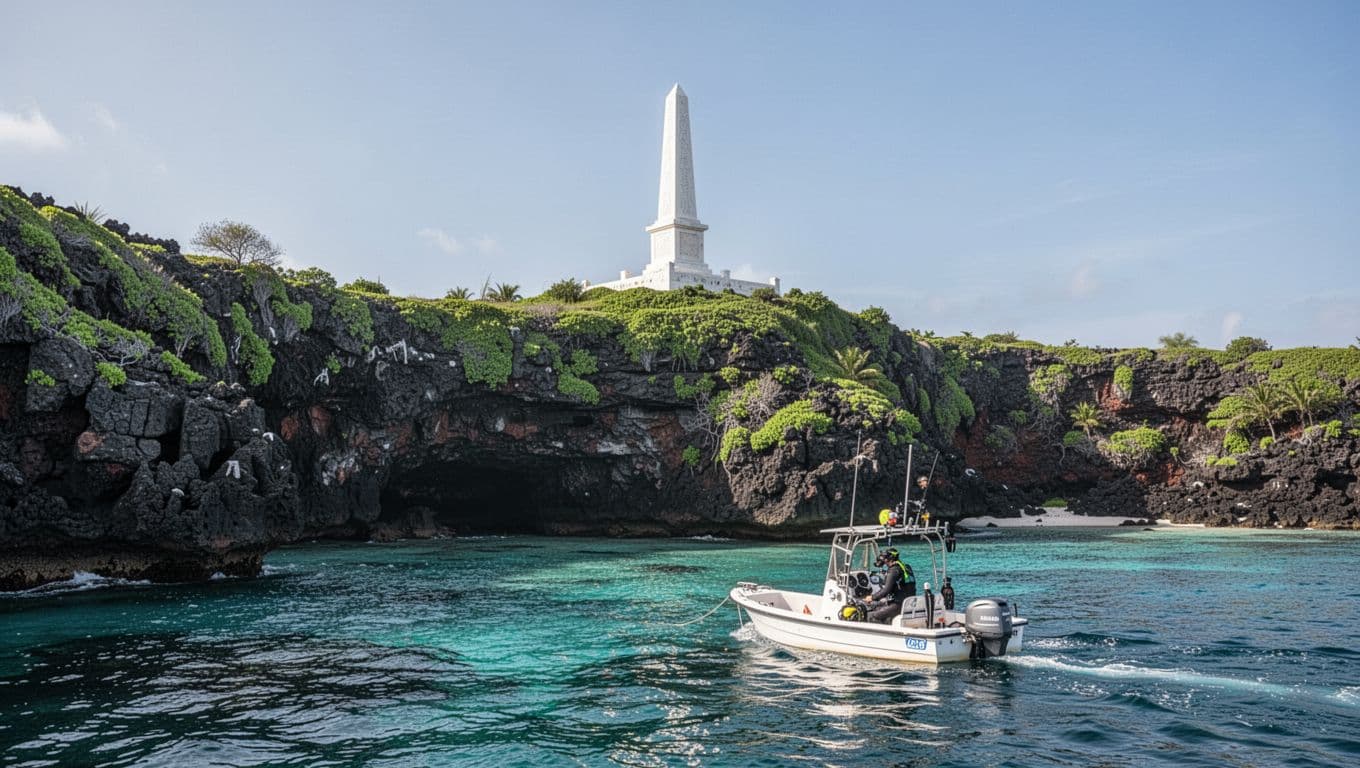
Kealakekua Bay gives you strong shapes, so use them. The white monument, the dark lava rock, and the bright water create a natural frame.
Keep the monument off center when you can. That leaves room for the cliff line and the water’s color shift. In contrast, a centered shot can feel flat unless the sky or foreground adds something extra.
For snorkeling Big Island photos, the bay’s clean lines do a lot of the work for you. You don’t need a complicated composition. You need a steady hand and a clear point of focus.
Try these three moves when you shoot from the boat or shoreline:
- Hold the horizon straight so the cliffs feel tall.
- Use the boat rail or bow as a foreground edge.
- Leave space around the monument so it doesn’t look cramped.
If you want another useful read before you go, Kealakekua Bay snorkeling tips and tours breaks down the setting in plain language.
Make underwater shots clearer by slowing down
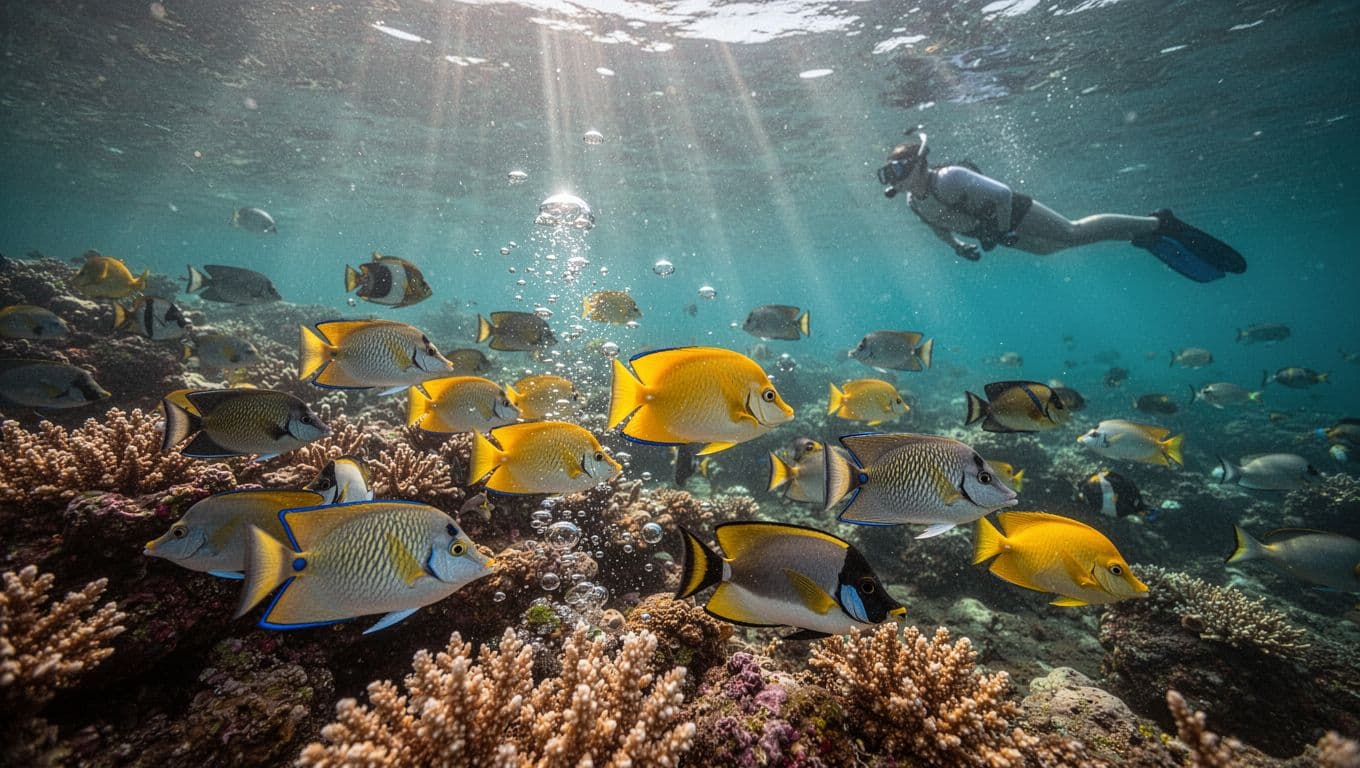
Underwater photos reward patience. If you chase fish, your frame turns messy fast. If you float and wait, the reef gives you color, shape, and light.
Stay a little lower in the water if conditions allow. Shooting upward can bring in the sun beams and the surface shimmer. That simple angle often turns a plain reef shot into something richer.
The water around Kealakekua Bay is part of what makes snorkeling Big Island trips so memorable. Clear water gives you more depth, and that means more chances for crisp fish shots and better reef detail.
For a second look at the bay itself, Captain Cook snorkeling: Kealakekua Bay guide adds useful context on the area and what you’ll see there.
Choose a small-group tour that gives you room to shoot
Kona Snorkel Trips makes photo days easier because the pace stays relaxed and the group stays small. That gives you more elbow room, better timing, and fewer people cutting through your frame.
The crew also matters. Lifeguard-certified guides help keep the day calm, and calm days lead to better pictures. Reef-safe habits matter too, because clear water and healthy coral are what make the bay worth photographing in the first place.
When you book a tour that respects the bay and gives you space, your photos come out cleaner. More importantly, your time on the water feels less rushed.
Conclusion
The best Kealakekua Bay photos come from simple choices. You get better results when you use the boat ride, the monument, and the reef instead of fighting them.
Keep your kit light, watch the light, and shoot with a calm hand. When you do that, the bay does most of the heavy lifting for you.