
Kealakekua Bay Snorkeling Without Standing on Coral
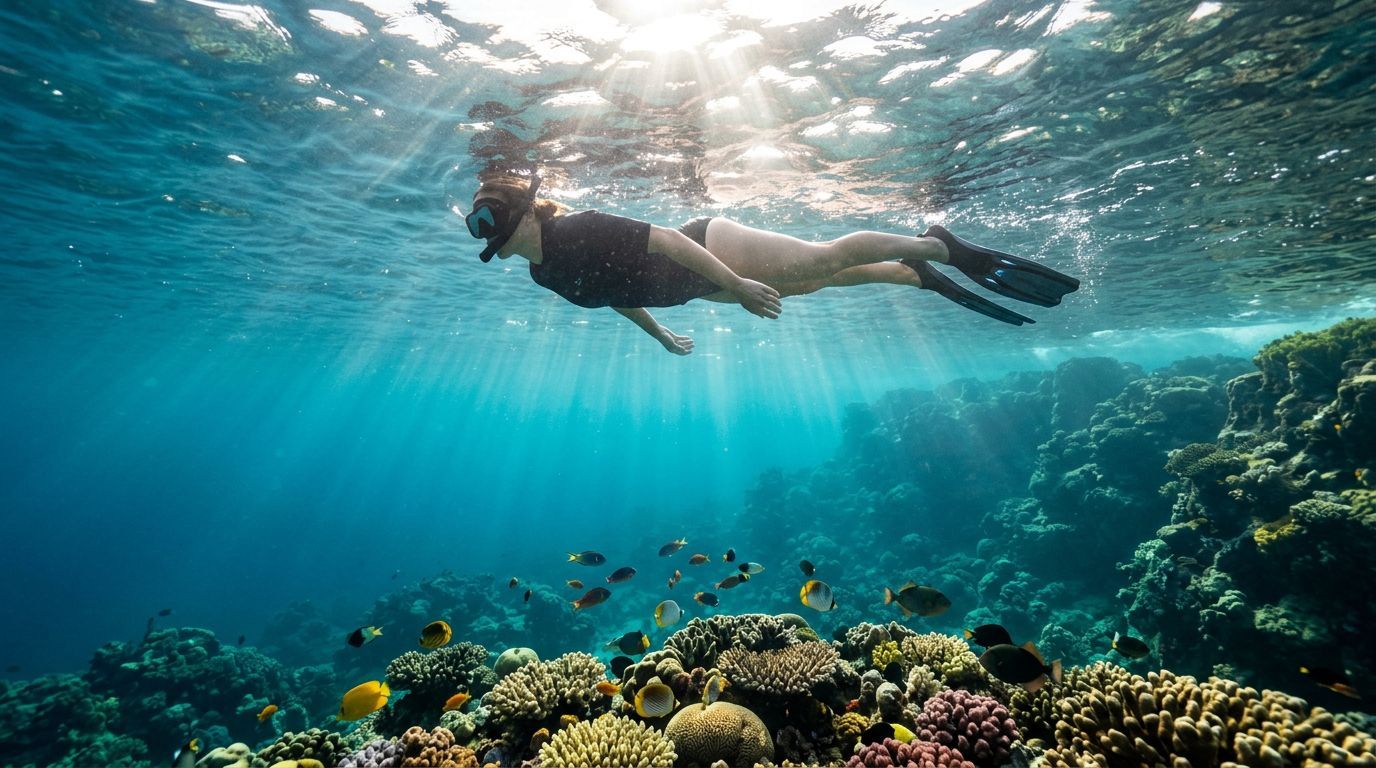
Kealakekua Bay snorkeling gives you access to some of Hawaii Island’s clearest water and richest reef habitat. It also requires good control in the water, especially when you need a break.
When you’re snorkeling Big Island Hawaii, the safest place to rest is usually the surface, not the seafloor. With the right body position, flotation support, and breathing habits, you can recover without touching living coral. Kona Snorkel Trips offers guided small-group adventures, while Captain Cook Snorkeling Tours is another Captain Cook-focused option to consider.
Why coral-safe resting matters in Kealakekua Bay
Kealakekua Bay is protected as a Marine Life Conservation District. The rules prohibit fishing, feeding fish, removing marine life, and taking coral, sand, rocks, or other natural material. You also need to keep your body, fins, and equipment away from the reef.
That protection is one reason the bay offers such memorable snorkeling. Your choices in the water help preserve the same habitat for future visitors.
Coral is living habitat
Coral may look like rock, but living coral animals form much of the reef structure. A fin, knee, hand, or dangling camera can break fragile branches or scrape the surface. Sediment stirred by repeated contact can also settle over coral and interfere with its health.
Even a quick touch creates a problem when many visitors repeat it throughout the day. The safest habit is simple: keep your entire body suspended above the reef.
Hawaii’s Department of Land and Natural Resources provides conservation guidance through its marine resource action guide. The guidance supports responsible behavior around sensitive marine habitats, including leaving natural features and wildlife undisturbed.
Resting is a water skill
You don’t need to stand to recover your breath. You need to make your body stable enough that the water carries your weight.
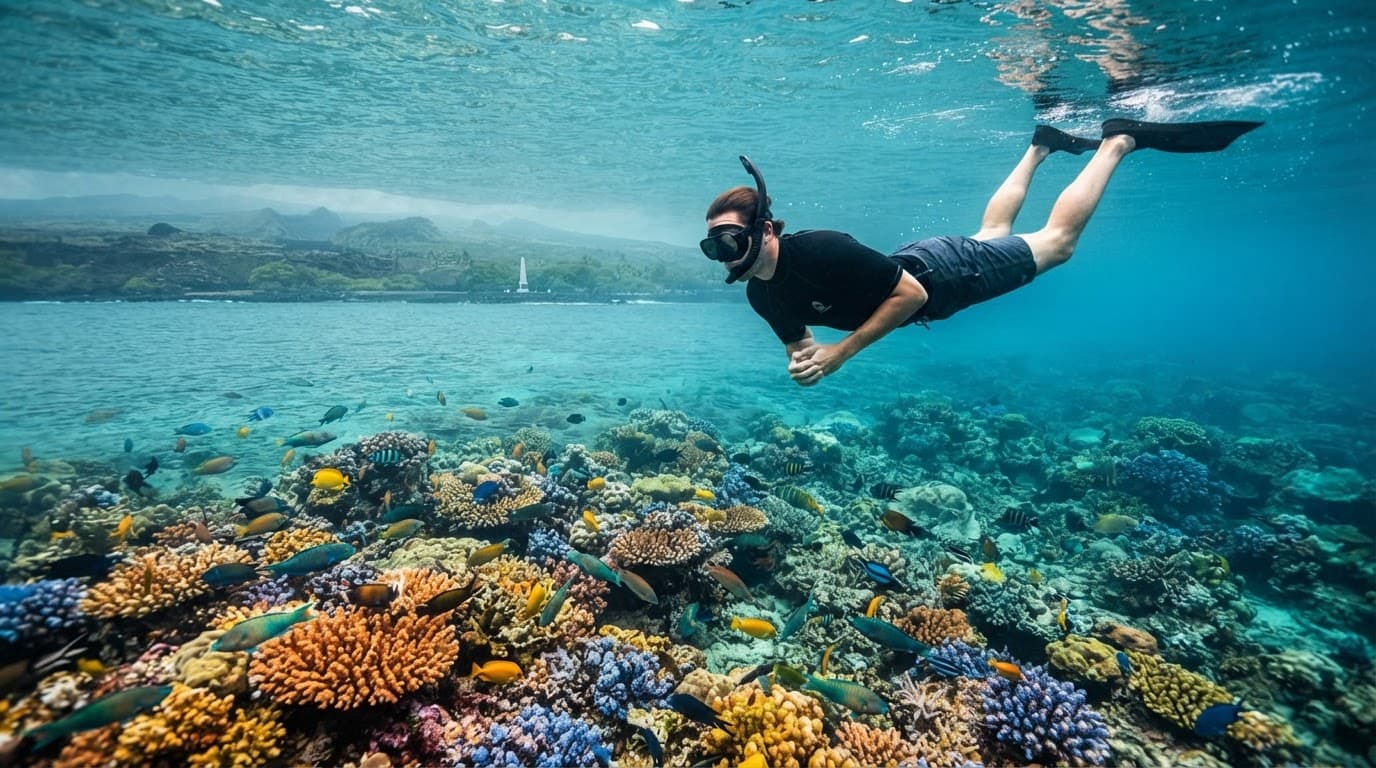
A relaxed, horizontal position uses less energy than treading water. Your mask stays in the water, your fins remain behind you, and your arms can rest in front of your body. Once you learn this position, you can pause without reaching for the bottom.
Kealakekua Bay snorkeling: How to rest without standing on coral
The best resting technique keeps you floating with minimal movement. You should feel supported by your mask, snorkel, fins, and the water rather than by the reef.
Stay flat and let the water support you
Keep your chest near the surface and extend your legs behind you. Let your hips rise instead of allowing your knees to drop toward the reef. A horizontal body position keeps your fins away from coral and reduces drag.
Relax your shoulders and keep your hands in front of you. You don’t need to paddle constantly. Small movements are enough to maintain position when the water is calm.
If your legs begin to sink, avoid pushing downward with your feet. Instead, take a steady breath, relax your neck, and lengthen your body. If your equipment fits correctly, your position should improve without contact below.
Use short kicks instead of frantic swimming
Long, forceful fin strokes create fatigue quickly. They also make it harder to judge your distance from the reef.
Use short kicks from your hips and ankles. Keep the fins in the water, where they can move efficiently without splashing. When you need a longer pause, stop kicking for several seconds and allow your momentum to carry you.
Slow breathing matters just as much. Breathe normally through the snorkel and avoid holding your breath. If the snorkel feels restrictive, lift your face slightly, clear it calmly, and resume when you feel settled.
If your fins are close enough to touch coral, you’re too close. Move into open water before you need to rest.
Better places to pause while snorkeling
The best resting spot depends on your comfort, the current, and the location of the reef. You should always follow your guide’s instructions and avoid moving toward shallow coral simply because it appears easier.
Pause above open water or sand
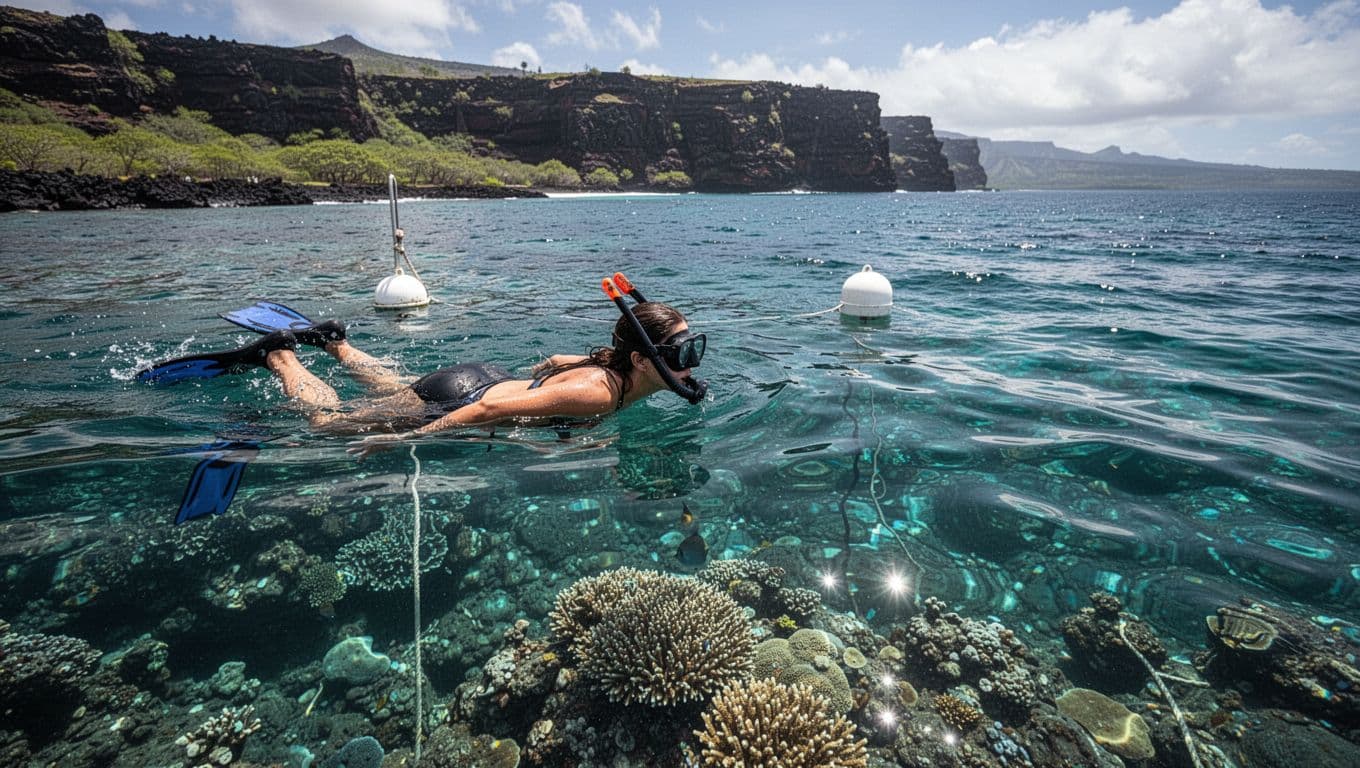
A clear sandy patch gives you visual space and makes it easier to monitor your fins. You can float above it without touching the bottom. Treat the sand as a reference point, not as a place to plant your feet.
Never drop your knees or lower your fins while you pause. Sand can contain small marine life, and shallow areas may still have coral heads or rocks that are hard to see through glare.
If the water becomes shallow, turn toward deeper open water before resting. You need enough depth to stay horizontal without your fins sweeping across the reef.
Rest beside the boat or approved flotation aid
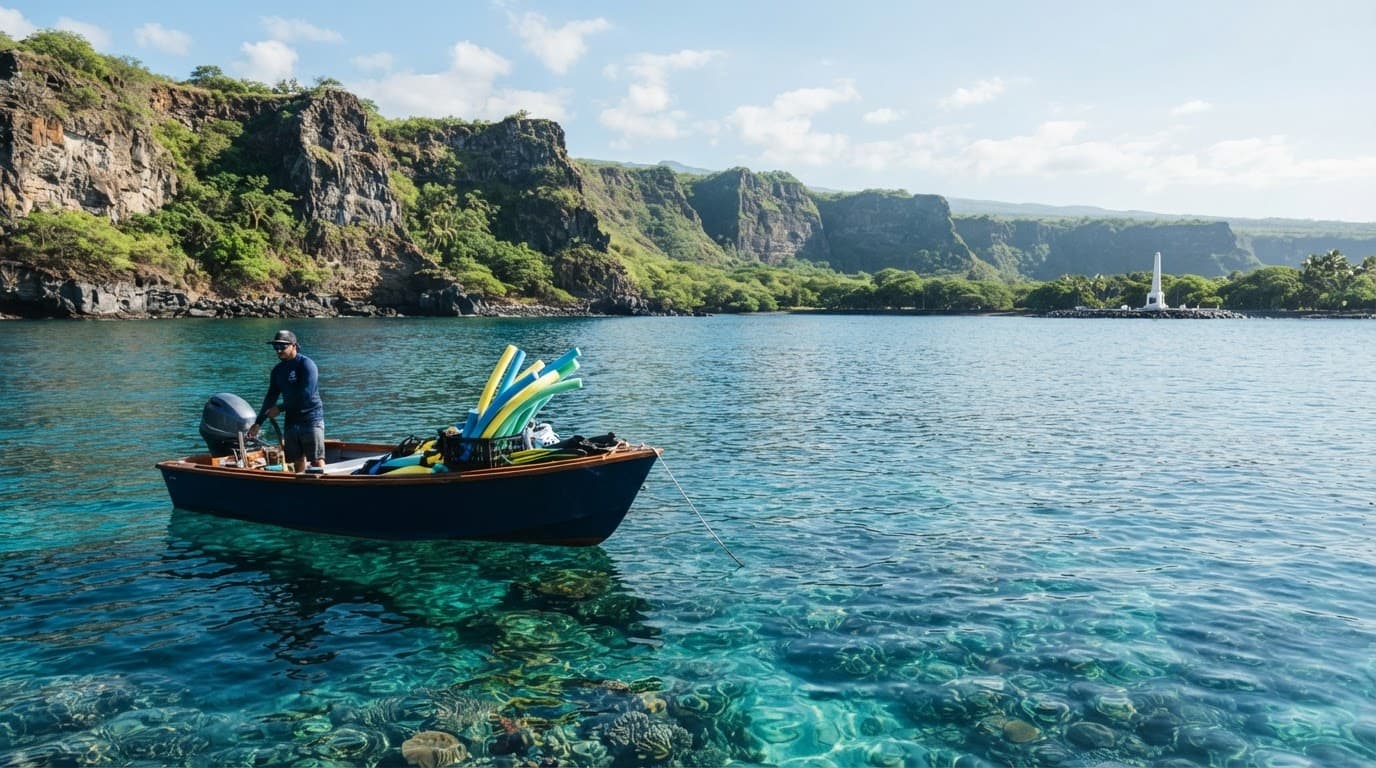
A boat, flotation noodle, or properly managed swim aid can give you a physical reference without damaging the seafloor. Stay beside the boat rather than underneath it, and keep clear of the propeller area.
When you use a noodle, hold it lightly and keep your feet away from coral. Don’t tie flotation equipment to reef structure or use a rock as an anchor point.
A guide can also position the group near a safe area for pauses. This is one advantage of a guided trip, especially when several people in your group have different swimming abilities.
Prepare before you enter the water
Comfort starts before you reach the reef. Poorly fitted equipment forces you to work harder, while missing information can make a calm snorkel feel stressful.
Fit your mask, snorkel, and fins
A mask should seal against your face without requiring a tight strap. Press it gently against your face, inhale through your nose, and check whether it stays in place. If water leaks in, ask for a different size or adjust the strap before entering.
Your snorkel should sit comfortably beside your head. The mouthpiece shouldn’t make your jaw ache after a few minutes. Fins should feel secure without pinching your toes or slipping from your heels.
Try every piece of gear in shallow water or beside the boat. A few minutes of adjustment can prevent a long, tiring swim later.
Add flotation if you need it
A flotation vest or noodle can help you conserve energy. Using flotation isn’t a sign that you can’t swim. It gives you more control when you encounter current, waves, or a group of swimmers.
Wear the vest according to the guide’s instructions. Keep enough space around yourself to kick gently and change direction. If you feel nervous, tell your guide before entering instead of waiting until you feel exhausted.
Apply sunscreen well before you get in. Current park-use materials restrict several common sunscreen ingredients, including oxybenzone and octinoxate. Check the latest local requirements and choose a reef-conscious product or protective clothing.
What to do when you feel tired or anxious
Fatigue can appear suddenly when you focus on fish, current, and other swimmers. The moment you notice heavy breathing or tense muscles, stop exploring and switch to recovery mode.
Stop moving before you feel exhausted
Turn away from the reef and float on your stomach if you can breathe comfortably through your snorkel. Keep your face in the water, look down, and take slow breaths.
If you feel uneasy, roll onto your back and breathe normally. Keep your fins away from the bottom. You can also lift your head, call for help, or use your flotation aid while you regain control.
Don’t reach for coral when your balance changes. Instead, move your body toward open water with one or two gentle fin strokes.
For visitors snorkeling Big Island reefs, the ability to pause calmly is more useful than swimming fast. You don’t need to cover every part of the bay in one session.
Signal your buddy or guide early
Stay close enough to your buddy or guide that you can communicate without a long swim. A raised arm can signal that you need assistance. Use a clear hand signal for “okay” when everything feels fine, and agree on signals before entering.
If you need to leave the water, say so. A professional guide would rather help you return to the boat early than watch you struggle near the reef.
Kealakekua Bay has no convenient aid station at the monument-side snorkeling area. Carrying a small amount of water on the boat and knowing where you’ll recover after the swim can make a major difference.
Plan your Kealakekua Bay snorkel trip carefully
Good planning keeps you from making rushed decisions once you’re in the water. Kealakekua Bay has controlled access, protected shoreline, and changing ocean conditions.
Understand access and landing limits
Nāpōʻopoʻo Landing is the main drive-up access point near the bay. The Captain Cook Monument and Kaʻawaloa shoreline aren’t road-accessible, and shoreline landing in that area is regulated.
You shouldn’t plan to swim ashore at Kaʻawaloa Flats unless your access is authorized. Commercial operators may have permits that allow specific uses, but a visitor can’t assume that a beach landing is permitted.
The bay is divided into managed subzones, and anchoring rules are strict. Anchors must avoid coral, with permitted anchoring limited to appropriate sandy areas in the designated zone. A plain-language Kealakekua Bay area guide can help you understand the layout before your visit.
A boat tour also removes much of the uncertainty around launch points, navigation, and reef access. You can spend your energy observing the bay instead of solving transportation questions at the shoreline.
Check conditions and pack for the outing
Wind, swell, visibility, and current can change during the day. Ask about the forecast and planned snorkeling area before you enter. A guide may adjust the route when conditions make a site less comfortable.
Bring a swimsuit, towel, water, sun protection, and any prescription medication you need. If you’re prone to seasickness, follow your doctor’s advice and take action before boarding, not after symptoms begin.
When you snorkel Big Island waters, remember that clear visibility can make depth look deceptive. A reef that appears close may be several feet below you, while a shallow coral head may blend into the surface glare.
Choose a guided trip that respects the reef
A good guide does more than point out fish. You should receive a clear safety briefing, equipment help, entry instructions, and a plan for returning to the boat when you need a break.
Look for safety and small-group care
Ask whether guides are trained in water safety and whether flotation equipment is available. You should also learn where to meet your buddy, how to signal the crew, and which areas you need to avoid.
Small groups make these conversations easier. A guide can see when you are struggling, keep swimmers away from shallow coral, and identify safe places to pause.
Kona Snorkel Trips follows a “Reef to Rays” philosophy, with a focus on small-group service, quality snorkeling equipment, reef education, and responsible ocean behavior. Its team includes Lifeguard Certified guides who help guests stay comfortable while exploring Hawaii Island’s marine habitats.
The company offers Big Island snorkeling tours with a personal approach rather than a crowded, impersonal boat experience. Its guides can help you practice floating, adjust your gear, and understand why you should never use the reef as a handhold.
You can check availability before choosing a date.
Ask about the Captain Cook route
If you specifically want Kealakekua Bay and the Captain Cook Monument area, ask what access the trip uses and where you will enter the water. You should also ask how the crew handles tired swimmers and what flotation options are onboard.
Captain Cook Snorkeling Tours focuses on this area and can be another company to review while planning your trip. For Kona Snorkel Trips’ Captain Cook and Kealakekua Bay outing, you can check availability for current dates.
Common mistakes that damage coral
Most reef contact happens when visitors try to solve a comfort problem too late. You can prevent it by recognizing the warning signs early.
Don’t use the reef as a handrail
Grabbing a coral head may feel harmless when a wave pushes you sideways. It can break the reef and place you in a poor position for the next wave.
Keep your hands relaxed and swim toward open water instead. If you need physical support, use an approved flotation aid or ask your guide for help.
Avoid dragging cameras, fins, or straps across the bottom. Secure loose equipment before entering, then check it during the swim.
Don’t chase wildlife or feed fish
Fish feeding is prohibited in the Marine Life Conservation District. Feeding changes natural behavior and can draw animals toward swimmers.
Give turtles, rays, dolphins, and fish room to move. You can get a better view by staying still and allowing wildlife to approach on its own. Chasing an animal also increases your chance of kicking coral or losing track of your buddy.
A simple coral-safe routine to remember
Use this sequence whenever you need to rest during Kealakekua Bay snorkeling:
- Swim into open water before stopping, and create space between your fins and the reef.
- Turn your body horizontal, relax your shoulders, and stop kicking for a moment.
- Breathe slowly through your snorkel, or roll onto your back if you feel uncomfortable.
- Signal your buddy or guide if you need flotation, a longer break, or a return to the boat.
Practice the routine in a clear area before you reach the most interesting coral. Once you can float without touching the bottom, you’ll have more time to watch fish and less reason to worry about your footing.
Keep your reef experience safe and respectful
The best Kealakekua Bay snorkeling memories come from moving gently through the water and leaving the reef untouched. You can rest by floating horizontally, using a permitted flotation aid, or returning to the boat before fatigue affects your control.
Check access rules, follow your guide’s instructions, and protect the bay with reef-conscious sunscreen and careful fin technique. When you give the coral space, you protect the habitat that makes the Captain Cook area worth visiting in the first place.