
Kealakekua Bay Snorkeling: Coral or Sponge?
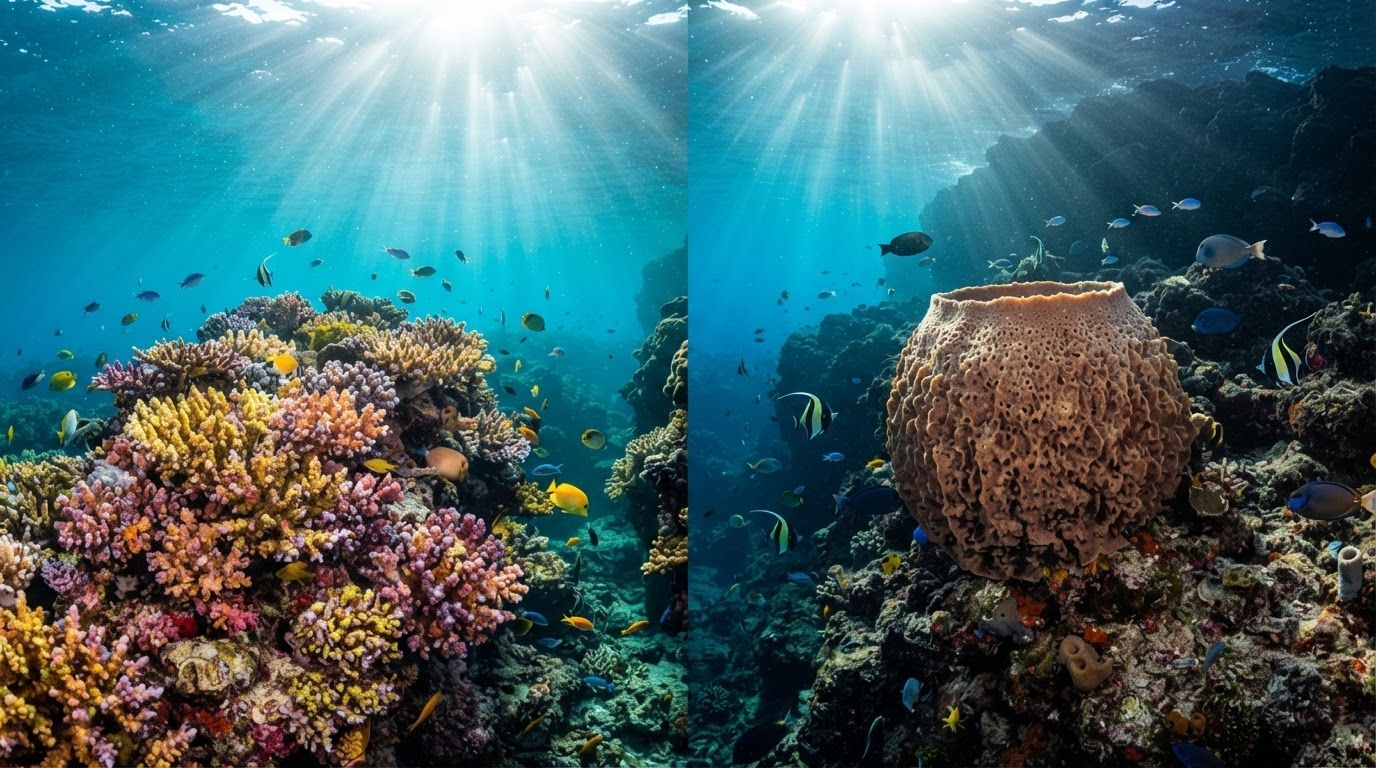
One rounded patch on the reef can look like coral at first glance, but Kealakekua Bay snorkeling rewards a closer look. When you’re snorkeling Big Island Hawaii waters, learning the difference helps you understand the reef without touching or disturbing it.
Kona Snorkel Trips pairs clear water with lifeguard-certified guides who can point out subtle marine life details while you stay at a safe distance. With a few simple visual checks, you can identify coral, sponge, and several common look-alikes during your next swim.
Kealakekua Bay snorkeling: Why the reef can fool your eyes
Kealakekua Bay has protected water, volcanic formations, and rich marine habitat. On a clear day, visibility can reach up to 100 feet, according to the Kealakekua Bay snorkeling tours information from Kona Snorkel Trips.
That clarity lets you see reef details from the surface. However, sunlight, depth, water movement, and distance can change how each organism appears.
A protected bay with many textures
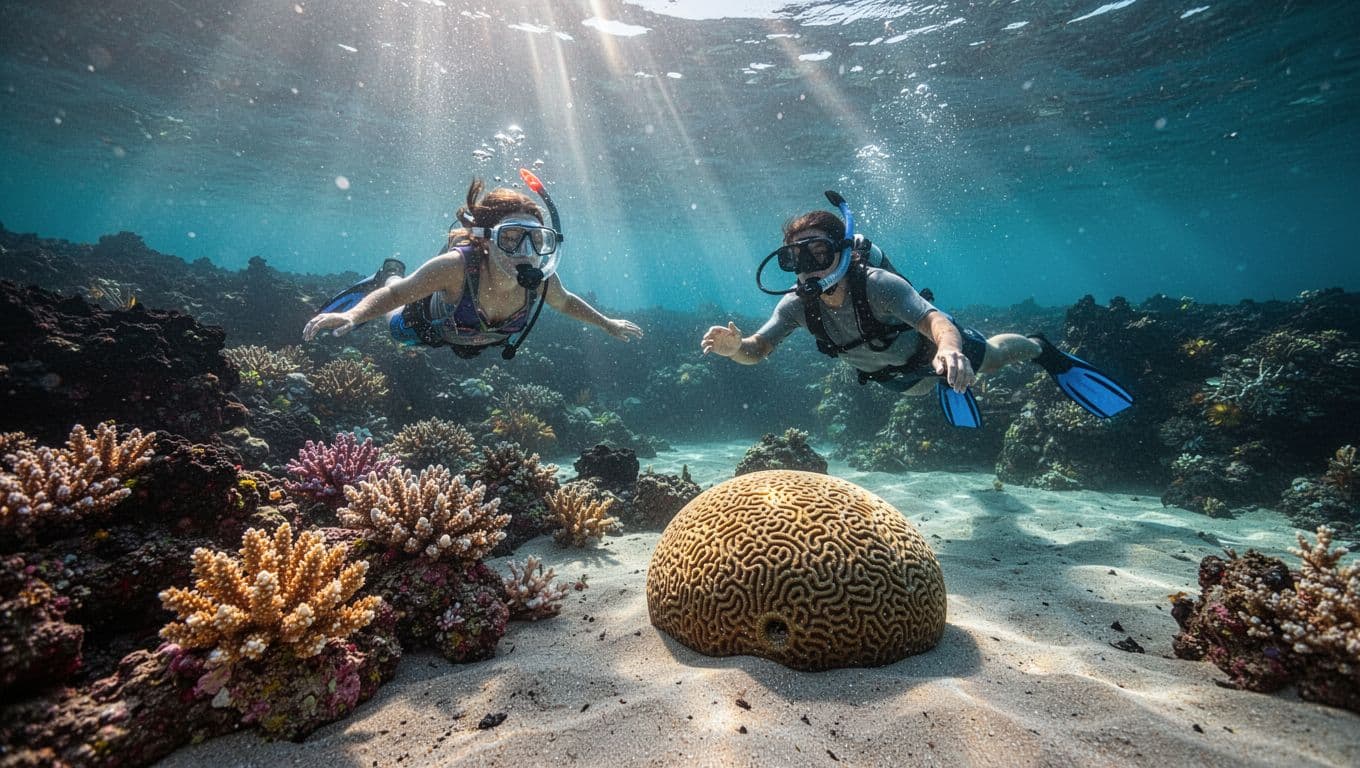
The Captain Cook Monument area sits within a marine sanctuary known for tropical fish, coral habitat, and underwater volcanic features. Arches, ledges, and swim-throughs create shaded areas where organisms grow in different shapes.
A coral colony may cover a broad section of rock, while a sponge grows as a low mound or rounded tube nearby. From several feet above the bottom, both can appear as colorful, stationary patches.
The reef also changes as you move along the bay. A sunlit surface may look bright and smooth, while the same organism in a shadowed crevice can appear dark, gray, or almost black.
Why color is a weak clue
Color can help, but it shouldn’t lead your identification. Brown, tan, cream, yellow, orange, and green shades can appear across many reef organisms. Water depth also removes some colors, while strong sunlight can make muted surfaces appear brighter.
Instead, focus on structure and texture. Ask whether the surface shows repeated small units, visible openings, a hard framework, or a soft-looking irregular shape. Those details remain more useful than color alone.
The most reliable clue is structure, not color: coral repeats, while sponge filters.
What coral looks like underwater
Coral is an animal, not a plant or rock. Reef-building corals consist of colonies made from many tiny animals called polyps. Each polyp forms part of the colony’s living surface and contributes to the shape you see underwater.
The Smithsonian Ocean explanation of coral and sponge traits shows why scientists compare physical features such as shape, color, and size when identifying marine organisms.
Look for repeating polyps
A healthy coral surface often has a repeated pattern. You may see tiny cups, bumps, pits, or flower-like openings arranged across a mound, plate, branch, or encrusting layer.
You probably won’t see individual polyps clearly while wearing a standard snorkel mask. Still, the colony may show a regular texture that resembles many small units grouped together. The pattern can look like a field of tiny dimples or closely spaced circles.
Some coral surfaces appear smooth at a distance. As you get closer, the repeated structure becomes easier to notice. Keep your body level and adjust your position with gentle fin movements rather than reaching toward the reef.
Notice the hard architecture
Many reef-building corals create a hard calcium carbonate skeleton beneath their living tissue. That skeleton gives colonies their firm shape and helps form the reef’s structure.
You may see rounded mounds, branching fingers, ridges, shelves, or flat plates. The edges often look defined, and the colony can cast a solid shadow across the rock.
A pale, chalky area may be exposed skeleton rather than healthy living tissue. Dead coral can still retain its original pattern, so color and movement alone don’t confirm that a colony is alive. Look for living surface texture and repeated polyp structure.
What a sponge looks like underwater
Sponges are also animals, but their bodies work differently. They draw water through many small pores, filter particles, and release water through larger openings. NOAA’s overview of marine sponges describes sponges as simple animals without the tissues found in more complex animals such as corals.
A sponge may look less organized than coral. Its form often follows the available rock, shade, current, and space.
Search for pores and openings
A sponge’s surface may resemble foam, mesh, velvet, or a coarse kitchen sponge. Tiny pores can be difficult to see, but larger openings may stand out as round holes, short tubes, or shallow depressions.
Some sponges have one obvious opening near the top. Others contain several openings spread across a lumpy surface. The openings may look irregular rather than arranged in a repeating pattern.
Water flow can also help. A sponge doesn’t wave like sea grass, but suspended particles may move near its openings. Never touch the surface to test it. Your hand can damage the organism, and you don’t need contact to identify it.
Follow the shape and surface
Sponges commonly form lobes, tubes, crusts, low mounds, or irregular cushions. Their edges may blend into the surrounding rock instead of forming a clean architectural boundary.
The surface can look soft, although you should never press it to confirm. Some sponges are smooth and polished, while others have deep channels or a rough, porous finish.
Coral usually gives you a sense of repeated construction. Sponge often looks more like a single flexible body with holes and channels. That distinction isn’t perfect, but it becomes clearer when you combine the outline with the surface pattern.
Coral or sponge? The clues that work fastest
You don’t need to identify a species to tell the two groups apart. You only need to compare a few visible features without disturbing the reef.
| Feature | Coral | Sponge |
|---|---|---|
| Overall form | Mounds, branches, plates, or ridges | Lobes, tubes, crusts, or irregular cushions |
| Surface | Repeated polyps, cups, pits, or bumps | Pores, holes, channels, or a porous surface |
| Structure | Firm-looking, defined framework | Softer-looking body with blended edges |
| Pattern | Often regular and repeated | Often irregular and uneven |
| Best clue | Colony architecture | Openings and filtering texture |
The table gives you a quick reference, but underwater identification still depends on distance and lighting.
Use three clues together
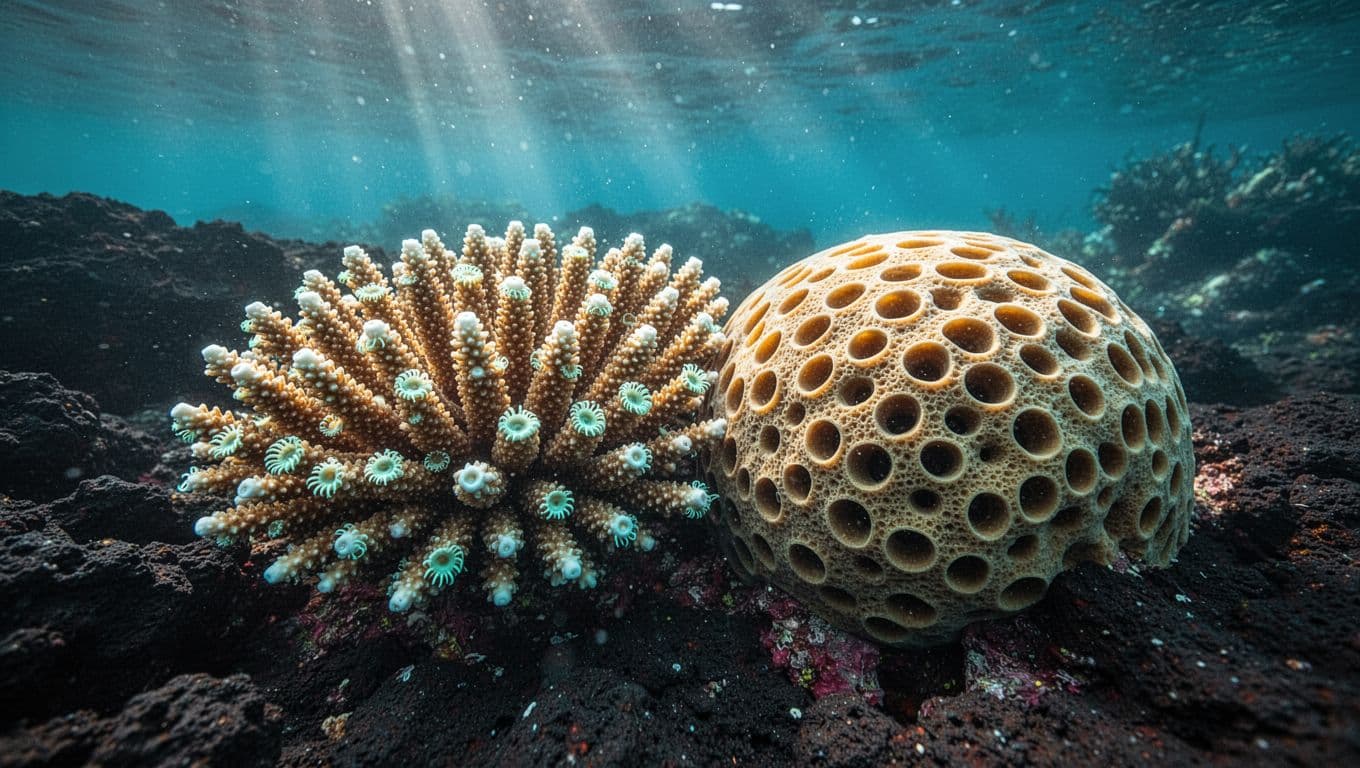
Start with the outline. Does the organism rise in branches, shelves, or a firm mound? That points toward coral, especially when the surface contains many repeated pits or bumps.
Next, inspect the surface. A porous texture with obvious holes suggests sponge. A regular pattern of small cups or units suggests coral.
Finally, check the relationship between the organism and the rock. Coral often creates a distinct, structured colony. Sponge may spread across the surface, fill a crack, or form a shape that follows the rock beneath it.
No single clue works every time. Use at least two or three features before deciding.
When the answer remains unclear
Some organisms are hard to identify through a mask. Sediment may cover the surface, shadows can hide openings, and a damaged coral colony may lose its obvious pattern.
If you can’t tell, treat the organism as living habitat. Keep your fins away, avoid hovering directly above it, and ask your guide during the next surface pause. A guide who knows the bay can help you recognize the difference without encouraging contact.
A 30-second identification routine
A short observation routine keeps you focused without making you drift into the reef. You can use it whenever you notice an unfamiliar patch beneath you.
Start with a calm scan
Pause your kicking and let your buoyancy support you. Keep your torso horizontal, place your fins behind you, and look at the organism from several feet away.
Then use this sequence:
- Check the outline. Look for branches, plates, ridges, tubes, lobes, or a low crust.
- Study the surface. Search for repeated polyp shapes, pores, channels, or larger openings.
- Watch the edge. A firm, defined edge often points toward coral, while a blended edge may indicate sponge.
- Recheck the color only after studying the structure. Treat color as supporting evidence, not proof.
The routine takes less than a minute. It also gives you time to notice fish using the reef for shelter.
Keep your body out of the habitat
Your fins can cause more damage than you realize when the water is shallow. A downward kick may strike a coral branch, scrape a sponge, or stir sand across living tissue.
Use slow, compact fin strokes. If you need to stop, float in open water rather than reaching for the bottom. A guide can show you how to adjust your position if current or waves move you toward the reef.
Common reef look-alikes in Kealakekua Bay
Coral and sponge aren’t the only things that can confuse you. Several natural features may look biological when you first see them through a mask.
Algae, volcanic rock, and dead coral
Algae may appear as a green film, brown coating, fuzzy patch, or leafy growth. Unlike coral, algae often moves with the water or has a loose, soft edge.
Volcanic rock has hard edges and dark surfaces, but it doesn’t show repeated polyps or active openings. Lava formations can still host coral and sponge, so inspect the growth rather than labeling the entire area as one organism.
Dead coral may look pale, white, or gray. Its skeleton can retain ridges and holes after the living tissue disappears. Don’t scrape it or pick it up. Even old coral structure can provide shelter for small marine life.
Anemones and other animals
Anemones can resemble soft coral or a colorful sponge when their tentacles are retracted. When open, their tentacles usually give away their identity. They may sway in the current and appear softer than a coral skeleton.
Hydroids and other small growths can also create fuzzy or branching shapes. Some are best left unidentified unless a guide points them out. A clear photograph from a distance may help later, but don’t chase an organism or block another swimmer’s path.
When snorkeling Big Island reefs, curiosity works best with patience. You don’t need to touch an unfamiliar animal, turn over rocks, or collect a sample.
How to snorkel around coral and sponge habitat
Good reef etiquette protects the organisms you’re trying to understand. It also makes your swim calmer and safer.
Stay off the bottom
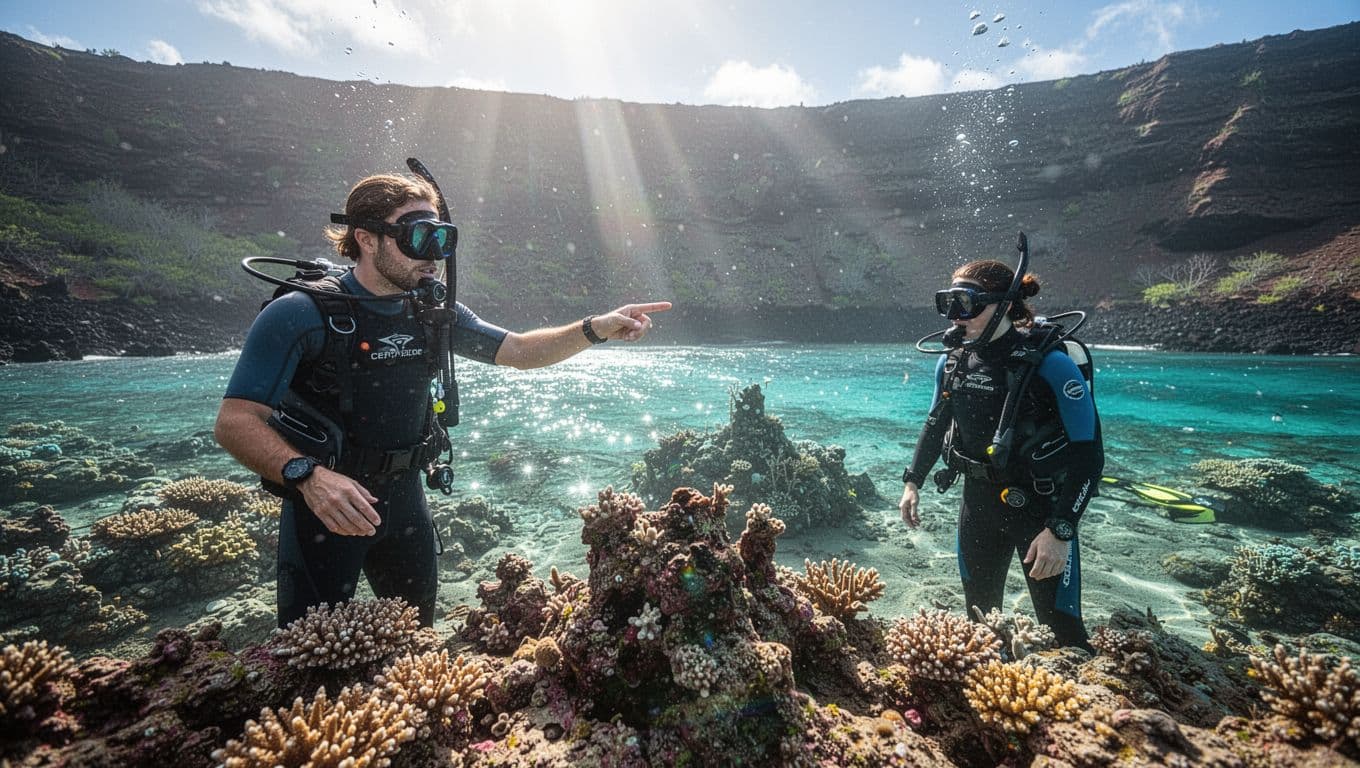
Never stand on coral, sponge, or volcanic reef. Avoid resting your hands on the bottom, even if you feel tired or need to steady yourself.
Pause in open water instead. If you aren’t comfortable floating, tell your guide before entering the water. A properly fitted flotation aid can help you observe without using the reef for support.
Hawaii’s marine conservation guidance from the Department of Land and Natural Resources encourages visitors to protect marine resources through careful behavior. That means leaving organisms where they grow and keeping your equipment away from the reef.
Protect water quality
Use a rash guard to reduce the amount of sunscreen you need. When you apply sunscreen, choose a mineral formula and follow current Hawaii rules regarding restricted chemical ingredients.
Rinse sand from your body before applying more sunscreen. Avoid spraying products near the water, and don’t throw food or objects into the bay.
Coral and sponge habitat can be damaged by physical contact, pollution, and changes to the seafloor. NOAA Fisheries describes coral and sponge ecosystems as vulnerable to human activities that disturb their surrounding habitat. Your small choices matter when many visitors share the same reef.
Choosing a guided Kealakekua Bay snorkeling trip
A guided tour can turn a confusing patch of reef into a memorable lesson. You get help with equipment, water entry, current awareness, and safe observation. You also have someone to ask when coral and sponge look nearly identical.
What a good guide adds
Look for a company that provides a clear safety briefing before you enter the water. Your guide should explain how to use the mask and fins, where to swim, how to signal for help, and how to keep away from the reef.
Kona Snorkel Trips follows a “Reef to Rays” philosophy centered on small-group service, guest safety, reef education, and responsible ocean practices. Its lifeguard-certified guides can point out coral patterns, sponge openings, fish habitat, and volcanic features while you remain at a respectful distance.
The company provides high-quality snorkeling gear, snacks, and drinks on its Captain Cook excursion. The trip is designed for a range of snorkelers, including families who want guidance in Kealakekua Bay.
For a Kona reef outing, you can check availability before choosing a date.
Why small groups help
A smaller group gives you more room to float, observe, and ask questions. You won’t need to crowd a guide to see the feature being discussed.
The pace also feels more relaxed for mixed-experience groups. Strong swimmers can explore nearby habitat while newer snorkelers receive extra support. Couples and families often appreciate having a guide who can adjust the route to water comfort, visibility, and conditions.
For a bay-focused booking, you can also visit Captain Cook Snorkeling Tours. Kona Snorkel Trips also offers a dedicated Captain Cook snorkeling tour with equipment and in-water guidance.
If Kealakekua Bay fits your plans, you can check availability for a Captain Cook departure.
If your family or group wants a flexible route, private Kona boat charters can provide a more personal format.
What to bring and how to prepare
The best identification starts before you enter the water. Comfortable gear and realistic expectations help you stay calm enough to notice small reef details.
Choose comfort over extra equipment
Your mask should seal without constant adjustment. A leaking mask forces you to focus on clearing water instead of observing the reef.
Fins should feel secure without pinching. Loose fins can fall off, while tight fins cause discomfort and lead to inefficient kicking. A rash guard adds sun protection and reduces the need for sunscreen.
If you wear prescription glasses, ask whether your tour provider offers corrective masks. Bring water, a towel, dry clothes, and any medication you may need after swimming.
A phone or camera can record what you see, but don’t let photography pull you too close to the bottom. Keep the device relaxed in one hand and maintain your distance.
Check conditions and your own comfort
Ask about wind, swell, current, water temperature, and the planned entry point. Conditions can affect visibility and make a familiar reef look different.
Morning or afternoon light may change the colors you see. A surface glare can hide texture, while shade can make a bright organism appear dull. Give your eyes time to adjust after entering the water.
If you feel anxious, stay near your guide and use slow breathing. Tell the crew if you need a break. A good tour makes room for questions and comfort instead of treating every swimmer the same.
Conclusion
During Kealakekua Bay snorkeling, coral usually reveals itself through repeated polyps and firm colony structure. Sponge tends to show pores, channels, and irregular shapes. Color can support your decision, but texture and form give you better evidence.
Keep your fins and hands away from the reef, observe from open water, and ask a guide when the answer isn’t clear. Once you learn to look for structure, you can snorkel Big Island reefs with more confidence and leave the habitat exactly as you found it.