
How to Recognize Algae During Kealakekua Bay Snorkeling
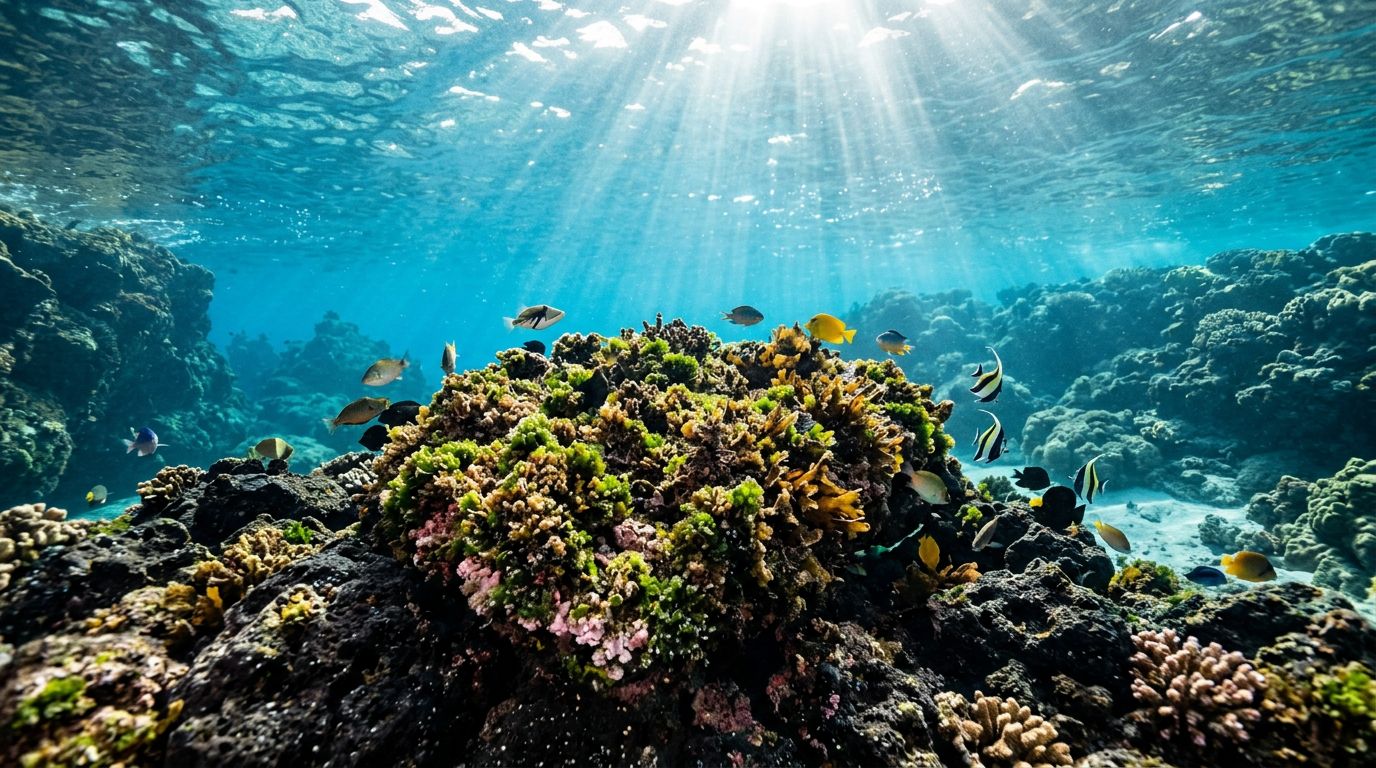
At first glance, algae may look like green fuzz, brown leaves, or a pink stain on volcanic rock. During Kealakekua Bay snorkeling, learning to spot those differences helps you understand the reef without touching or disturbing it.
The bay gives you unusually clear water, colorful fish, lava formations, and healthy reef habitat in one protected setting. A guided outing with Kona Snorkel Trips can help you identify what you’re seeing while keeping your attention on safe, low-impact observation. Start with the texture, then study the color, shape, and location.
How Kealakekua Bay snorkeling reveals a living reef
Algae is a normal part of a Hawaiian reef. It uses sunlight to produce energy, and it provides food or shelter for marine life. The Hawaii Coral Reef Initiative report describes algae as a primary producer of organic matter in Hawaii’s coastal reef ecosystems.
That doesn’t mean every algae-covered rock shows perfect reef conditions. It also doesn’t mean algae is harmful. You need to consider the type of growth, how much is present, and what surrounds it.
Algae is not automatically a warning sign
A small patch of green turf on bare lava rock is often part of the natural reef community. Herbivorous fish may graze on it throughout the day. Sea urchins also feed on algae and help keep some surfaces clear.
Larger growth can appear after changes in sunlight, water movement, nutrients, or grazing pressure. However, you shouldn’t diagnose pollution or reef damage from one underwater view. Water movement can gather loose material in one spot, while shadows can make a normal patch appear darker than it is.
One patch cannot diagnose reef health
Look at the wider habitat before forming an opinion. Are fish feeding nearby? Do you see different textures on the surrounding rock? Are coral colonies, sand channels, and open lava surfaces also present?
Healthy marine habitats contain many small changes. One rock may support a thin film, while the next has hard pink crust or no visible growth. That variation gives you more useful information than a single color.
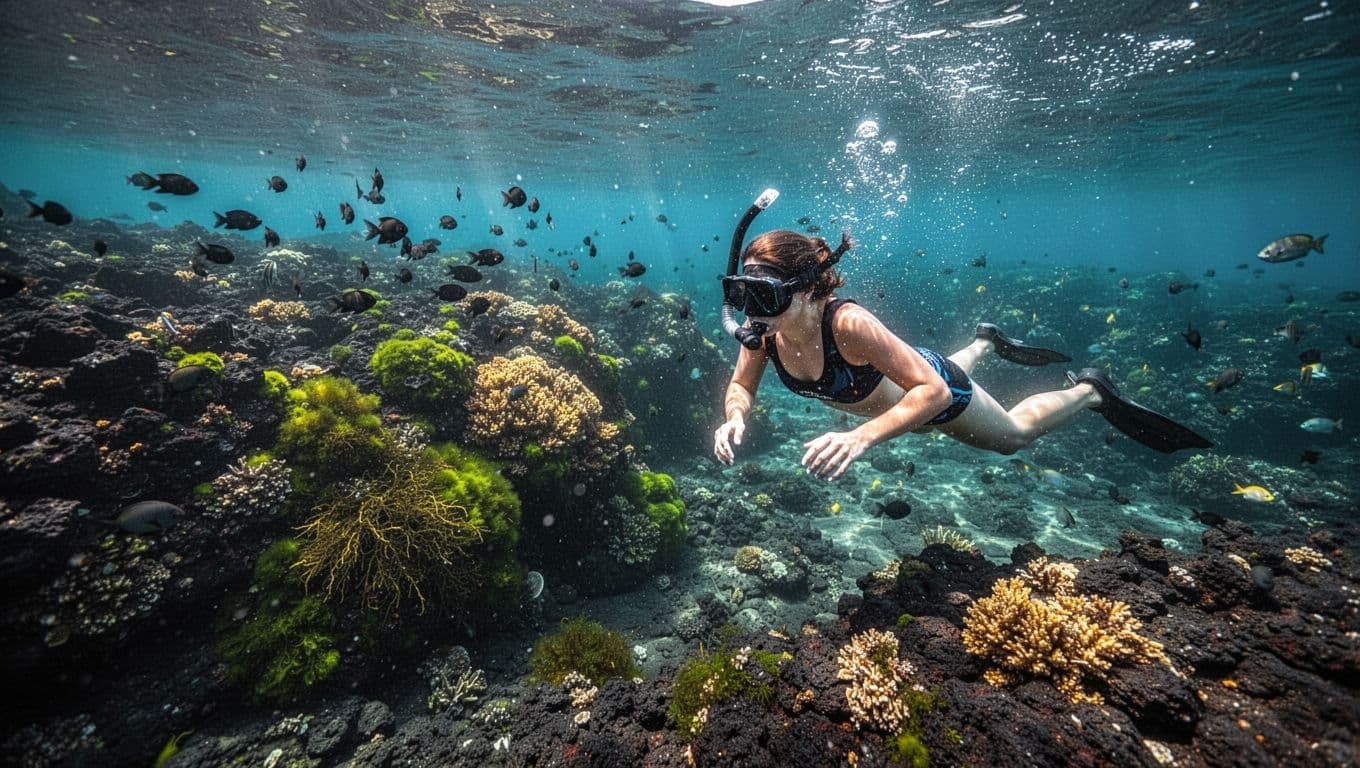
Start with texture, then study color
Color changes underwater. Blue water filters light, depth shifts how you perceive shades, and your mask can add a slight tint. Texture usually gives you a better first clue.
Keep your face in the water and float without kicking hard. Look at the algae from several angles. A patch that seems smooth from above may show fine strands when sunlight reaches it from the side.
Look for fuzzy, low growth
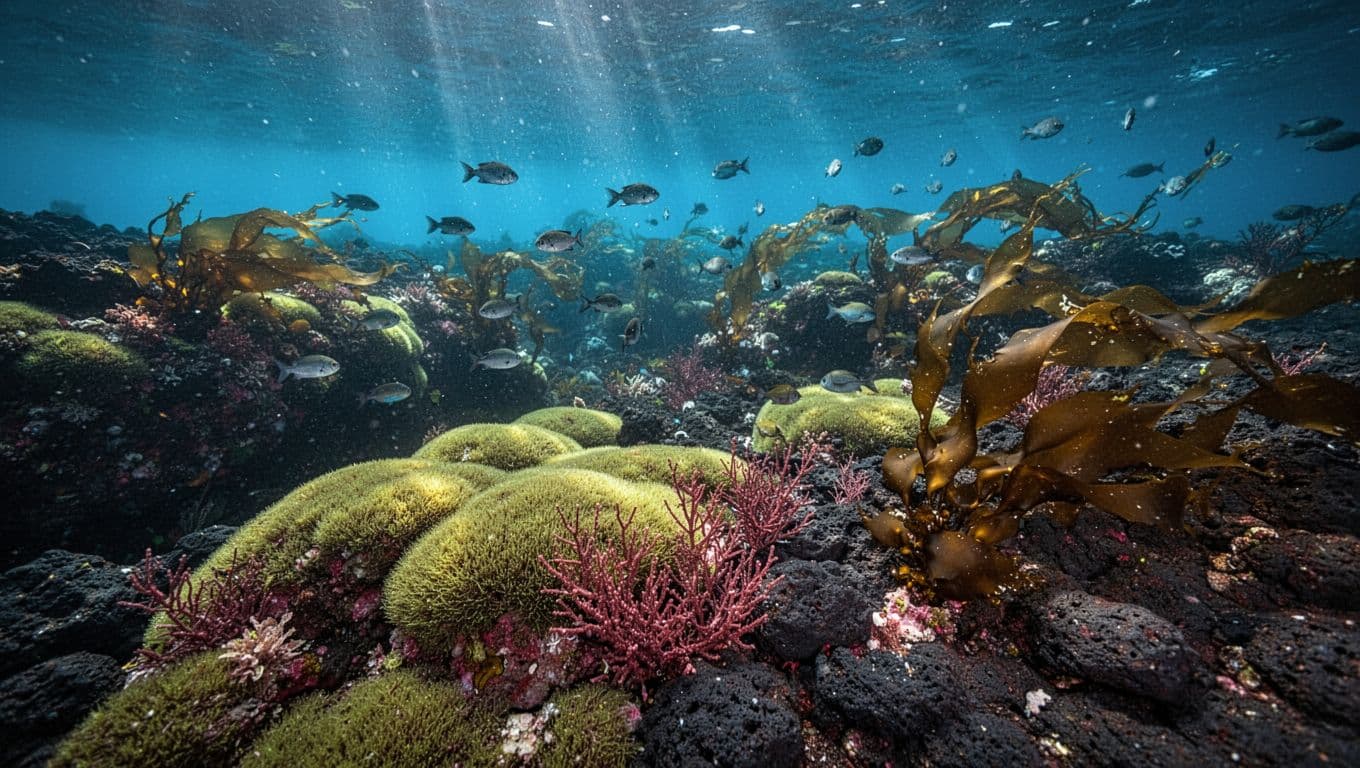
Turf algae often appears as a short, dense mat over rock. It can look green, olive, brown, or nearly black depending on depth and light. Some areas resemble fine velvet, while others look like a thin layer of hair.
This growth stays close to the surface. It doesn’t usually form tall blades or broad leaves. Small fish may hover above it, and grazing fish may make repeated passes over the same area.
Avoid scraping the rock to see what lies below. You can observe the texture without removing anything.
Watch for leafy or branching forms
Macroalgae is larger and easier to see as an individual shape. It may have flat blades, narrow strands, or branching sections that move with the current. Colors range from green and golden brown to red or burgundy.
The movement matters. Loose growth bends or sways as water passes, while a thin film on rock remains fixed. Still, movement alone doesn’t identify the organism. Small coral structures, sponges, and other reef life can also look soft or branching.
Common algae forms you may see
You don’t need a marine biology background to make useful observations. Focus on a few broad forms rather than trying to name every species.
Turf algae forms a short carpet
Turf is the low, fuzzy growth you may see covering exposed lava. It often appears in small patches between coral colonies or across rock that receives steady sunlight.
A close look may reveal several fine strands packed together. Fish grazing across the surface can also help you recognize it. The reef may look brown or green at first, but the texture separates turf from a smooth coating.
Larger algae moves with the current
Fleshy macroalgae has a more obvious body. Look for blades, ribbons, tufts, or branches that rise above the rock. The growth may wave gently even when the surrounding water seems calm.
Because these forms catch the current, they can collect sand or small debris. That doesn’t automatically make them unhealthy. Check whether the growth is attached, drifting, or gathered in a pocket between rocks.
Coralline algae creates a hard crust
Coralline algae is a type of red algae that can form a firm, crusty coating. Underwater, it may look pink, purple, lavender, gray, or white. The surface often resembles paint or a thin layer of stone.
Unlike soft turf, coralline growth doesn’t look hairy. It also doesn’t wave in the water. You may see it covering sections of bare lava or forming a crust around other reef surfaces.
A hard pink or purple crust and a loose green tuft may both be algae, but their textures tell you more than their colors.
Algae or coral? Use several clues
Snorkelers often confuse algae with coral because both can cover volcanic rock. You can make a reasonable field observation by looking for structure, movement, and surface detail.
Watch for animal structure
Coral is made of tiny animals. A colony may show repeated bumps, cups, branches, ridges, or small raised structures. From the surface, those details can be difficult to see, especially when the water is moving.
Algae usually looks like a coating, mat, blade, or soft branch. It may hide the surface beneath it, but it doesn’t show the same repeated animal pattern.
Sponges, hydroids, and other organisms can complicate the view. If you can’t tell what you’re seeing, leave it alone and ask a guide later.
Use distance instead of touching
Touching the reef rarely improves identification. Your fingers can damage living tissue, remove a fragile surface layer, or transfer oils and contaminants. Fins can cause even more harm when you stand or kick near the bottom.
Take a mental photograph instead. Note the color, texture, height, movement, and location. A guide can often identify a patch from those details without needing to handle it.
If you want more background before your trip, the Kealakekua Bay reef guide from Captain Cook Snorkeling Tours offers additional local context about the bay’s underwater habitat.
Where algae appears in Kealakekua Bay
Kealakekua Bay contains different underwater surfaces, so you won’t see the same algae in every area. Depth, sunlight, waves, grazing animals, and the shape of the lava all affect where growth develops.
Check shallow volcanic surfaces
Sunlit rock near the upper reef often supports visible turf or crust. Cracks and ledges can hold small algae patches where water movement brings nutrients and grazing fish can feed.
Flat areas may show a thin coating, while protected crevices can collect taller growth. Look at the edges of coral colonies without swimming directly over them. The contrast between bare rock, algae, and coral makes identification easier.
Compare the reef instead of chasing one spot
A short swim can reveal several textures. You may see low green turf, pink crust, bare black lava, and larger algae within the same general area.
Kealakekua Bay is known for clear water and reef habitat around the Captain Cook Monument. Kealakekua Bay information for visitors can help you understand the bay’s location and access before you arrive.
For a structured visit, a Kealakekua Bay Captain Cook snorkeling tour gives you a guide, equipment, and a planned route through the area. You can concentrate on observation instead of guessing where to enter or which reef sections are appropriate.
Snorkel without damaging algae or coral
Algae may be common, but the reef beneath it is still fragile. Your behavior matters even when you don’t see coral directly.
Keep your body off the reef
Maintain enough buoyancy to keep your knees, fins, and hands away from the bottom. Use slow, compact kicks in open water. If you need to rest, use a permitted flotation aid or return to the boat rather than placing your feet on rock.
Before entering the water, adjust your mask and fins so you won’t need to grab the reef later. A loose mask strap or slipping fin can cause a rushed movement near shallow coral.
Move around wildlife instead of following it closely. Fish may lead you toward a reef surface, but you don’t need to chase them into a narrow space.
Leave unusual growth in place
Don’t collect algae, shells, rocks, coral fragments, or anything else from the bay. Even loose material may belong to the local ecosystem. Never move growth from one area to another.
Hawaii’s marine conservation guidance includes practical steps for visitors who want to protect coastal resources. The DLNR marine conservation action guide is useful reading before a reef excursion.
Hawaii’s Department of Land and Natural Resources has also issued public alerts about invasive algae detections. If you notice unusual growth, take a mental note and tell your guide or the appropriate local agency. Don’t handle it or transport it on your gear.
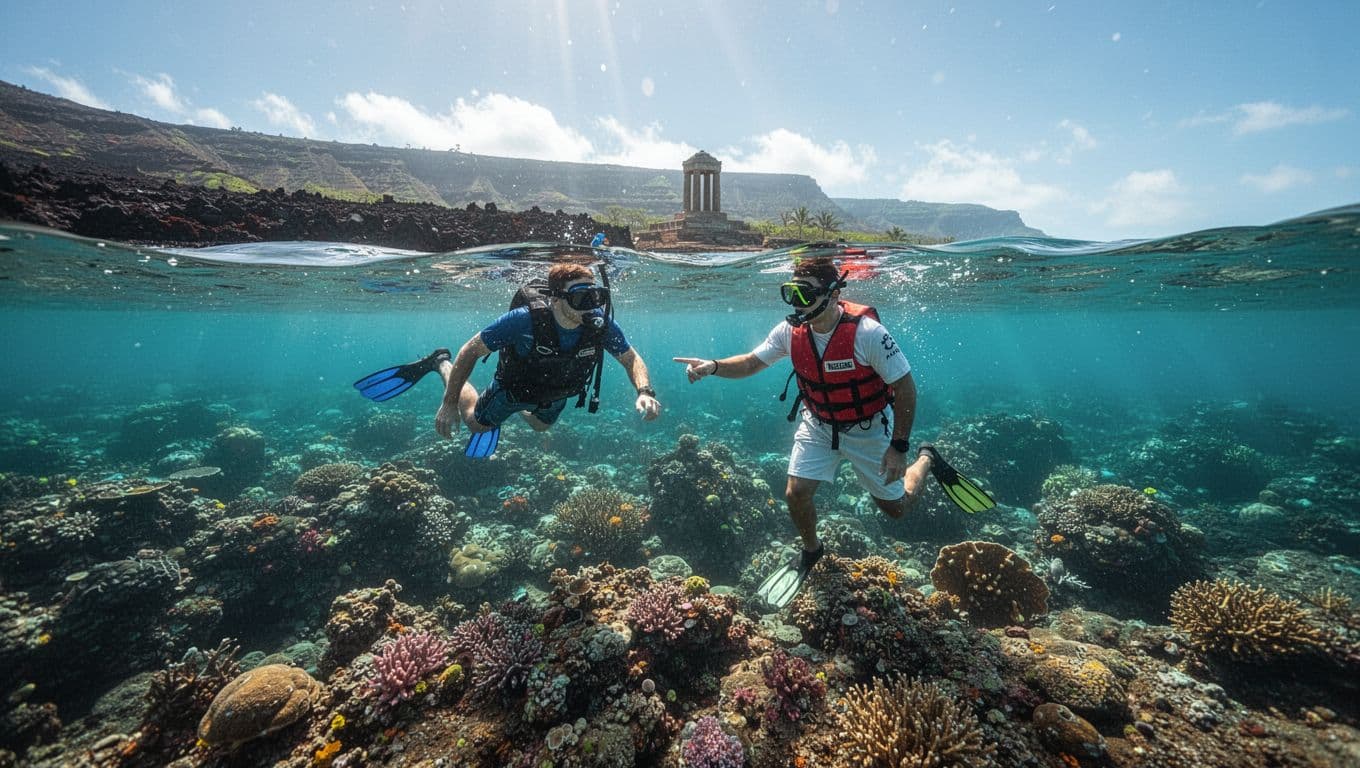
Prepare for clear, useful observations
Good preparation makes it easier to notice small reef details. It also keeps you safer when conditions change.
Bring simple snorkeling gear
A clear, well-fitting mask is the most important item for identifying algae. If water leaks into your mask, you’ll spend more time adjusting it than observing the reef.
Pack or wear:
- A properly fitted mask, snorkel, and fins
- A rash guard or other sun-protective layer
- Reef-conscious sunscreen applied according to local rules
- Drinking water and a towel
- A flotation aid if you need extra comfort in the water
Use an anti-fog solution made for masks. Household soaps and improvised products can irritate your eyes or enter the bay.
You can snorkel Big Island reefs from several locations, but Kealakekua Bay rewards careful viewing because its clear water often lets you inspect the reef without diving down.
Read conditions before entering
Check the day’s wind, swell, visibility, and current. A calm morning may offer better viewing, but conditions can change along the coast. A sheltered bay can still have uncomfortable entry points or strong water movement.
If you don’t swim confidently, choose a guided trip with flotation support and direct instruction. Children should stay close to a responsible adult or guide. Keep your mask on in the water so you can see the reef and your surroundings.
Good guides also know when not to enter. A canceled or shortened water session is safer than forcing a poor-weather plan.
Choose a guided Kealakekua Bay trip
A guide can point out algae without turning the experience into a formal science lesson. You get useful context while keeping your eyes on the reef.
Small groups make observation easier
Large groups can stir sand, crowd shallow habitat, and make it difficult to hear instructions. A smaller group gives you more space to float and compare reef surfaces.
Look for guides who explain buoyancy, entry procedures, wildlife distance, and reef etiquette before you enter. Lifeguard certification, quality equipment, and clear safety communication also matter.
If your family or group needs a slower pace, consider a private Kona snorkeling tour. A private outing can make it easier to pause for questions, adjust the route, or give newer swimmers more support.
What Kona Snorkel Trips offers
Kona Snorkel Trips follows a “Reef to Rays” philosophy. When you join a trip, you get a small-group atmosphere, quality snorkeling equipment, and guides who focus on safety and reef education.
The company uses lifeguard-certified guides and encourages reef-safe behavior throughout its ocean excursions. That approach suits you if you want to learn what you’re seeing instead of rushing past the reef for a quick look.
The guides can help you compare turf, crust, and larger algae forms while keeping you at a safe distance. You can check availability for a guided snorkeling trip in Kailua-Kona.
For a Captain Cook or Kealakekua Bay trip, you can check avaialbility before choosing your date.
Use this algae field guide in the water
You can remember the process with five simple observations:
- Look at the surface before you focus on color.
- Decide whether the growth is fuzzy, crusty, leafy, or branching.
- Watch how it responds to water movement.
- Compare it with nearby rock, coral, and sand.
- Ask a guide instead of touching it.
The most useful description might be, “A short olive mat covers the shaded lava,” or, “A firm pink crust grows along the exposed rock.” Those details give a guide more information than saying the reef looks green.
Avoid relying on your phone underwater. A camera can help you remember a view, but glare, depth, and color correction may change what the image shows. Keep the reef as the main subject, and don’t chase animals or hover over fragile coral for a better frame.
If you plan on snorkeling Big Island Hawaii, build in time to observe rather than rushing between locations. The best discoveries may be small, especially when you stop long enough to notice how fish interact with the reef.
Conclusion
Algae identification during Kealakekua Bay snorkeling starts with texture. Fuzzy turf, moving macroalgae, and hard coralline crust each create different patterns on volcanic rock, but color alone can’t tell you the full story.
Float calmly, keep your hands and fins away from the reef, and compare several nearby surfaces. With a knowledgeable guide, you can recognize more of what you see while protecting the habitat that makes the bay worth visiting. Careful observation turns a few green or pink patches into a clearer understanding of the living reef beneath you.