
GoPro Setup Tips for Captain Cook Snorkeling
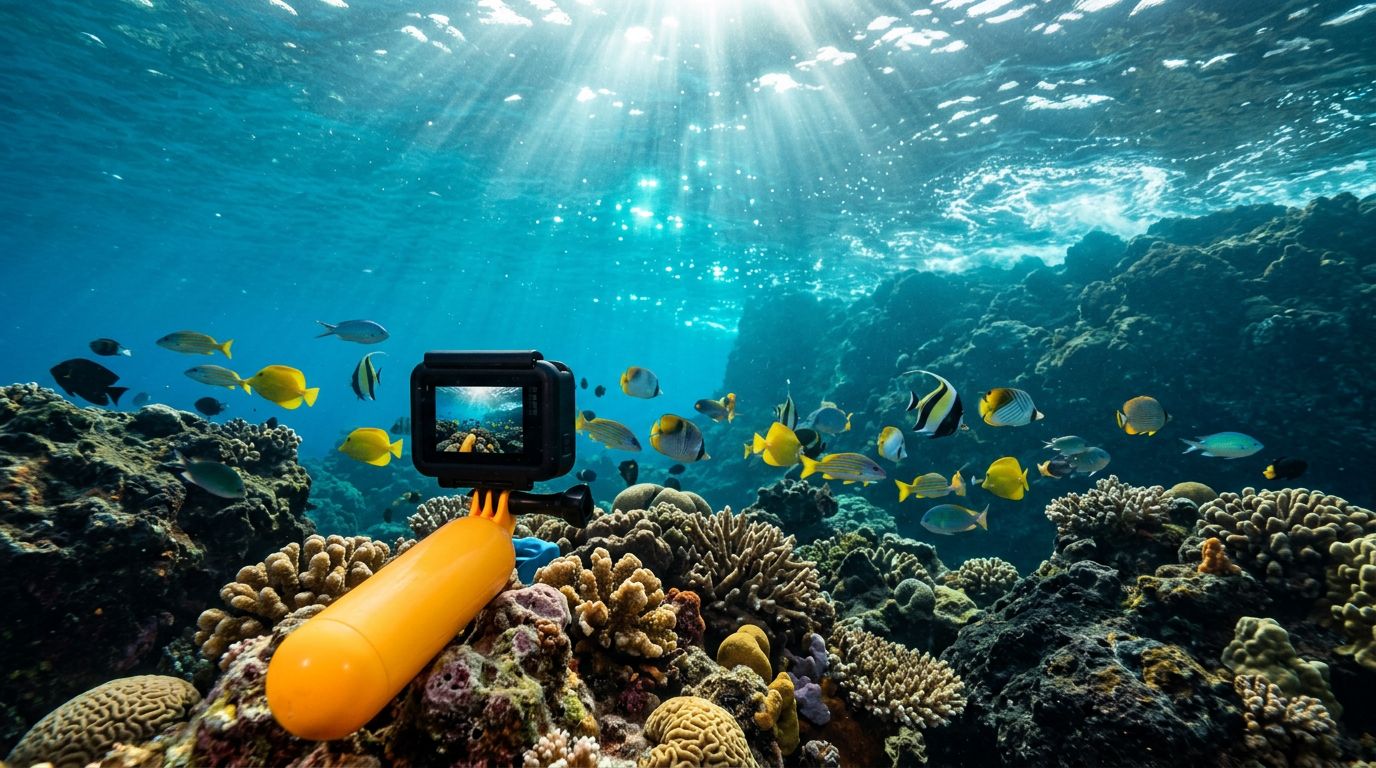
A single GoPro clip can capture the moment you glide over coral, but poor setup can turn clear water into shaky blue footage. These GoPro snorkeling tips help you record sharper video, richer colors, and calmer scenes during a Captain Cook snorkeling trip.
Kealakekua Bay gives you plenty to film, including volcanic coastline, reef structure, tropical fish, and the historic Captain Cook area. Your results depend on more than pressing record, though. Camera placement, settings, sun position, and how you move through the water all matter.
Key Takeaways
- Use a floating hand grip or secure wrist tether instead of holding your GoPro loosely.
- Start with 4K at 60 frames per second, then lower the frame rate when the light fades.
- Keep the camera pointed slightly downward so your footage includes reef detail instead of empty surface water.
- Choose a red filter only when you are deep enough for the water to appear strongly blue.
- Follow reef-safe practices, maintain distance from wildlife, and ask your guide where you can safely film.
Why Captain Cook Is a Strong GoPro Location
Kealakekua Bay is one of the most popular places to snorkel on the Big Island because the water can offer excellent visibility and varied underwater scenery. Rocky volcanic walls, reef shelves, schooling fish, and changing depths give your footage more texture than a flat sandy bottom.
The site also rewards patient filming. If you swim quickly from one subject to the next, your video will look rushed. Instead, pause above a reef section and let fish move naturally through the frame. A steady 10-second clip often feels more useful than 30 seconds of constant camera movement.
Your search may have started with terms such as “snorkeling Big Island Hawaii” or “snorkel Big Island.” Once you choose Captain Cook, your camera plan should match the location. Wide scenes work well near the reef edge, while closer clips show fish, coral formations, and the changing light across the seafloor.
A Captain Cook snorkel tour can also make filming easier because you have a crew handling navigation, safety instructions, and equipment logistics. You can focus on keeping your body relaxed and your camera stable.
The bay is a protected marine environment, so your best footage comes from observing rather than chasing. Don’t stand on coral, grab rocks, or swim after turtles and fish. Your distance protects the reef and keeps animals behaving naturally.
GoPro snorkeling tips for clear Captain Cook footage
Before you enter the water, decide what type of video you want. A wide travel clip should show the reef, coastline, and other snorkelers at a safe distance. A nature clip should focus on one fish or section of coral. A personal memory might include your partner or children swimming ahead.
That decision affects your mount, lens setting, and movement. For most visitors, a floating hand grip gives the best balance. You can point the camera where you want, release it briefly if needed, and keep the camera visible at the surface.
Check the camera before boarding or entering the water. Confirm the battery is charged, the memory card has space, and the waterproof door is fully closed. Inspect the door seal for sand, hair, or grit. A small piece of debris can allow water inside.
Run a short test before the main swim. Record a few seconds above water, then dip the camera below the surface. Review the clip if conditions allow. Check for fogging, bubbles across the lens, or a loose mount.
A simple pre-water setup includes:
- Charge the camera and carry a spare battery if your model allows it.
- Format the memory card in the camera after saving any important files.
- Wipe the lens with a clean microfiber cloth.
- Secure a wrist tether or floating grip.
- Turn off unnecessary wireless features to preserve battery life.
- Set the camera to video before you enter the water.
Avoid changing complicated settings while swimming. Saltwater, glare, and moving waves make small buttons difficult to use. Set your main recording mode on the boat or shore, then use one button to start and stop.
Choose a mount that stays secure
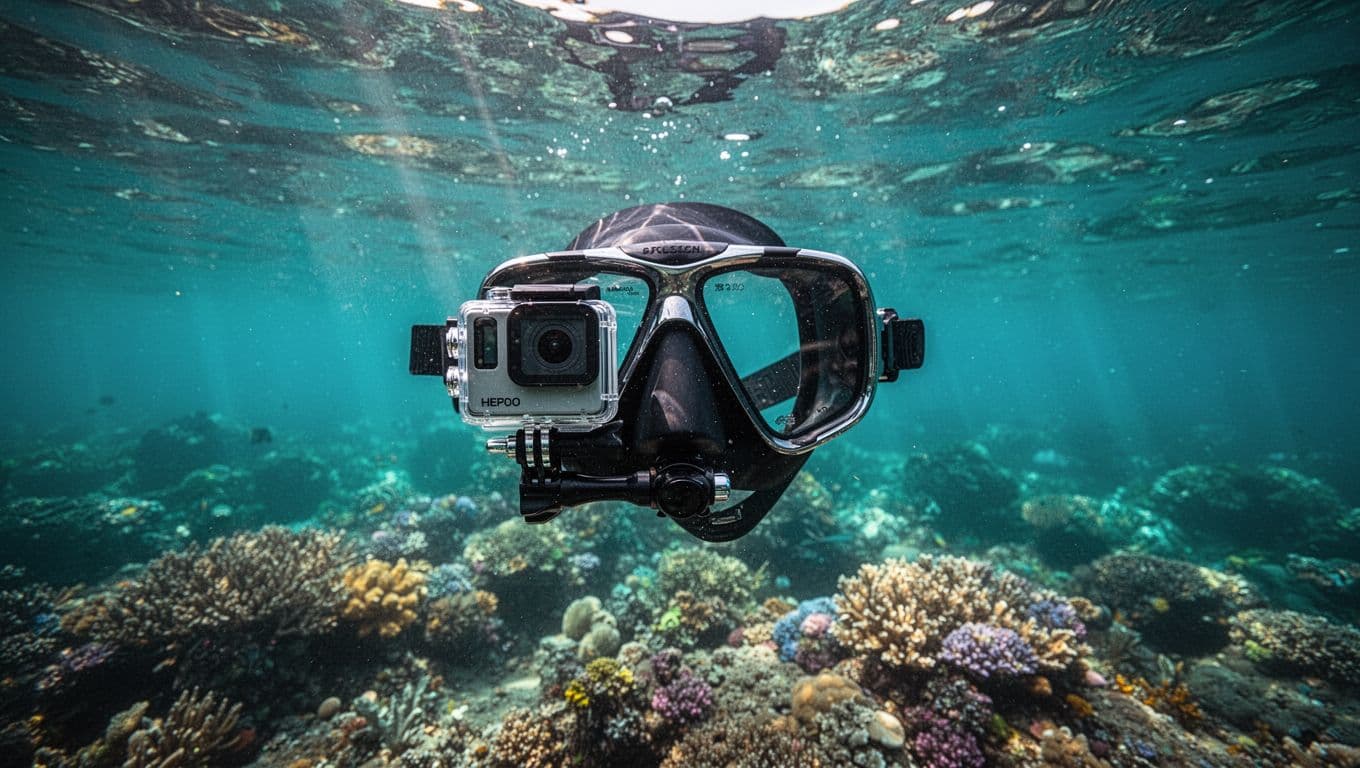
A hand grip is usually the easiest option for Captain Cook snorkeling. It lets you keep the camera in front of your body and adjust the angle without turning your head. Choose a grip that floats and has a bright color, so you can spot it if you drop it.
A wrist strap adds another layer of protection. Attach it before entering the water, even if the grip floats. Waves, slippery sunscreen, and startled movements can separate you from your camera faster than expected.
A mask mount creates a hands-free point of view, but it also records every head movement. The footage may shake when you look around, adjust your snorkel, or kick against a wave. If you use one, keep your head movements slow and deliberate.
A chest mount can work for surface swimming, yet it often points too low during snorkeling. You may record your hands, bubbles, or the top of your fins instead of the reef. Test the angle on dry land before choosing this setup.
A short extension pole can provide a wider view of you and your companions. Use it carefully and keep it away from coral, wildlife, and other swimmers. Your guide can tell you whether the accessory is practical for the day’s conditions.
Don’t attach loose accessories that create dangling straps. They can catch on equipment or distract you while entering and leaving the water. Pack only what you can control with one hand.
Recommended GoPro settings for snorkeling
Start with 4K at 60 frames per second when the sun is bright. This setting captures smooth movement and gives you the option to slow clips slightly during editing. It also uses more battery and storage, so carry enough capacity for the trip.
When clouds cover the sun or you enter deeper water, 4K at 30 frames per second may produce a brighter image. The camera has more time to collect light in each frame. Use 30 fps when smooth motion matters less than exposure.
For a basic setup, try these starting points:
| Setting | Bright, shallow water | Cloudy or deeper water |
|---|---|---|
| Resolution and frame rate | 4K, 60 fps | 4K, 30 fps |
| Lens | Wide | Wide or Linear, if available |
| Stabilization | High or standard | High or standard |
| ISO maximum | 400 | 800 when needed |
| Exposure compensation | 0 or -0.5 | 0 |
| Color profile | Natural | Natural or Flat for editing |
| Bitrate | High | High |
Your exact menu names depend on the GoPro model. The GoPro HERO13 underwater settings guide offers model-specific advice, including filter use and color correction.
Keep ISO low whenever the sun is strong. A high ISO can brighten the scene, but it also adds grain and softens fine reef detail. An ISO maximum of 400 is a useful starting point in tropical daylight.
Exposure compensation at 0 works for most scenes. If the surface is bright and the reef looks too dark, test -0.5 and compare the results later. Avoid changing exposure repeatedly while recording.
Use a natural color profile when you want footage that looks good without much editing. Flat profiles preserve more room for color correction, but they can look dull until you adjust them in software.
If your model supports 10-bit recording, use it when you plan to edit color carefully and have enough storage. For quick vacation videos, a standard profile keeps the workflow simpler.
Manage underwater color and filters
Water absorbs warm colors first. As you move deeper, reds and oranges disappear, leaving footage with a blue or green cast. Clear Hawaiian water still needs color correction because the camera cannot restore light that the water has filtered out.
A red filter can help at depth, but it isn’t useful in every situation. In shallow, sunny water, the filter may make footage look too red and reduce the amount of light entering the lens. It can also create a darker image when clouds pass overhead.
Use the filter only when conditions match its purpose. If you remain close to the surface, record without one and correct the color later. When you plan to descend deeper and the water looks strongly blue, a compatible filter may bring warmer tones back into the scene.
Keep your lens clean before every major clip. A tiny water droplet can create a hazy circle over a fish or reef. Saliva can help reduce fogging on some lenses, but a proper anti-fog insert or treatment is more reliable. Follow the product instructions and never place loose material where it can block the seal.
The GoPro underwater video guide also covers accessory choices and camera settings for underwater recording. Use general recommendations as a starting point, then adjust for the actual sunlight and water depth at Kealakekua Bay.
Move slowly and frame the reef
The camera records your movement more harshly than your eyes experience it. Fast turns become distracting, while rapid fin kicks create vibration through your arms and shoulders.
Keep both elbows close to your body when using a hand grip. Hold the camera slightly in front of you and move from your torso instead of swinging your wrist. Glide for a few seconds before starting a clip, then stop recording before you change direction.
Point the lens slightly downward. A level camera often captures too much surface glare and sky-colored water. A modest downward angle includes the reef while still showing fish in the middle of the frame.
Leave space in front of moving animals. If a fish swims toward the right side, position it on the left side of your frame. The empty space gives the movement somewhere to go.
Avoid zooming underwater. Digital zoom reduces detail and makes camera shake more obvious. Swim closer only when your guide confirms that you can do so without disturbing the reef or wildlife.
Film in short clips rather than recording the entire excursion. Ten to 20 seconds gives you usable material and makes editing easier. You can record a wider scene, a slow pass over coral, and a clip of your group swimming nearby.
Keep the sun behind or to the side of the camera when possible. Shooting directly into the sun can create glare and flatten the reef. Side lighting often reveals more texture across rocks and coral.
At the surface, hold the camera just below the waterline for a few seconds. This creates a natural transition between the boat, coastline, and underwater scene. Keep the lens clean and make sure the housing remains fully submerged to avoid an uneven split image.
Protect your camera and the reef
Your camera should never compete with safe snorkeling technique. Keep one hand free when entering the water, climbing a ladder, or moving near the boat. Secure the GoPro before you adjust your mask or snorkel.
Listen to the guide’s instructions about current, boat traffic, entry points, and wildlife. Conditions can change during the trip, especially when wind affects the surface. A shot is never worth losing awareness of your surroundings.
Use reef-safe sunscreen before the excursion and allow it to absorb according to the product directions. Keep your hands off coral and avoid using fins to push away from rocks. Coral can break with light contact, and cuts from rough surfaces can become a problem in the ocean.
If you see a turtle, ray, or other animal, stop your forward movement and let it choose the distance. Don’t swim directly above it or surround it with cameras. A calm clip taken from the side usually looks better than a close pursuit.
Rinse the GoPro and accessories with fresh water after the trip. Pay attention to the buttons, housing hinge, tether connection, and grip. Let everything dry before opening the waterproof housing, especially if salt crystals have formed around the seal.
Back up your footage as soon as possible. Keep the original files until you finish editing. Underwater clips can look flat on a phone but reveal useful detail after color correction on a larger screen.
Book a Captain Cook trip with filming in mind
A guided trip can reduce the distractions that make underwater filming difficult. Kona Snorkel Trips follows a “Reef to Rays” philosophy, with small-group ocean adventures, high-quality snorkeling gear, and Lifeguard Certified guides. The crew also emphasizes reef-safe practices and education during its ocean outings.
For a Captain Cook excursion, ask about the planned route, water entry, expected time in the bay, and whether you can bring a floating camera grip. You should also ask where to store the camera while boarding and when the crew recommends starting to film.
Kona Snorkel Trips is built around personalized service rather than crowded, impersonal outings. That matters when you want room to hold a camera safely and enough guidance to focus on the reef without losing track of your group.
You can check availability for a snorkeling tour with Kona Snorkel Trips in Kailua-Kona.
The company offers Captain Cook and Kealakekua Bay trips alongside other guided ocean experiences. For another company focused on this area, you can also visit Captain Cook Snorkeling Tours. Compare departure details, equipment information, group size, and safety practices before choosing.
When describing the trip to your family or travel group, set one simple expectation: the camera stays secondary to the guide and the ocean. That approach helps everyone enjoy the water and produces more natural footage.
Use a simple shot plan
A shot plan keeps you from filming random clips until the battery runs out. You don’t need a complicated storyboard. Four or five intentional moments can tell the full story of your Captain Cook snorkeling day.
Start with an above-water clip of the coastline or boat departure. Keep the camera steady and record for about 10 seconds. Next, capture the entry and a slow underwater view of the reef.
During the main snorkel, choose one area and film a wide establishing shot. Then record a closer view of fish or reef texture without chasing anything. Include one clip of your group swimming at a safe distance if everyone agrees.
For a final scene, film the surface from below. Look upward toward the bright water, bubbles, or boat shadow, but don’t point the camera directly at the sun for too long. This footage can work well as a transition in a travel video.
Leave a few seconds before and after each subject enters the frame. Editors need that extra space to cut clips cleanly. If you’re sharing directly from your phone, the same breathing room helps the video feel less abrupt.
Your snorkeling Big Island plans don’t need a full production setup. A charged camera, secure grip, clean lens, and calm swimming style will do more for your footage than a bag full of accessories.
Final Thoughts
The best GoPro snorkeling tips are practical: secure the camera, use settings that match the light, move slowly, and protect the reef while you film. Captain Cook’s underwater scenery gives you plenty to capture, but the strongest clips usually come from patience rather than constant movement.
Set up your GoPro before entering the water, listen to your guide, and let the bay provide the action. When your camera stays steady and your attention stays on the ocean, your footage will feel as clear and memorable as the day itself.