
How to Clear a Snorkel at Captain Cook
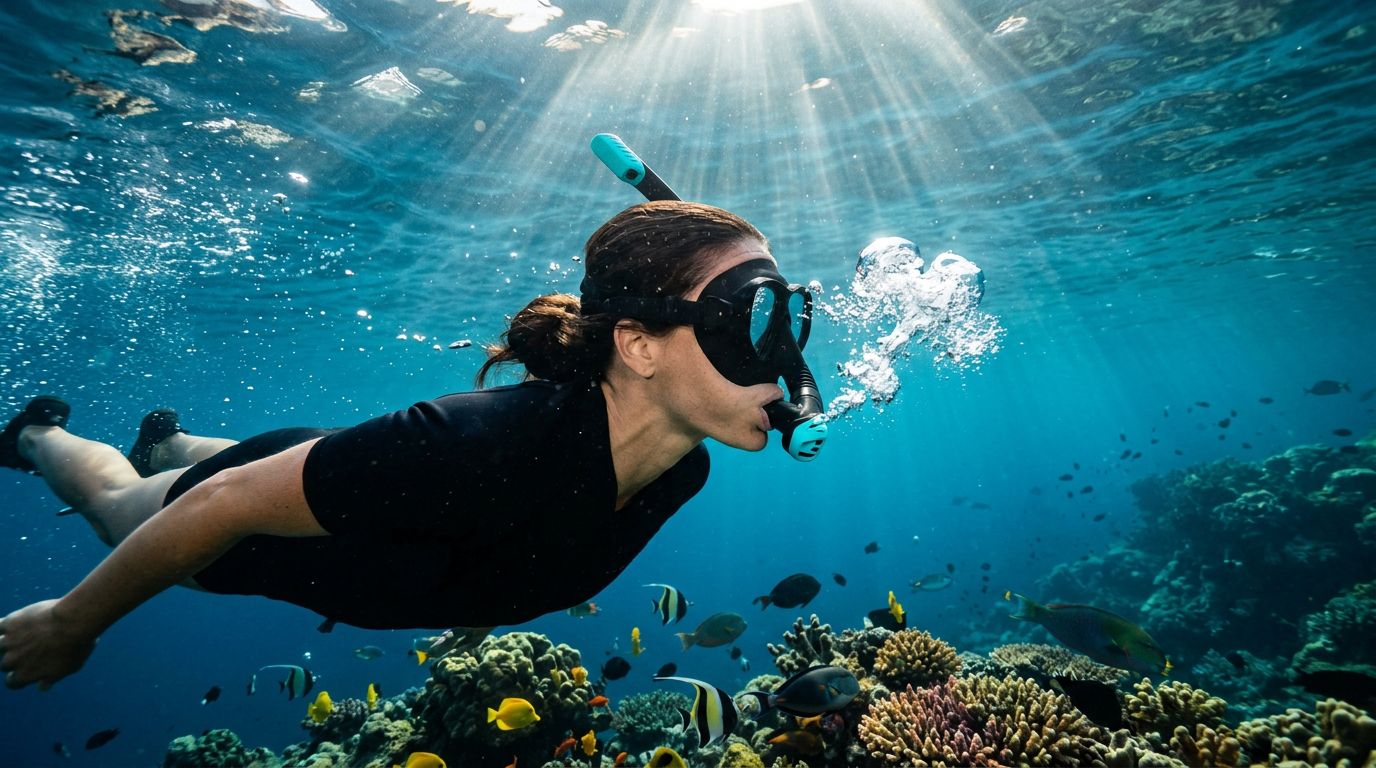
Water in your tube can turn a calm swim into a stressful moment, especially when you’re exploring Kealakekua Bay. Learning a clear water snorkel technique before you enter the ocean helps you stay relaxed and keep enjoying the reef.
At Captain Cook, small waves, surface chop, and looking down to watch fish can all send water into your snorkel. You can clear it in seconds with the right exhale, body position, and breathing rhythm. Start with the basic method below, then practice it before your Captain Cook snorkeling trip.
Why Water Gets Into Your Snorkel at Captain Cook
A snorkel only works when the opening at the top stays above the surface. When a wave rolls over you, the tube fills with water. The same thing happens when you duck underwater to look at coral, adjust your fins, or swim down for a closer view.
At Kealakekua Bay, conditions can change during your swim. The bay often offers excellent visibility, but wind can create small surface waves. A boat wake or a passing swell can also wash over the top of your snorkel. Even a quick turn of your head may submerge the tube opening.
Water can enter for other reasons as well:
- The snorkel sits at the wrong angle on your mask strap.
- The mouthpiece shifts when you turn your head.
- You inhale before the tube has cleared.
- A splash reaches the opening from the side.
- Your snorkel has a purge valve that needs a stronger exhale to work.
A small amount of water at the bottom of the tube is usually easy to remove. A full tube requires a firm blast of air. The important part is recognizing the problem early. If you feel water coming through, stop inhaling and switch to calm, controlled actions.
Keep your face in the water only if you feel comfortable. Otherwise, lift your head, float upright, and breathe normally. You can always clear the tube after you’ve recovered your breathing.
Get Calm Before You Clear the Tube
The first step is not blowing. It’s staying calm.
If water reaches your mouth, stop breathing through the snorkel. Keep the mouthpiece in place if you can do so comfortably, but don’t clamp down on it or panic. Lift your face above the surface and take a normal breath through your mouth.
Your flotation vest or other approved flotation equipment can help you pause without kicking hard. If you’re wearing fins, use slow movements rather than fast, uneven kicks. Sudden movement makes you tired and can cause the snorkel to dip under again.
Once you’re ready, position your body so the tube points upward. You don’t need to remove the snorkel from your mouth. Keep your lips sealed around the mouthpiece and prepare to exhale forcefully.
The water may feel unpleasant, but it usually clears quickly. Don’t try to inhale through a partially flooded tube. Even a small pocket of water can enter your throat and trigger coughing.
If you cough or feel short of breath, remove the mouthpiece, lift your face fully out of the water, and recover before trying again.
Your safety comes before staying underwater. A good snorkeler knows when to pause, signal a guide, or return to the boat.
The Clear Water Snorkel Technique: Blast the Water Out
The standard method is often called a blast clear. You use one strong exhale to push water out through the top of the snorkel.
Follow these steps:
- Lift your face slightly. Keep your eyes and mask in the water if comfortable, but angle your chin toward the surface.
- Keep the snorkel vertical. The top opening should point straight upward.
- Seal your lips around the mouthpiece. Make sure the mouthpiece hasn’t shifted to one side.
- Exhale hard and quickly. Blow through the snorkel with enough force to move the water up and out.
- Pause for a moment. Let the remaining droplets drain from the tube.
- Take a small test breath. Inhale gently instead of taking a deep breath right away.
- Repeat once if needed. A second short blast can remove the last bit of water.
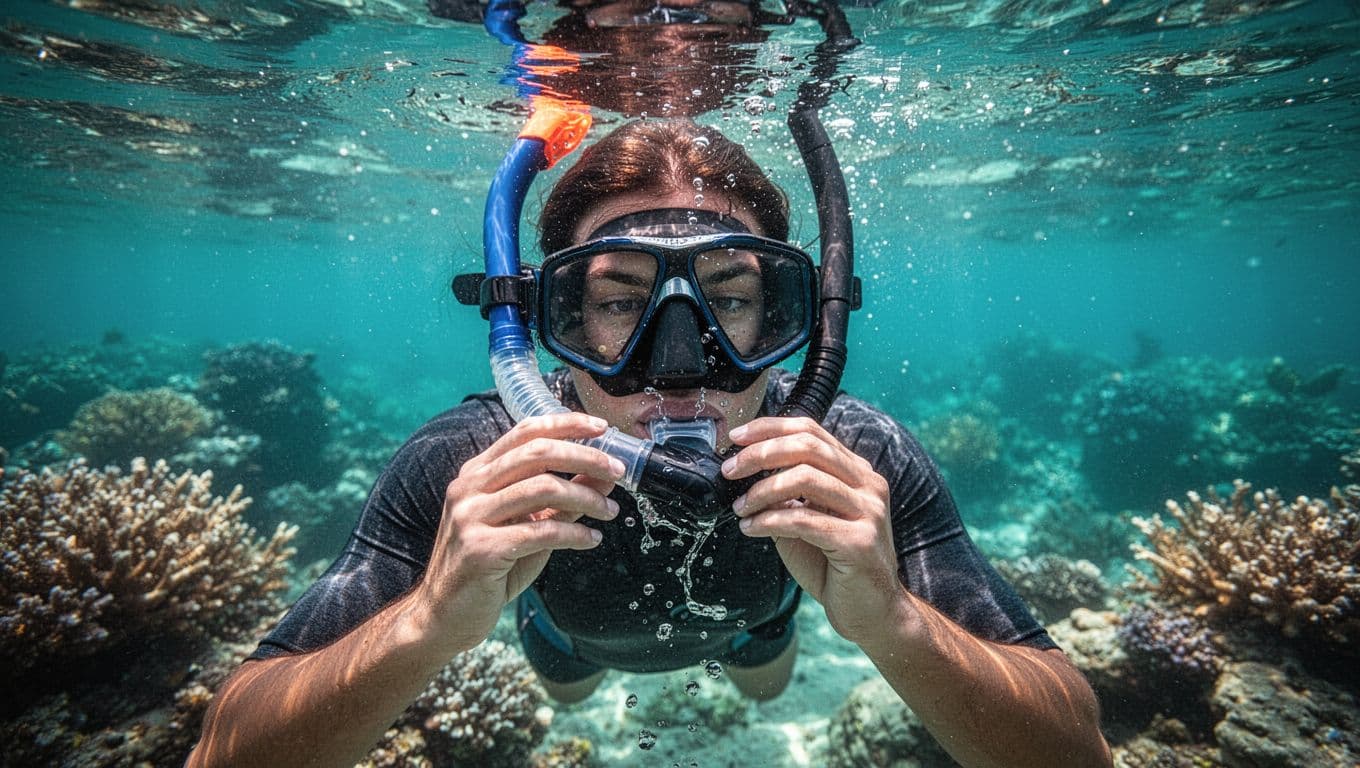
The exhale should be powerful but controlled. You’re not trying to shout through the tube. A sharp burst from your lungs clears water better than several weak puffs.
Many snorkelers tilt their heads down slightly while clearing. That position helps water move toward the end of the tube instead of back toward the mouthpiece. A proper snorkel and mask clearing guide also recommends forceful exhalation through the tube.
If the snorkel has a purge valve, the water may exit through the valve underneath your mouth. You may notice bubbles near your chin rather than water shooting from the top. The technique remains the same: seal your mouth, position the tube correctly, and exhale firmly.
How to Use a Purge Valve
A purge valve is a small one-way valve at the bottom of some snorkels. It gives water another exit point, which can make clearing easier.
When you exhale, air pressure pushes water through the valve. Gravity then helps the remaining water drain away. You’ll often need less effort than you would with a basic open-bottom snorkel.
To clear a purge-valve snorkel, keep your head slightly raised and blow through the mouthpiece. Avoid pressing the valve with your fingers. Touching it can damage the seal or introduce sand and debris.
If the tube still feels blocked, try a second blast. Then take a cautious breath. If the mouthpiece tastes salty or you hear bubbling, stop and clear it again.
A purge valve doesn’t make the snorkel flood-proof. Water can still enter when a wave passes over the opening. Sand, hair, or small particles can also prevent the valve from closing properly. Rinse the snorkel with fresh water after your trip, especially if you snorkel near the shore or handle sandy equipment.
You may also have a semi-dry or dry-top snorkel. These designs use a splash guard or float mechanism to limit water entry. They can help during surface swimming, but they still require proper clearing when you dive below the surface or a wave fully covers the top.
The best clear water snorkel skill works with every design. Learn how your particular tube behaves before you swim far from the boat.
What to Do When Water Keeps Coming Back
Repeated flooding usually points to a fit or positioning problem. Clearing the tube solves the immediate issue, but you also need to find out why water keeps entering.
First, check the snorkel position. The tube should run upward along the side of your head. If it angles backward or forward, the opening may sit too close to the surface. Adjust the strap attachment or ask your guide to help.
Next, check your mouthpiece. Bite gently on the tabs and let your lips form the seal. Biting too hard can move the mouthpiece and make your jaw tired. A loose fit allows water to leak around the sides.
Your mask strap can also affect the tube. If the strap twists or sits too low, the snorkel may pull away from your face. Keep the strap flat and positioned around the widest part of your head.
A beard or mustache can cause mask leaks, but it usually doesn’t cause water to enter the snorkel itself. However, leaking water may run into your mouth and feel like a flooded tube. In that case, you may need to adjust the mask seal or use a different size.
Watch your head position while swimming. Looking sharply downward can submerge the snorkel opening. Keep your head neutral and turn your eyes rather than dropping your whole face.
If the mouthpiece is uncomfortable, ask for another size. Good tour operators carry different equipment options. You shouldn’t spend the entire swim fighting a tube that doesn’t fit.
Clear the Snorkel Without Losing Your Rhythm
Once you’ve cleared the tube, return to a steady breathing pattern. Slow breathing helps you stay relaxed and reduces the urge to lift your head repeatedly.
Breathe in gently through the snorkel. Then exhale fully, allowing the tube to empty with each breath. Avoid quick, shallow breathing because it can make you feel short of breath even when the equipment works properly.
Keep your arms relaxed and let your fins provide most of your forward movement. If you use your arms constantly, you’ll create more splashing around your face. That spray can send water over the snorkel opening.
When you see an interesting fish below, don’t dive immediately. Take one calm breath, check that the tube is clear, then submerge. After you return to the surface, exhale through the snorkel before taking your next full breath.
That sequence matters because the tube may fill while you’re underwater. A full exhale at the surface clears it before you inhale again.
The same skill helps on other guided ocean trips, including a manta ray night snorkel in Kona. Night snorkeling adds lights, flotation equipment, and a different visual environment, so you’ll appreciate having basic tube clearing under control before entering the water.
If your breathing never feels comfortable, stop swimming and tell your guide. You may need a different snorkel, a mask adjustment, or a short break on the boat.
Practice Before You Reach the Reef
You don’t need a pool to practice, although a pool is the easiest place to start. You can rehearse the mouth and breathing motion at home with the snorkel dry.
Place the mouthpiece gently between your teeth and seal your lips around it. Breathe in through the tube, then give one firm exhale. You’ll learn how much air the blast requires.
Next, practice in shallow water with a buddy nearby. Keep your feet on the bottom if local conditions allow and avoid coral, rocks, and marine life. Submerge the snorkel opening for a moment, return it to the surface, and clear it.
Repeat until the action feels automatic. Your goal is not to blow as hard as possible every time. You want to recognize water entry, pause your inhale, position the tube, and clear it without rushing.
Before entering the ocean at Captain Cook, ask your guide about the snorkel you’ll use. Find out whether it has a purge valve or a dry top. Ask how to signal if you need help. Most guides will gladly review the equipment before the boat reaches the snorkeling area.
A short practice session can make a major difference for children and first-time snorkelers. Let them try the mouthpiece while standing or sitting safely. Never pressure someone to put their face in the water before they’re ready.
Captain Cook Conditions and Safety Habits
Kealakekua Bay is a marine life conservation area with valuable coral habitat. You’ll see more when you move slowly and avoid touching the reef. Keep your fins away from coral, and don’t stand on rocks or the seafloor.
Clear water can make distance difficult to judge. A coral head may look close even when it sits several feet below you. Keep enough space for your fins and body to pass without contact.
Stay with your group and watch your guide’s location. If wind or surface movement increases, your guide may change the route or ask you to return to the boat. Follow those instructions promptly.
Use reef-safe sunscreen practices and apply sunscreen before boarding when possible. Mineral sunscreen can reduce the amount of certain chemicals entering the water, but no sunscreen makes touching coral acceptable. A long-sleeve rash guard also protects your skin and reduces how much sunscreen you need.
You should also avoid forcing a clear when you feel exhausted. Strong exhalation uses more air than normal breathing. If you’re tired, lift your face out of the water and rest.
A guided Captain Cook snorkel tour can help you manage equipment, conditions, and route choices. Kona Snorkel Trips describes its Captain Cook experience as suitable for different skill levels, with quality gear and Lifeguard Certified guides who share information about the marine life and local history.
What to Expect With Kona Snorkel Trips
Kona Snorkel Trips follows a “Reef to Rays” philosophy, with a focus on guest safety, personal service, and respect for Hawaii’s ocean ecosystems. Its guided trips use small-group service rather than a crowded, impersonal setup.
For a Captain Cook outing, you can ask the crew to check your mask seal and snorkel position before you enter the water. The team provides state-of-the-art snorkeling gear and helps you understand how each piece works. Lifeguard Certified guides stay attentive to conditions while you explore.
That support is useful when you’re learning a clear water snorkel technique. You can concentrate on breathing and enjoying the reef instead of guessing whether your equipment fits correctly.
The company also includes education and reef-safe practices in its excursions. You’ll receive reminders about keeping fins away from coral and observing marine life without touching it. Those habits protect the bay and make your own swim more relaxed.
If you’re ready to plan a trip, you can check availability for a Captain Cook snorkeling tour with Kona Snorkel Trips.
A Quick Reference for Clearing Your Snorkel
Use this table as a simple reminder before you swim out from the boat.
| Situation | What you should do |
|---|---|
| A few drops enter | Stop inhaling, exhale gently, and test your next breath |
| The tube fills completely | Lift your face if needed, keep the tube upright, and blast air through it |
| Water exits near your chin | Your purge valve is working; continue with a firm exhale |
| Water keeps entering | Check the tube angle, mouthpiece, mask strap, and head position |
| You feel tired or panicked | Remove the mouthpiece, float upright, and recover your breathing |
| The snorkel still feels blocked | Ask your guide for help or request replacement equipment |
The key distinction is between a minor splash and a flooded tube. A few drops may clear with a normal exhale. A full tube needs a stronger blast and a calm pause before you breathe again.
Common Mistakes That Make Clearing Harder
Many beginners try to inhale first to see whether the tube is clear. That habit can pull water into your mouth. Always exhale or remove the mouthpiece before testing the tube.
Another mistake is lifting your head too far back. That position can make water drain toward your mouth instead of out through the tube. Keep the snorkel upright and angle your face slightly downward.
Weak breathing also causes trouble. Several small puffs may move bubbles but leave water inside. Use one sharp exhale, then repeat if necessary.
Some snorkelers grab the tube and twist it while clearing. This can move the mouthpiece, loosen the mask strap, or make the opening dip underwater again. Keep your head steady whenever possible.
Finally, don’t keep swimming while trying to solve an equipment problem. Stop, float, clear the tube, and communicate with your guide. A short pause is safer than struggling while you’re tired.
When you practice beforehand, these mistakes become easier to avoid. You’ll know what a flooded snorkel feels like and how much air you need to clear it.
Conclusion
A flooded snorkel at Captain Cook doesn’t have to end your swim. Stop inhaling, lift your face if necessary, keep the tube upright, and use one strong exhale to push the water out.
Good equipment fit, calm breathing, and attention to surface conditions make the process easier. Practice the clear water snorkel technique before your trip, then ask your guide to check your gear before you enter Kealakekua Bay. With that skill ready, you can focus on the reef instead of the water in your tube.