
Best Phone Camera Settings for a Kona Manta Ray Snorkel
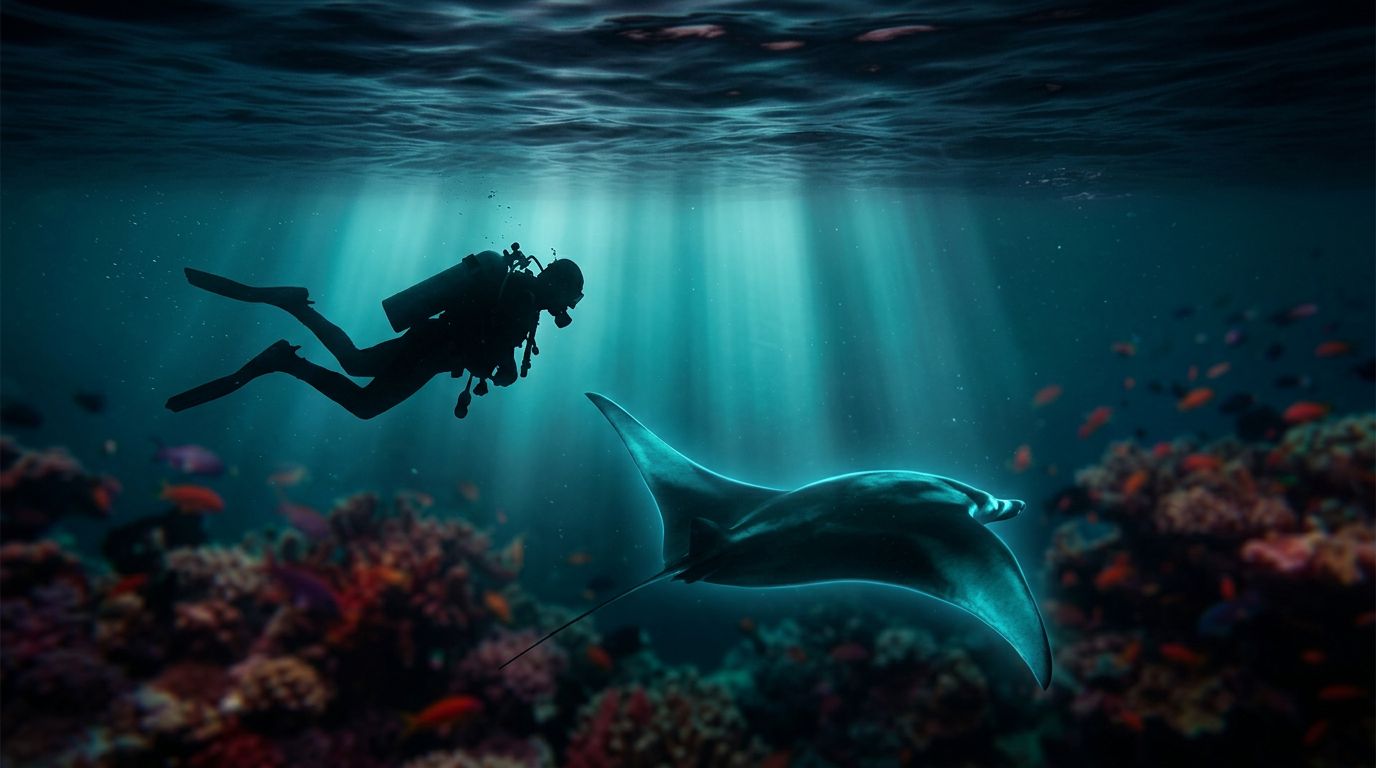
Kona Snorkel Trips gives you a real chance at a clean manta shot, but your phone needs the right setup before you enter the water. If you’re planning snorkeling Big Island Hawaii, the difference between a sharp image and a muddy blur often comes down to a few simple settings.
Manta rays move through low light, shifting water, and bright board lights. That mix can confuse a phone fast. If you’re comparing manta-focused outings, Manta Ray Night Snorkel is another Big Island option to look at, and the same camera advice still applies.
Why manta rays make phone photos harder than daytime snorkeling
Daytime reef shots give your phone plenty of light. A Kona manta ray snorkel gives it almost nothing.
That matters because the camera has to choose between motion, brightness, and color. If it tries to brighten the whole frame, the manta can turn soft. If it tries to freeze movement, the scene can go too dark. When you snorkel Big Island after sunset, your phone is working harder than it ever does on land.
Water makes things trickier too. Tiny bubbles, salt spray, and drifting particles can scatter light. A bright light board helps you see the manta, but it also creates glare. That is why the best manta ray snorkel camera settings are usually simple, not fancy.
A good reminder on flash comes from Firefall Photography’s manta ray photo guide, which makes the same point many night shooters learn the hard way. Flash usually adds glare, not detail. It can also make the water look like a snow globe.
The goal is not perfection. You want a usable shot that feels like the moment. A soft, slightly grainy photo can still be better than a bright frame with no manta shape at all.
The best phone camera settings for a manta ray snorkel
The settings that help most are the ones that keep your phone from overreacting to the dark.
Start with the main camera lens, usually the 1x lens. It tends to handle low light better than ultra-wide or zoom. Zoom cuts detail fast, and underwater detail is already thin. If you can move your body a little closer without crowding the animal or the group, that is better than pinching the screen.
Here is a simple starting point.
| Setting | Best starting choice | Why it helps |
|---|---|---|
| Flash | Off | Flash adds glare and can wash out the manta |
| Lens | 1x main lens | Usually the cleanest low-light option |
| Mode | Photo or 1080p video | Night mode can smear movement |
| Exposure | Slightly lower than default | Protects the manta’s white areas |
| Zoom | None | Digital zoom eats detail fast |
| Filters | Off or neutral | Keeps the image honest |
| Focus | Tap and lock if possible | Stops the camera from hunting in the dark |
If your phone gives you a manual app, keep ISO as low as the scene allows. Raise it only when the frame would go too dark. You do not need a perfect technical number. You need a frame that still looks like a manta.
For video, 1080p at 30 fps is often safer than 4K in dim water. It usually gives you a cleaner file and a steadier preview. If your phone’s night mode turns the scene into a long smear, switch it off and use standard photo mode instead.
If one setting has to stay fixed, make it flash off.
That one choice saves more night snorkel shots than almost anything else.
A simple shooting routine that works better than guessing
You get better results when you set the phone up before the action starts. Once the manta appears, there is no time to scroll through menus.
- Clean the lens before you enter the water.
Salt and fingerprints soften everything. A quick wipe on shore helps more than editing later. - Switch to the main lens and turn flash off.
Do this on the boat, not while floating. The fewer taps you need in the water, the better. - Use a strap or housing that feels secure.
A floating wrist strap can save your phone and calm your hands. If you are nervous about dropping it, you will shake more. - Tap to focus on the brightest part of the scene.
If your phone lets you lock exposure, use that too. A locked frame is easier to manage than one that keeps changing. - Shoot short bursts or brief clips.
The manta may glide past in seconds. Short clips give you more chances to grab one good still later.
If your phone allows quick shutter control through a volume button or a voice command, practice that before the trip. Small things matter when the water moves and the light changes.
The best time to review photos is after the action, not during it. If you stop too often, you lose the rhythm of the snorkel and the manta can move out of frame. Think of the camera like a net. You cast it, then wait for the right pass.
How to keep your shots sharp in moving water
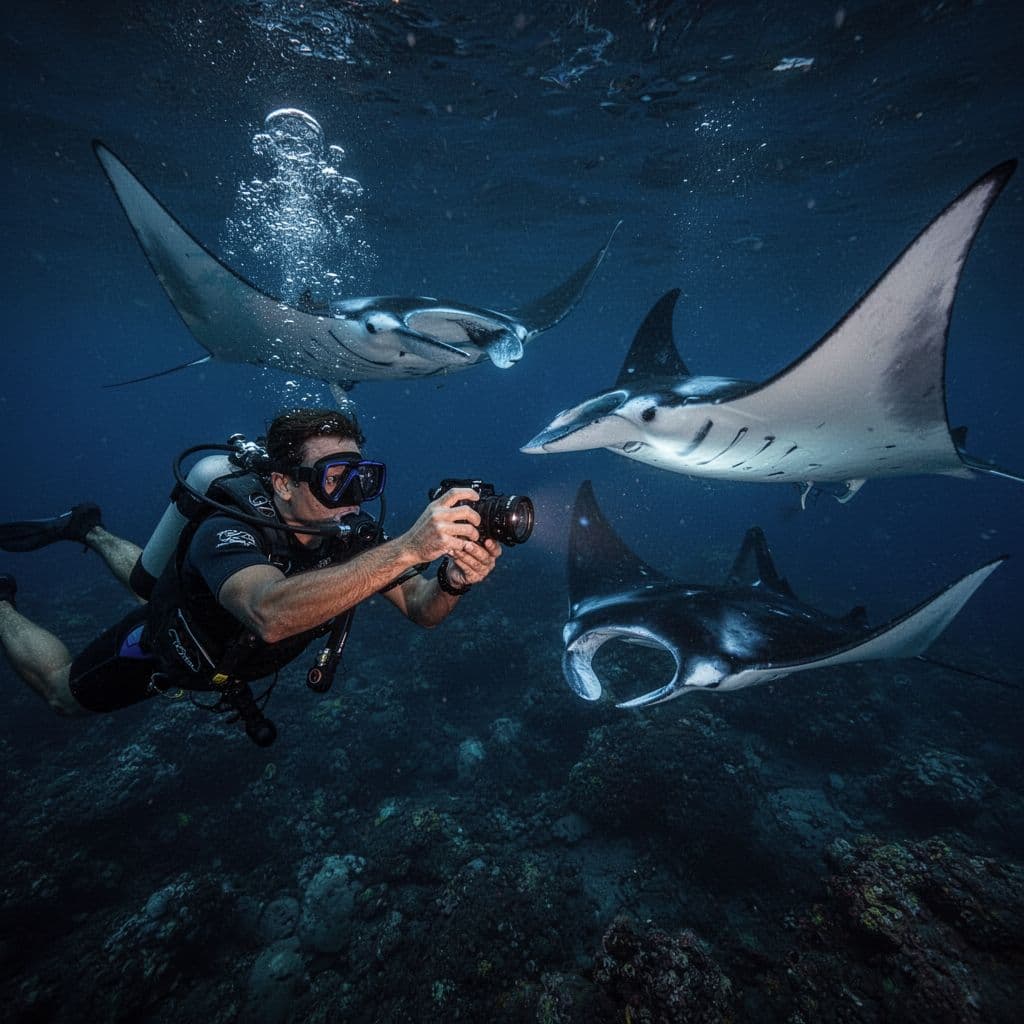
Sharp manta photos usually come from body control, not just camera control. Your own movement creates as much blur as the water does.
Hold the phone with two hands if your setup allows it. Keep your elbows close to your body. That small adjustment cuts shake more than most people expect. If you kick hard or swing one arm around, the frame will wobble. Slow kicks and slow breathing help a lot.
The best angle is often slightly above or beside the manta, not straight down on it. That gives the animal space in the frame and keeps the light board from blowing out the center of the shot. Leave room in front of the manta so the image feels open.
A clean housing lens matters too. If droplets cling to the outside, rinse them gently with seawater and keep shooting. One salt spot can turn a good shot into a hazy one.
The cleanest frame usually comes when you stop chasing the manta and let it pass through your view.
That simple idea saves many more photos than chasing focus ever will.
Composition matters even in a fast-moving scene. Try not to crop the manta’s wing tips unless the animal is already very close. If the ray fills the whole frame, the image can feel cramped. A little water around it gives the shot room to breathe.
Why your tour choice changes the final image
The right settings help, but the right boat helps too. When you book with Kona Snorkel Trips, you get a small-group setup, lifeguard-certified guides, state-of-the-art snorkeling gear, and custom-built lighted boards for nighttime encounters. That kind of setup gives your phone a calmer scene to work with.
If you want a broader look at options, guided snorkeling excursions in Kona show how a small-group approach can change your experience. Less crowding usually means fewer splashes, less jostling, and a better chance to hold still long enough for a usable shot.
You can also check availability if you want a local outing that fits this style of trip.
For a manta-focused night, you can also check availability before you lock in your plans. If you want the same night built around manta viewing, that choice matters as much as the settings you use.
Mistakes that make manta ray photos worse
A few common errors ruin more shots than bad luck does.
- Flash on: It throws glare across the water and can flatten the manta’s shape.
- Zoomed in too far: Digital zoom strips away detail fast.
- Dirty lens: Salt, droplets, and fingerprints blur the whole frame.
- Night mode left on too long: The phone may slow the shot and smear motion.
- Heavy filters or edits: Bright greens and boosted contrast can make the scene look fake.
You can avoid most of these problems before you even leave the boat. That is why a little preparation pays off. When you keep the setup simple, the camera has less to fight.
Another mistake is trying to keep every photo. Some frames will miss, and that is normal. The manta may turn, the water may shift, or a light board may flare in the wrong spot. Keep shooting, then sort later. A few strong frames are better than twenty soft ones.
The last mistake is forgetting that this is also a snorkel trip. If you spend the whole time staring at the screen, you miss the scene in front of you. Let the camera work for a moment, then look up and enjoy the manta.
Conclusion
The best manta ray snorkel camera settings are the ones that keep your phone simple, steady, and ready before you get in the water. Flash off, main lens on, exposure slightly down, and short bursts or clips will usually give you the strongest results.
For snorkeling Big Island nights, the setting matters, but so does the boat, the light, and your own calm hands. If you set up early and let the manta come to you, your phone has a real chance to bring home a photo worth keeping.