
Kealakekua Bay Snorkeling Entry Zones Explained for First-Time Guests
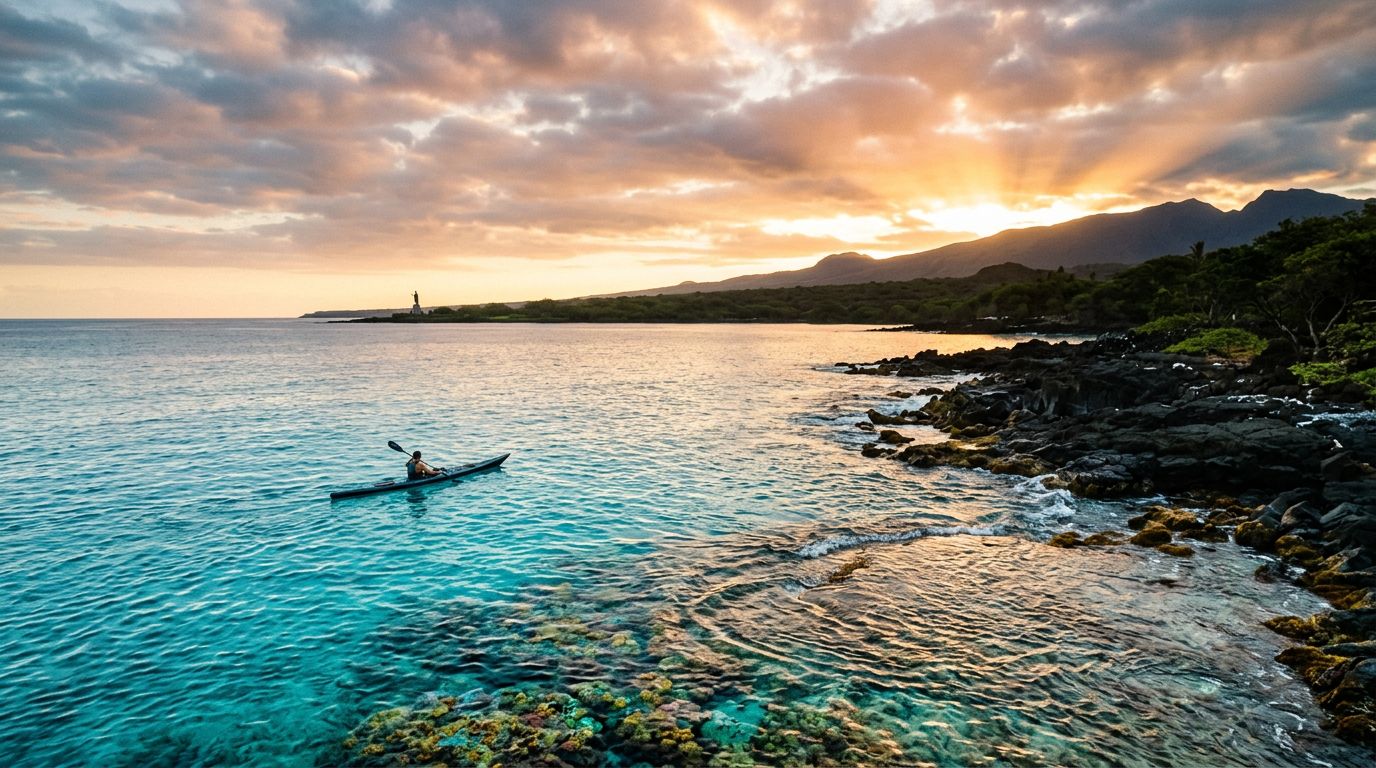
If you’re planning snorkeling Big Island Hawaii style, Kealakekua Bay can look simple at first glance. Clear water, bright reef, and a famous monument make it feel easy to picture.
The catch is that the bay rewards people who understand the access points. If you pick the wrong entry route, your morning can turn into a hike, a paddle, or a long carry in the sun. If you pick the right one, Kealakekua Bay snorkeling feels calm, smooth, and memorable.
For anyone who wants to snorkel Big Island without wasting time on logistics, the entry zone matters almost as much as the reef itself. That’s what this guide clears up.
Why the entry zone matters more than the postcard view
Kealakekua Bay is not a random beach stop where you walk down, wade in, and drift out. It’s a protected place with limited access, so the way you enter shapes the whole day.
That matters for your energy, your safety, and the reef. A short, easy entry gives you more time to enjoy fish, coral, and clear water. A hard entry can leave you tired before you even put your mask on.
It also matters because the bay is managed as a conservation area. If you want the clearest rules, the state’s Kealakekua Bay marine life conservation district page is the best place to start. You’ll see why this place needs careful use, not casual treatment.
When you understand that the entry point shapes the whole trip, the bay gets much easier to plan.
The main ways you get into Kealakekua Bay
You won’t find a dozen casual beach entries here. For most first-time guests, the real choices come down to how you arrive, how much effort you want to spend, and how much help you want on the day.
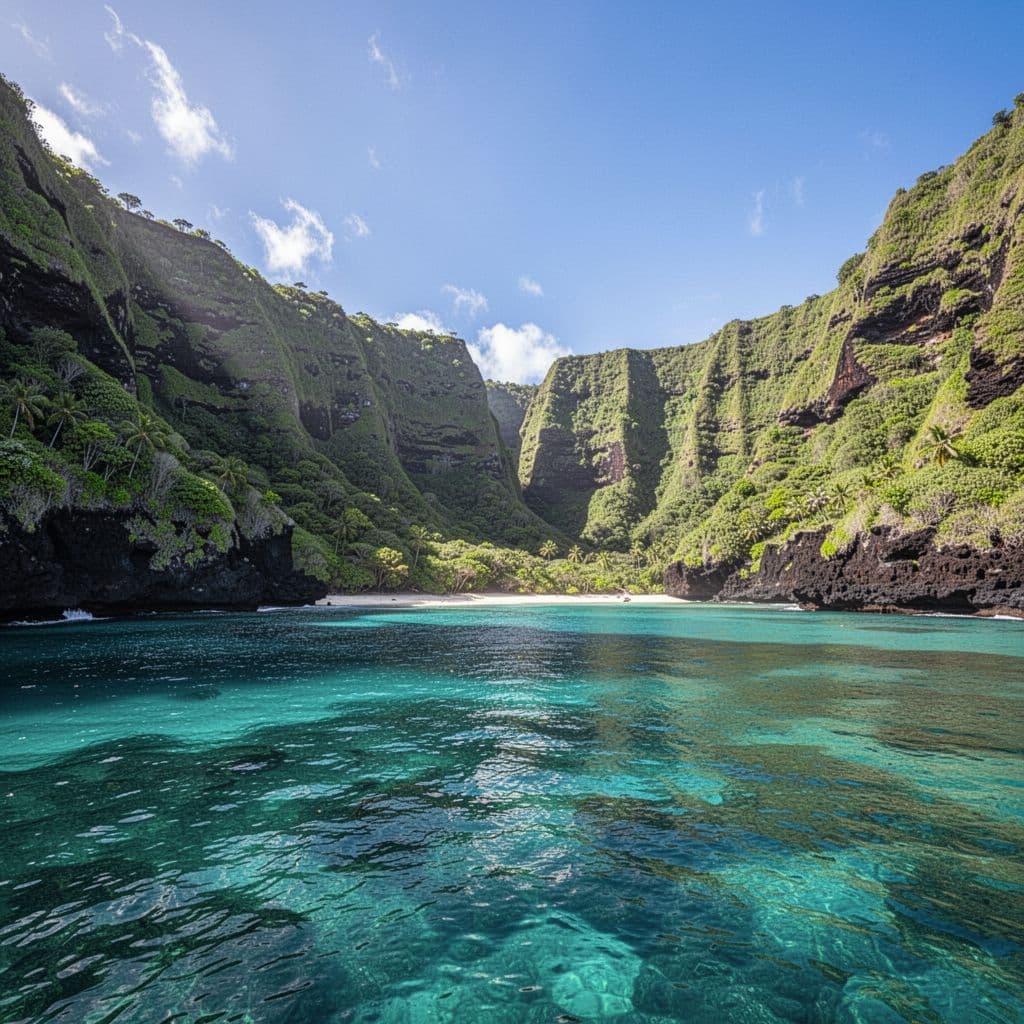
Boat drop-off near the monument
This is the easiest entry for most first-time snorkelers. A boat gets you close to the best water, so you don’t have to haul gear across land or work for your swim before you even start.
That’s a big deal if you’re traveling with kids, older parents, or a partner who wants a relaxed day. You get to save your energy for the water, which is where you want it.
Boat access near the Captain Cook Monument also tends to feel more straightforward. The crew handles the route, the timing, and the gear. You focus on floating, breathing, and looking at the reef.
Kayak access and landing rules
Kayak entry sounds simple, but it asks more of your body. You have to paddle in, watch the conditions, and handle your gear carefully.
That can be fun if you like a self-powered day and you’re confident on the water. It’s less ideal if you want the smoothest possible first visit.
The landing part also matters. You can’t treat the shoreline like an open beach launch wherever you want. In a protected bay, the place you land and the way you move through the area both matter.
The steep shoreline hike
Some people still choose the trail, and it can work if you’re fit, patient, and prepared. Still, this is the least forgiving option for a first-timer.
The hike is steep, hot, and demanding. You may reach the water feeling tired, and you still have to make the return climb after snorkeling. That alone changes the mood of the day.
If you enjoy a challenge, the trail can feel rewarding. If you want a calm first trip, it’s usually too much.
A local overview like this Kealakekua Bay guide can help you picture the monument, the trail, and the bay layout before you go.
What the water feels like once you’re inside
The water in Kealakekua Bay often feels sheltered compared with more open shoreline spots. That’s one reason so many travelers look for Kealakekua Bay snorkeling in the first place.
On a good morning, you can get long views into the reef. Fish move through the coral in easy bursts, and the water has that bright blue-green clarity people hope for when they plan to snorkeling Big Island adventures.
Still, the bay asks for respect. Don’t touch coral, don’t stand on the reef, and don’t chase marine life for a photo. If dolphins or turtles pass through, let them move on in peace. The bay is a living place, not a stage.
The best snorkel experience here comes from staying calm, staying light on the reef, and letting the water lead the pace.
For a clearer look at the protected setting, you can also read the official bay rules and access notes. A few minutes of reading before you go can save you a lot of confusion later.
How to choose the right access point for your trip
When you compare the entry choices side by side, the decision gets simpler fast. Use the option that matches your energy, your swim level, and the kind of day you want.
| Access choice | Best for | What it feels like | First-timer fit |
|---|---|---|---|
| Boat drop-off | Families, couples, relaxed swimmers | Short swim, less effort, gear handled for you | Best |
| Kayak access | Confident swimmers and active travelers | More work, more self-guided, more planning | Good if you want exercise |
| Shore hike | Fit, independent guests | Long, hot, steep approach | Usually not ideal |
If you want the cleanest first visit, choose the option that keeps your legs fresh and your mood relaxed. If you want a workout, pick the hike or kayak. If you want the reef to be the main event, pick the boat.
That simple rule saves a lot of second-guessing.
Why a guided tour makes first-time logistics easier
When people want to snorkel Big Island, they usually want less hassle, not more. That’s where a guided trip can make a real difference.
Kona Snorkel Trips is a strong fit for that style. The company is built around small groups, lifeguard-certified guides, solid gear, and reef-safe habits. If you want a closer look at the options, start with guided Big Island snorkeling tours. If you already know you want a place on the calendar, you can check availability.
That kind of setup matters because first-time guests often worry about too many details at once. Which trail is best? Where do you park? How much gear do you carry? A good guide takes those questions off your plate.
If you want a company built specifically around this bay, Captain Cook Snorkeling Tours focuses on Kealakekua Bay trips. For a bay-centered booking option, use the button below.
What to bring so your entry feels easy
The right gear won’t make you a better swimmer, but it will make the day smoother. That matters more than people expect.
- Rash guard or swim shirt: It cuts down on sun exposure and helps you stay comfortable in the water.
- Reef-safe sunscreen: Put it on before you arrive, then give it time to set.
- Water and snacks: A hydrated snorkeler enjoys the reef longer.
- Dry bag: It keeps your phone, keys, and spare clothes protected.
- Water shoes or sturdy sandals: They help if you’re walking from a parking area or trailhead.
- Motion-sickness support if needed: If boat rides usually bother you, plan ahead.
If you’re taking the shoreline route, closed-toe shoes matter even more. If you’re taking a boat, you can keep the load lighter and focus on comfort.
The goal is simple. Bring only what helps you get in the water calmly.
A simple first-time plan for your day
You don’t need a complicated plan. You need a clear one.
- Pick the access style that fits your body. If you want the least effort, choose a boat. If you want a workout, choose the hike or kayak.
- Start early. Morning conditions are often easier, and you’ll feel less rushed.
- Get your gear sorted before you arrive. Mask, fins, sunscreen, and water should be ready to go.
- Move at a slow pace once you enter. Fast swimming burns energy and makes it harder to enjoy the reef.
- Leave room for the return. A steep trail or long boat day feels better when you’re not running on empty.
For families, that plan usually means a guided trip with a short approach. For couples, it often means an easy morning with time left for lunch after the snorkel. For solo travelers, it means you can spend your attention on the reef instead of the route.
That kind of pacing makes the whole day feel more open.
Common mistakes that make the day harder
A lot of first-timers make the same few errors, and most of them are easy to avoid.
The first mistake is treating the shore access like a casual beach walk. It isn’t. If you go in without checking the route, you may end up tired before you reach the water.
The second mistake is underestimating how much the sun and heat add to the day. Even a short hike feels longer when you’re carrying gear uphill.
The third mistake is getting too close to the reef or marine life. A protected bay only stays beautiful if visitors leave it alone.
The fourth mistake is choosing an access point that doesn’t match your fitness. A good snorkel day should feel steady, not rushed.
If you keep those four things in mind, you’ll avoid most of the stress that surprises new guests.
Conclusion
Kealakekua Bay is easier to enjoy when you treat the entry point as part of the experience, not a side detail. The best choice is the one that fits your energy, your swim level, and the kind of day you want.
For most first-time guests, that means a boat-based entry or a guided trip that removes the guesswork. You’ll spend less time managing logistics and more time watching the reef come alive.
If you plan your access well, Kealakekua Bay snorkeling feels smooth from the start, and that first swim sets the tone for the rest of your snorkeling Big Island adventure.